In this tutorial, we will create a truss gate directly in the Production Assist desktop app and then perform a calculation on it.
Production Assist has a real-time statics engine. This calculates every change you make in the app and performs calculations on the truss system.
Hanging and standing systems are supported. The example in this tutorial uses the Production Assist app, but the same workflow can also be conducted in Vectorworks or the MA3.
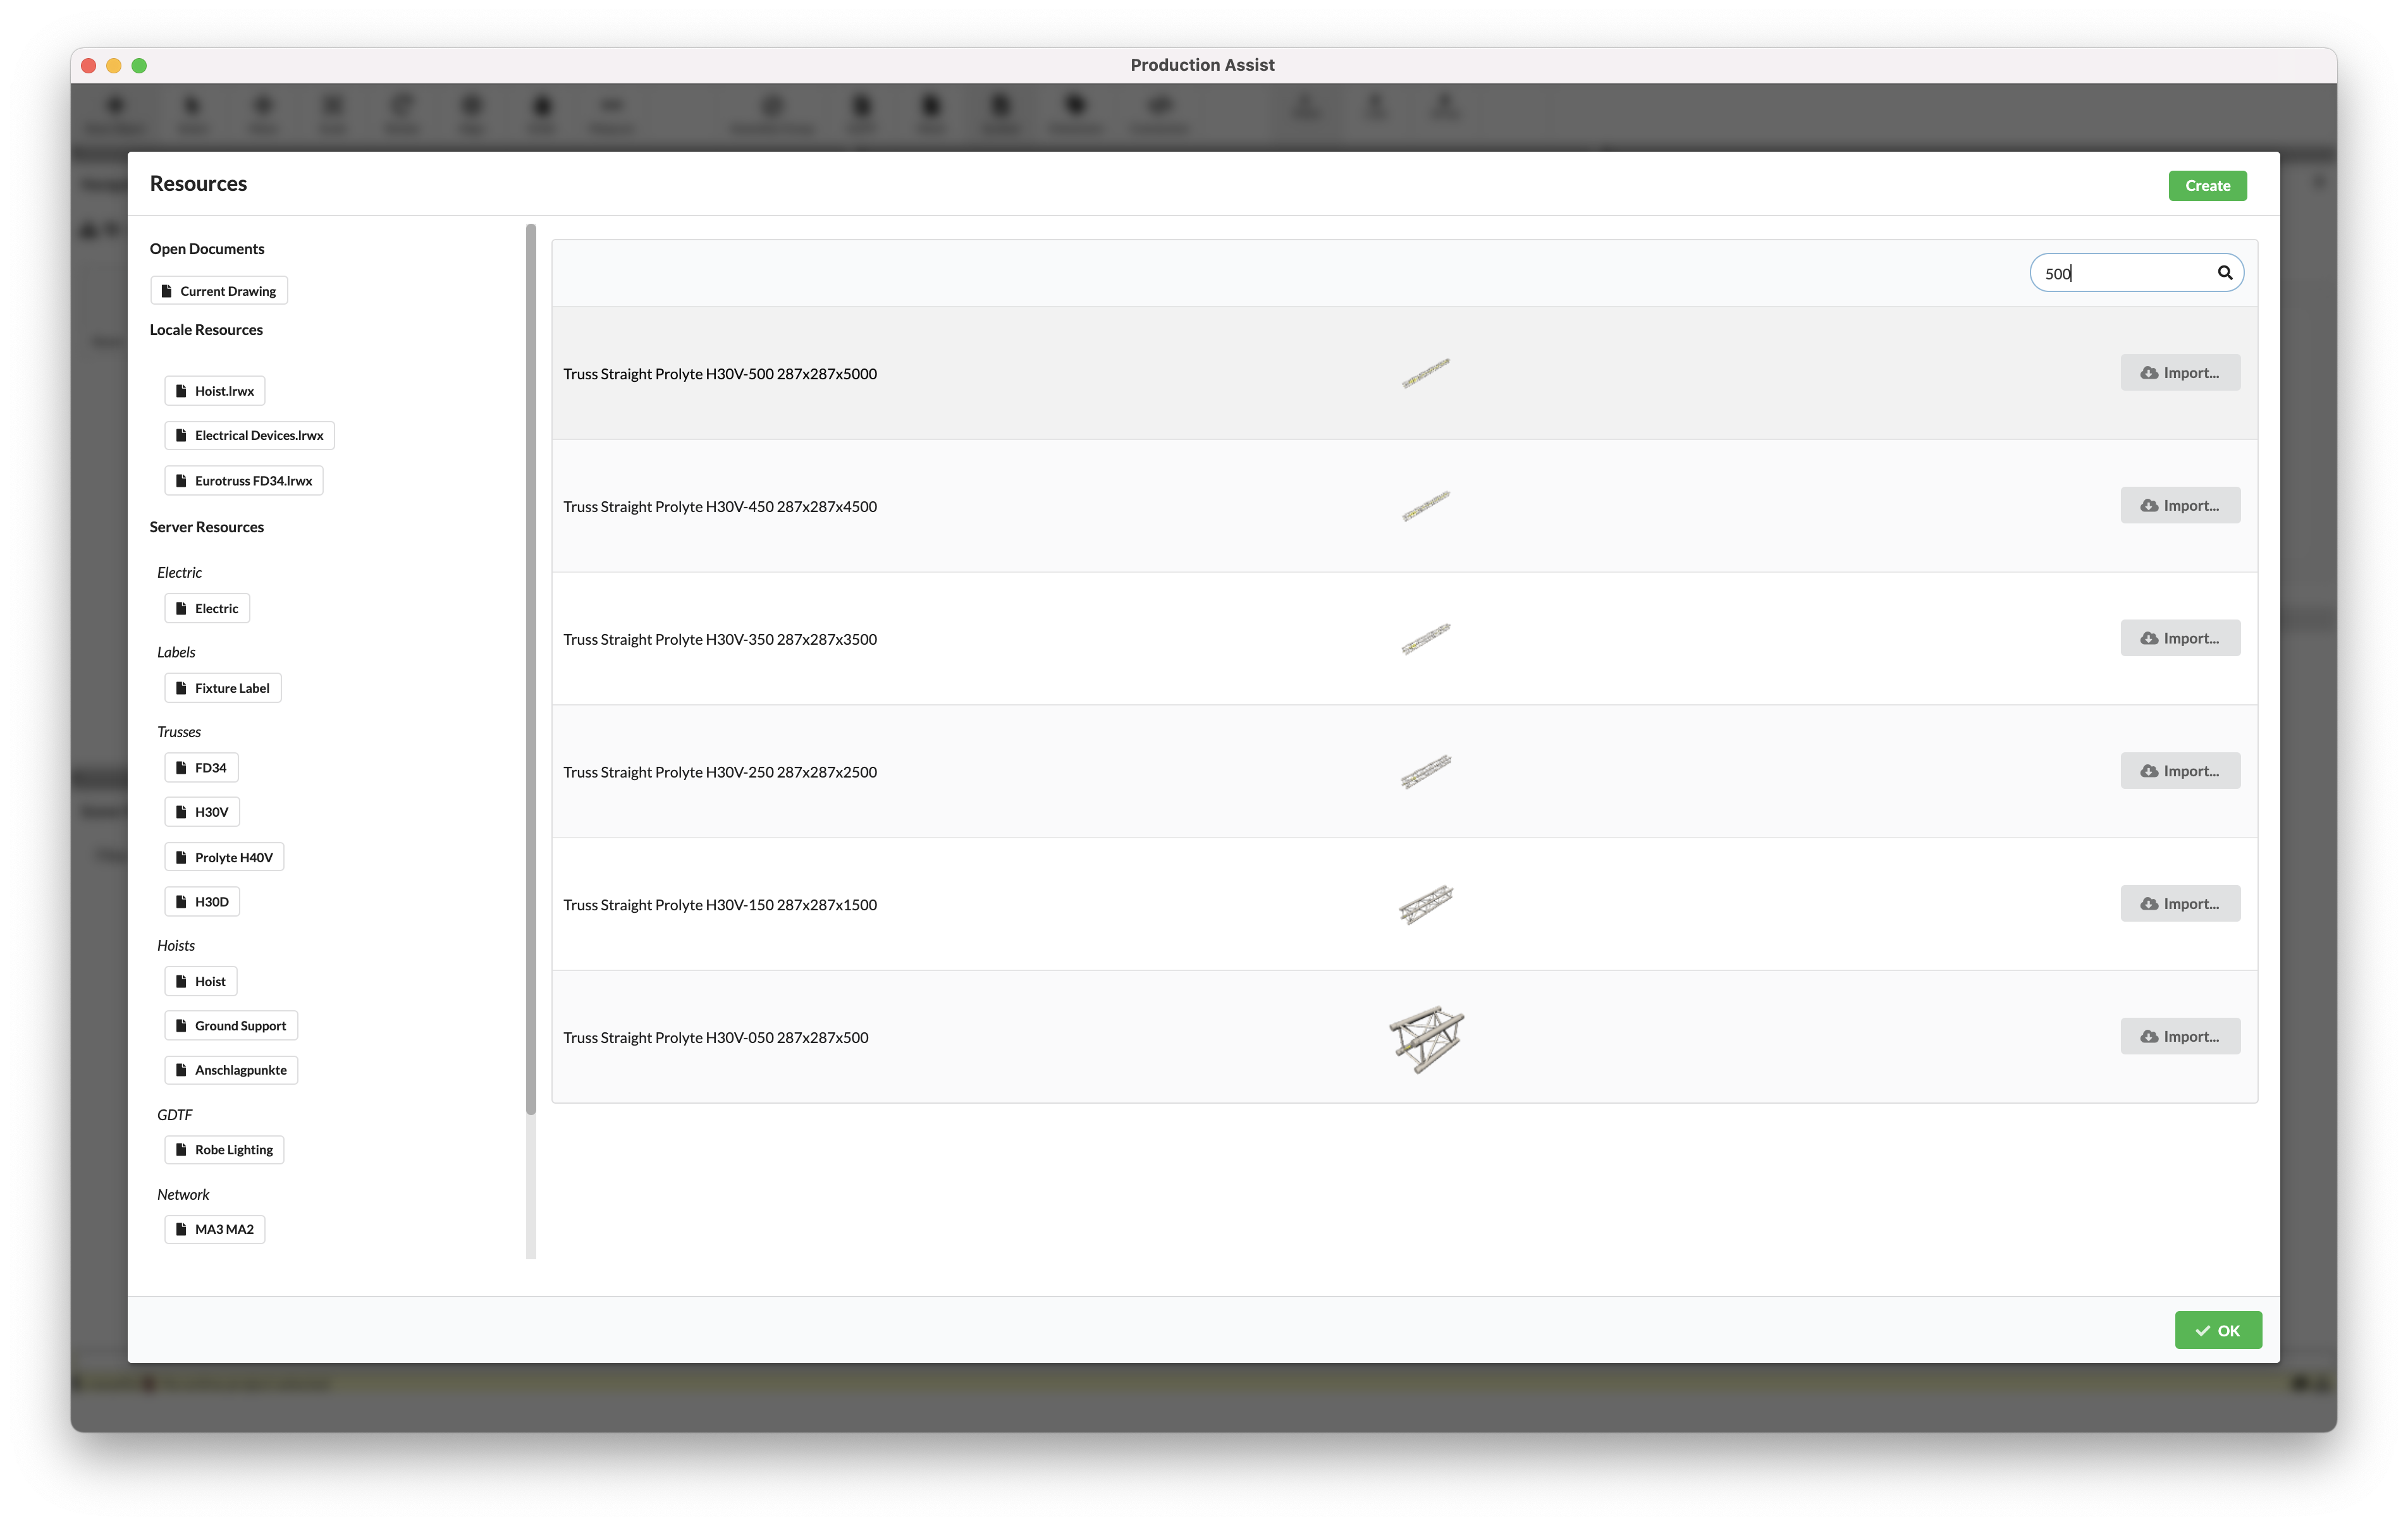
Use the New Object tool on the toolbar and select the option Symbol. In this dialog, you select a truss system on the left side. In this example, we use H30V by Prolyte.
Click on a truss section, e.g., the 5m section.
Once you have selected the symbol, activate the option Line for drawing to the right on the toolbar. This allows you to draw several trusses at once.
NOTE: If you hold down the Shift key, the direction snaps into place in 30° increments. So, you can easily draw straight lines in accordance with the standard coordinate system.
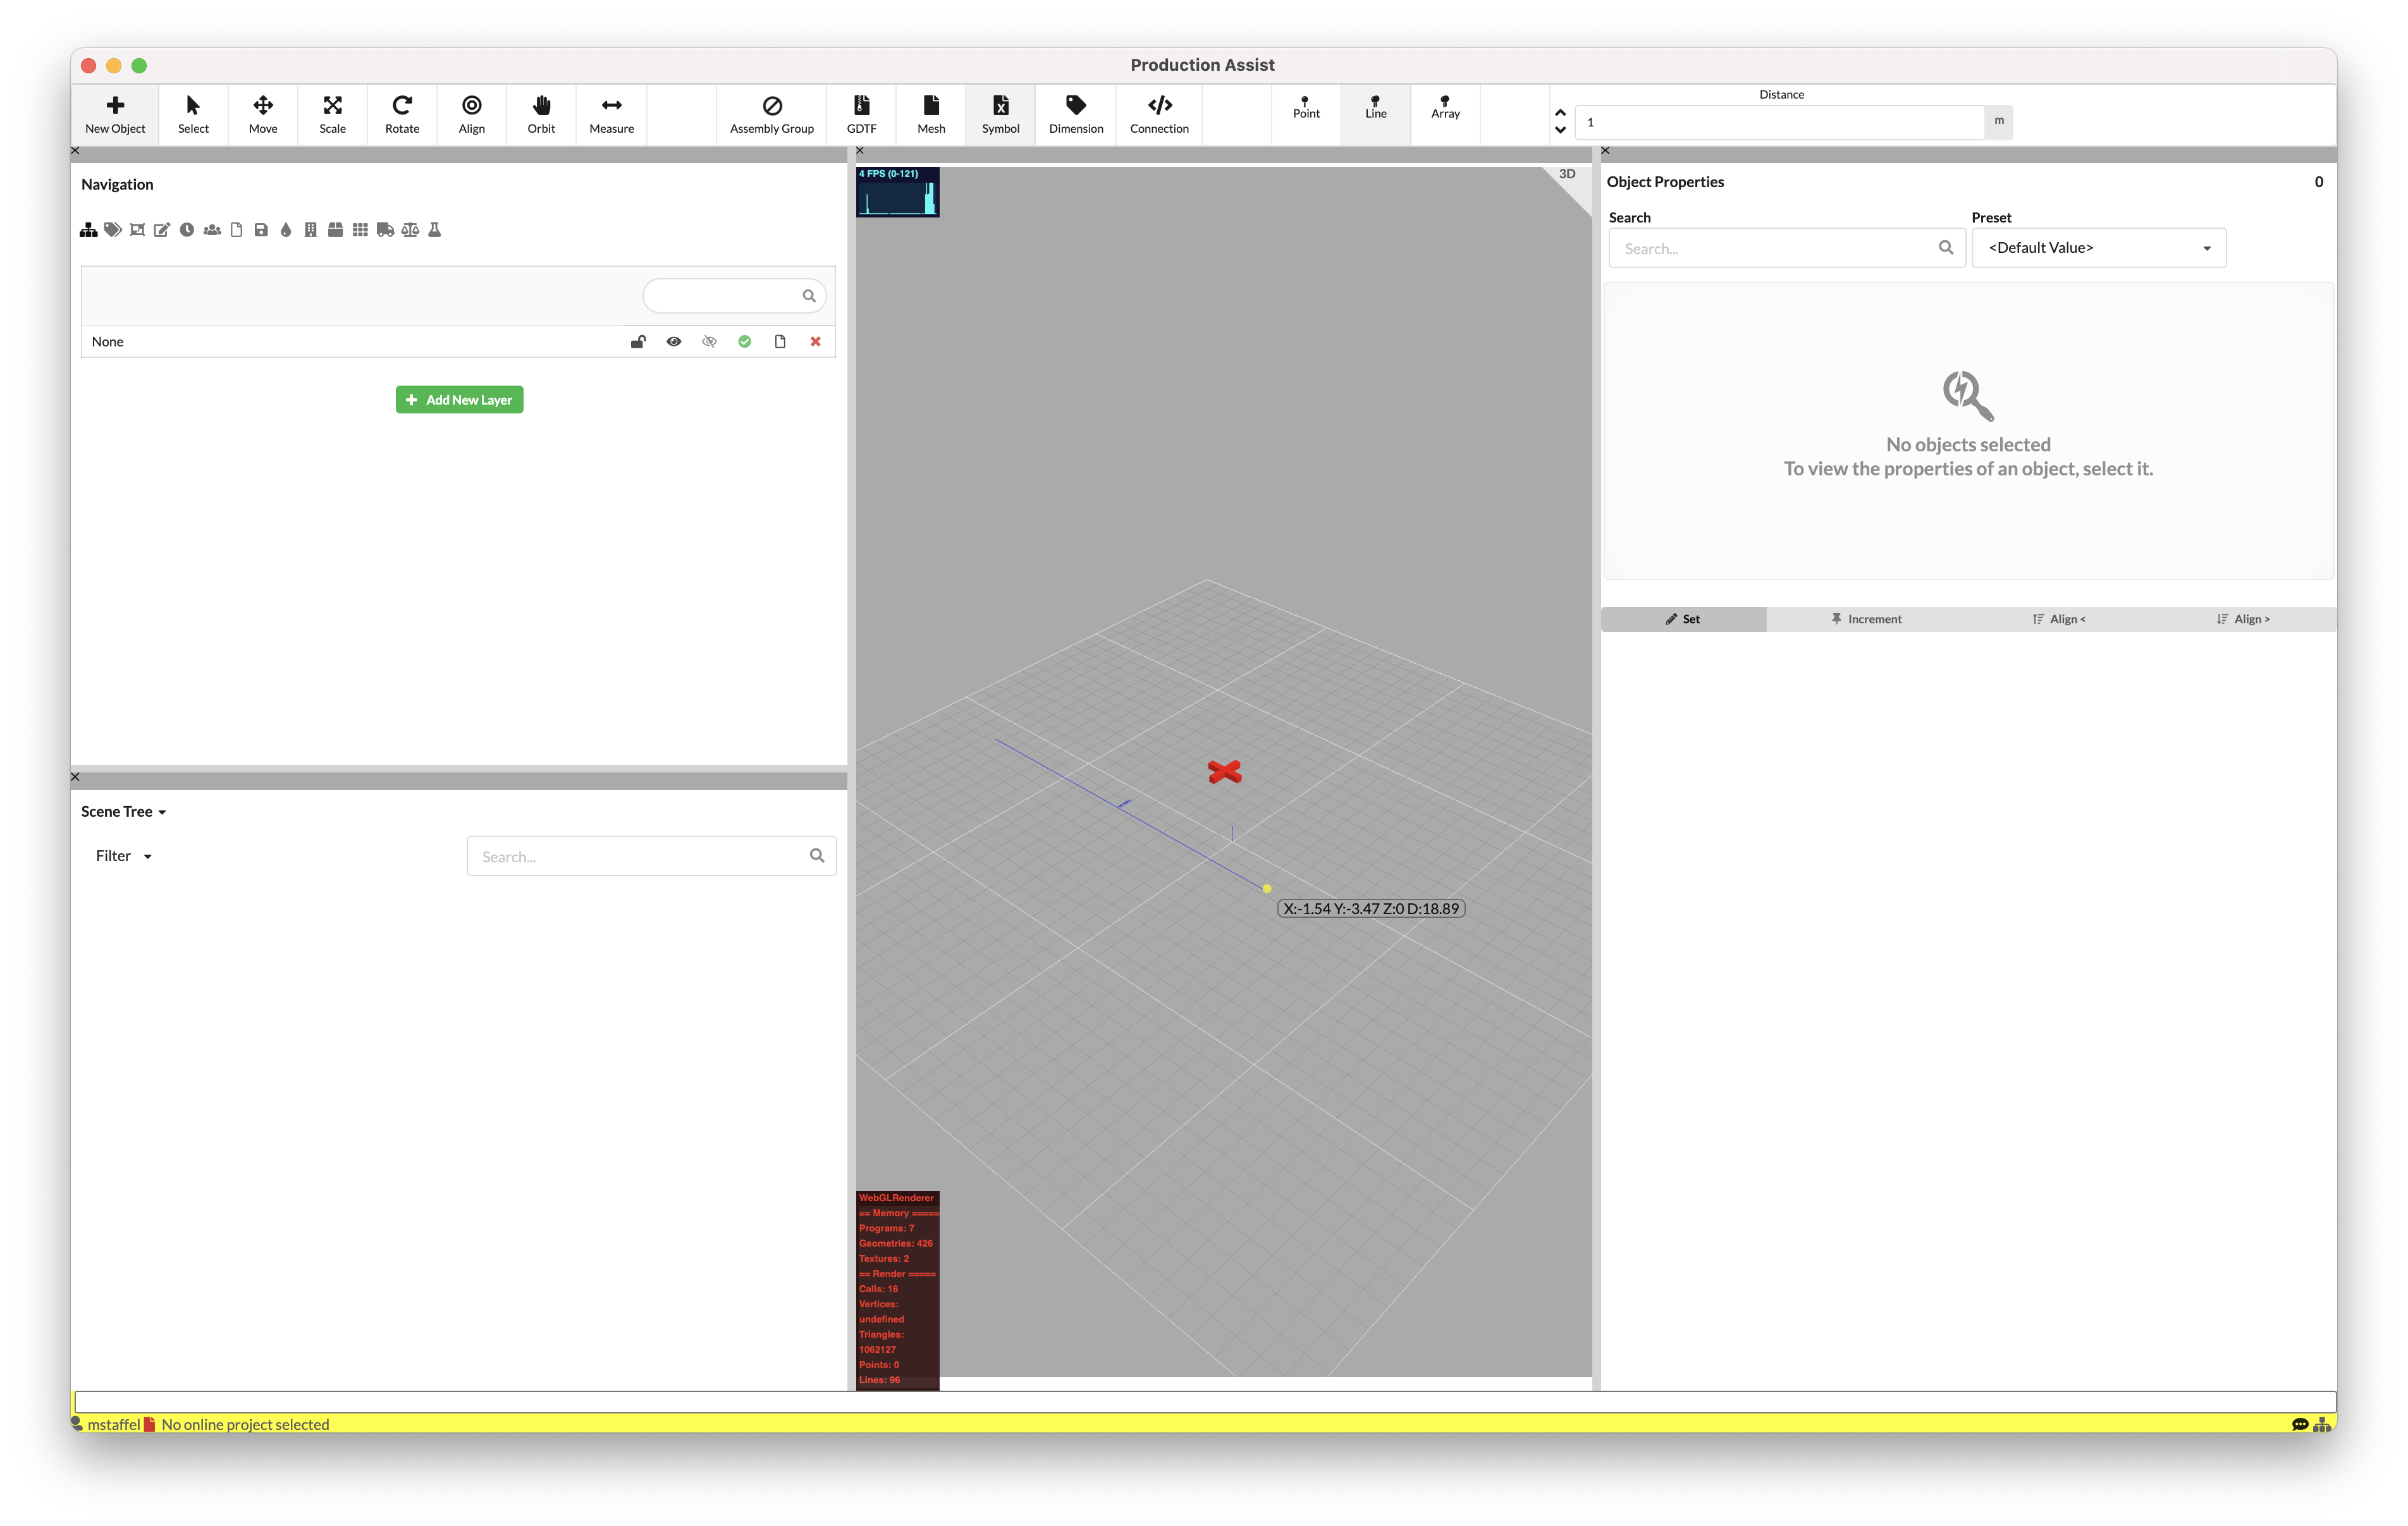
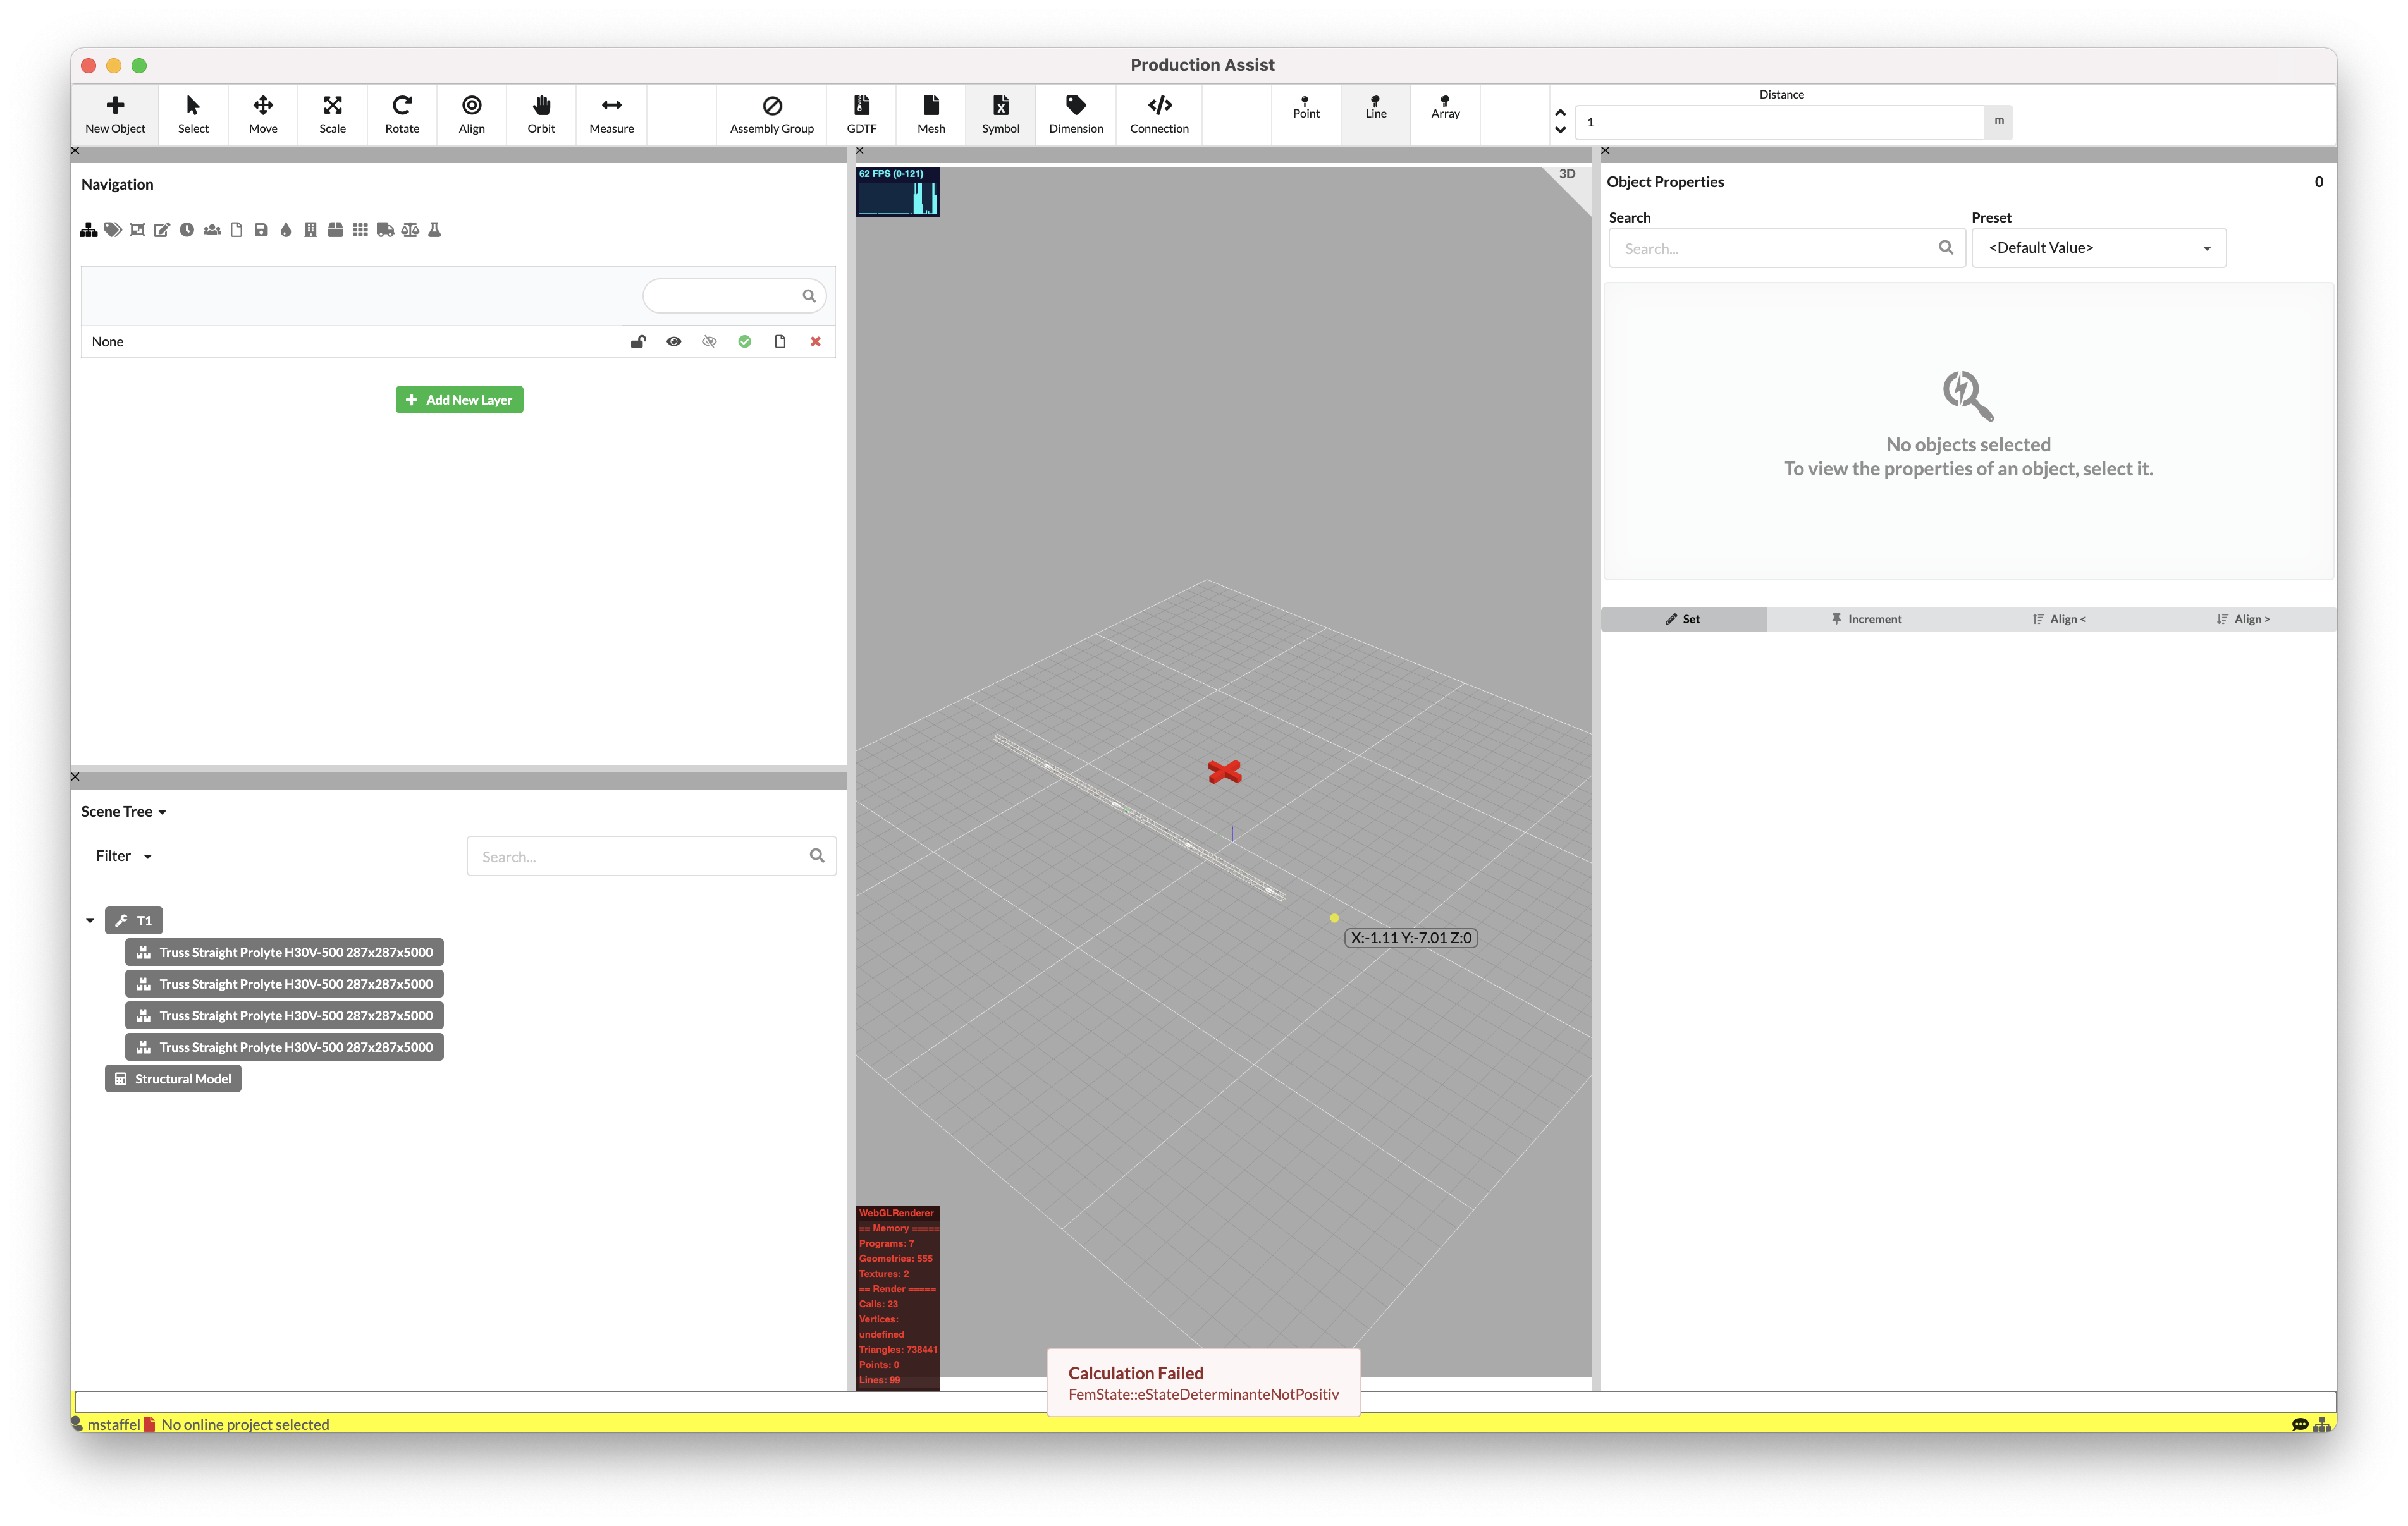
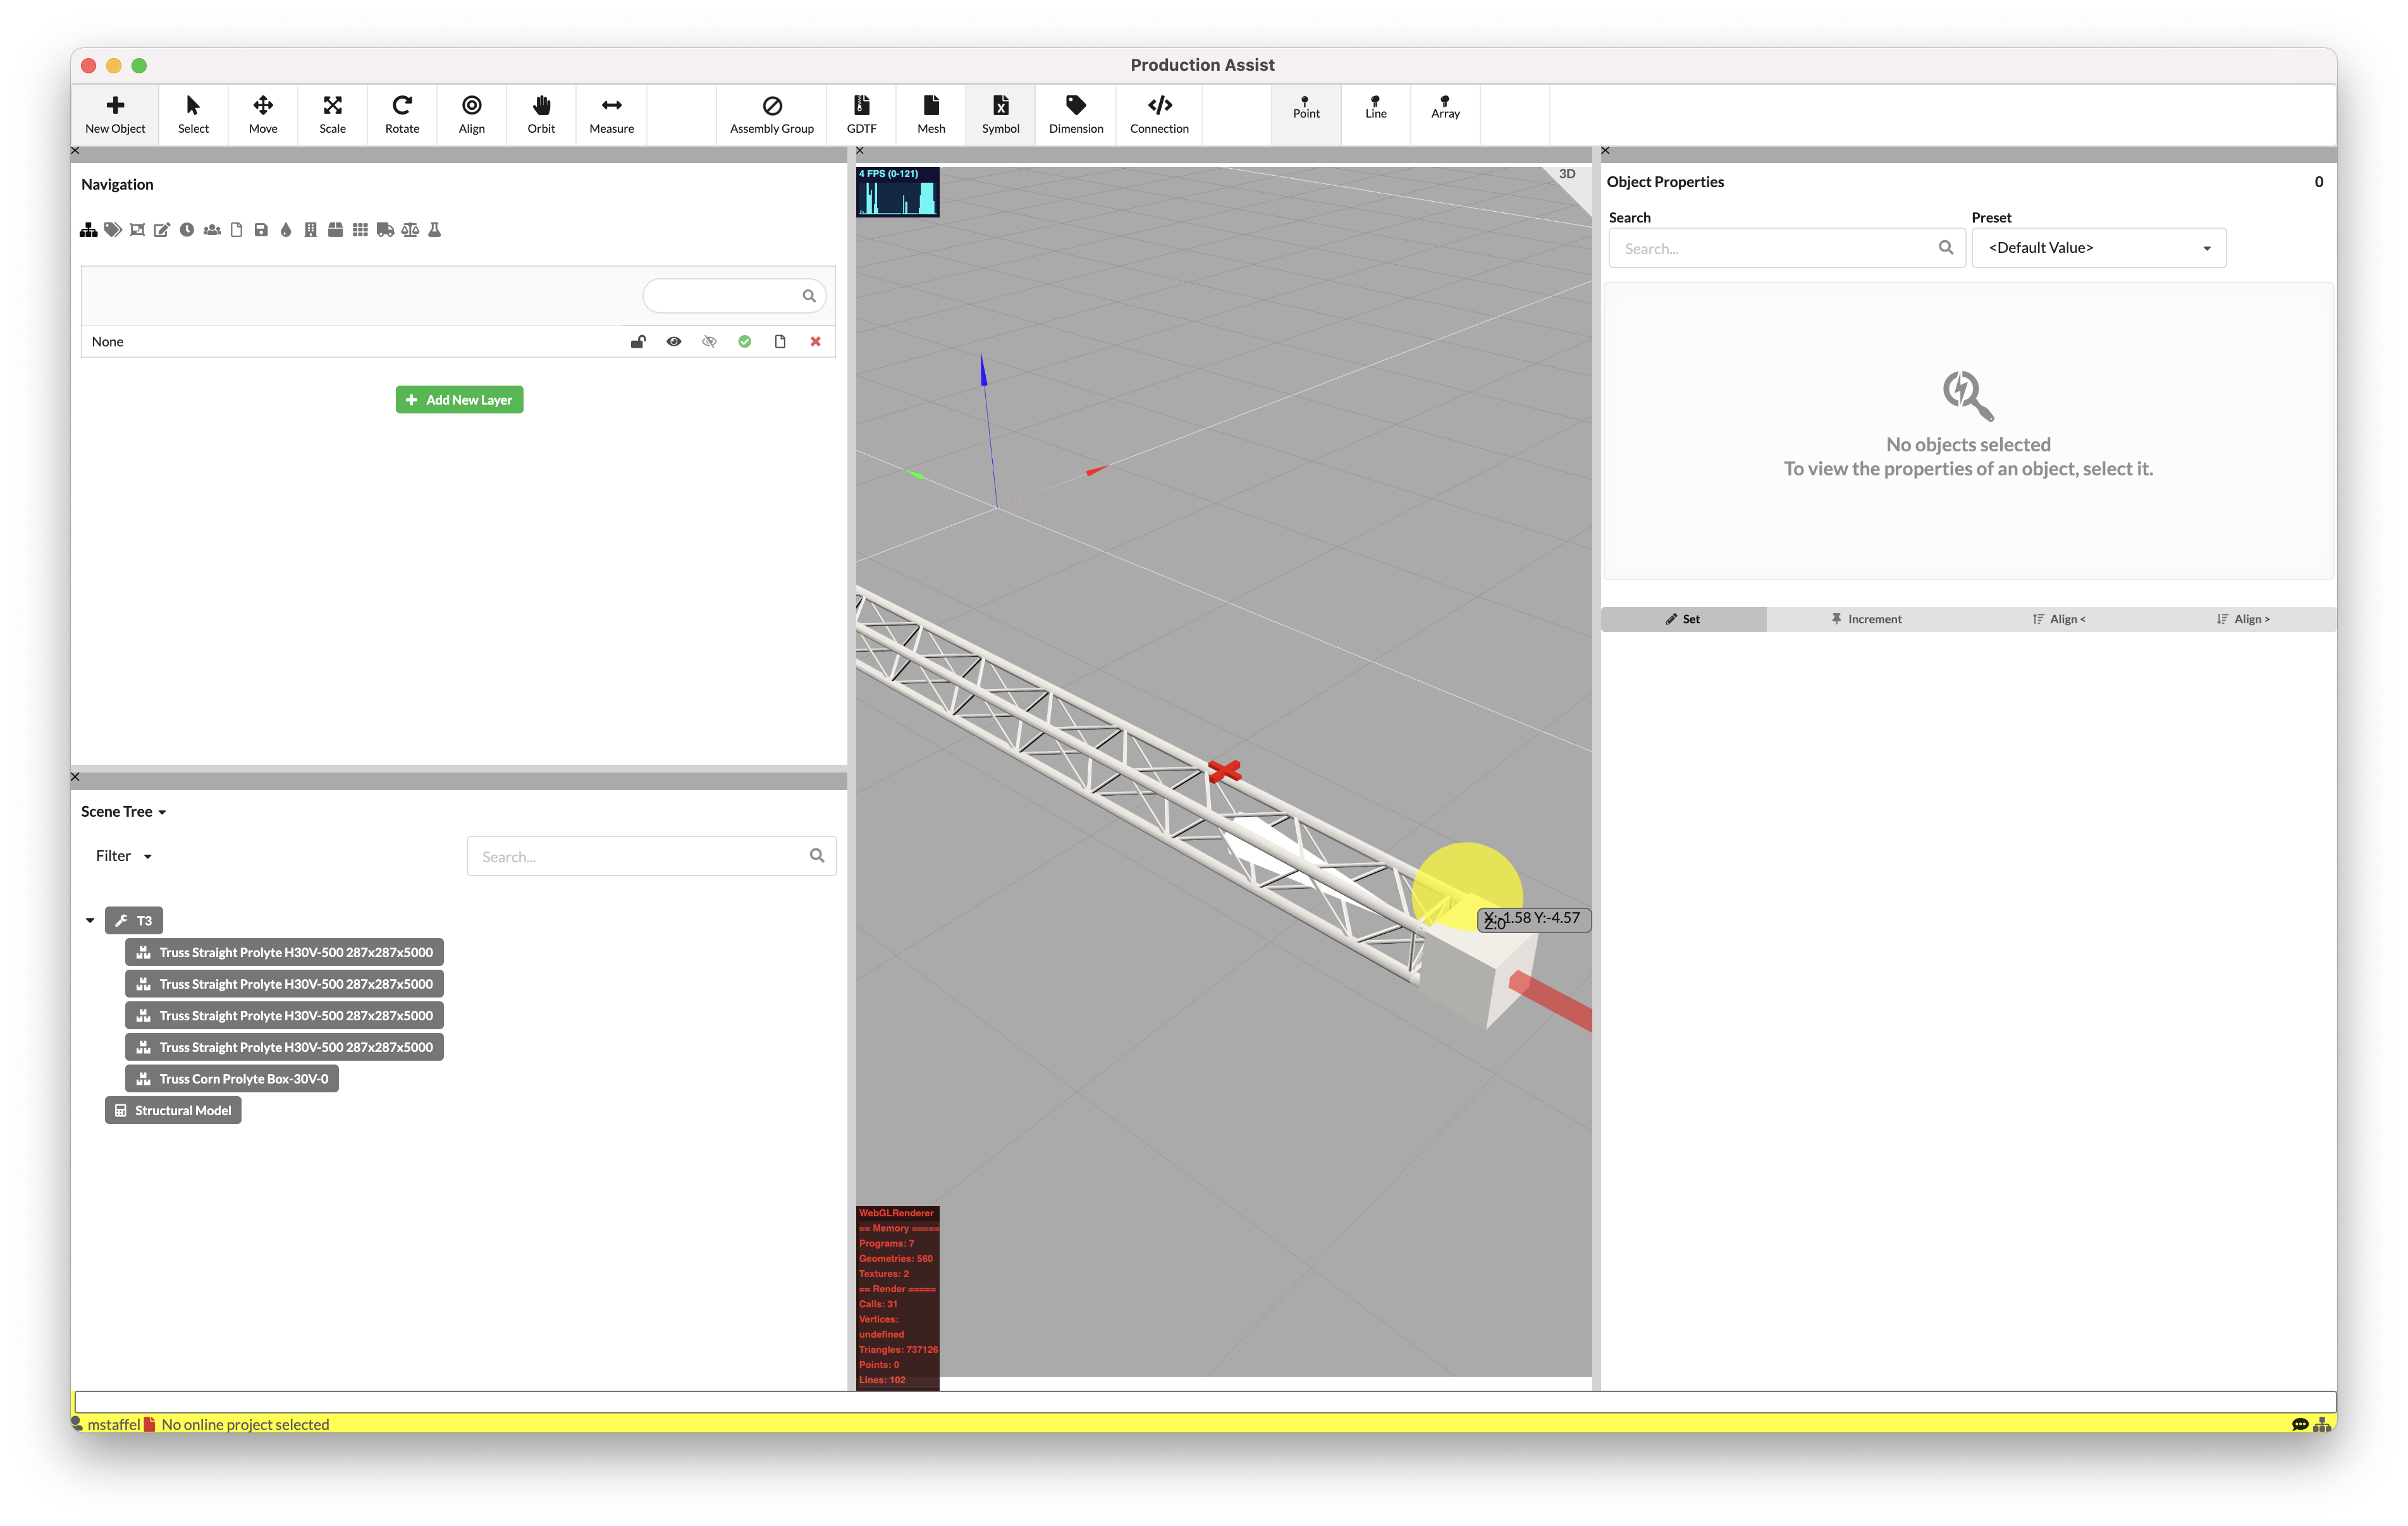
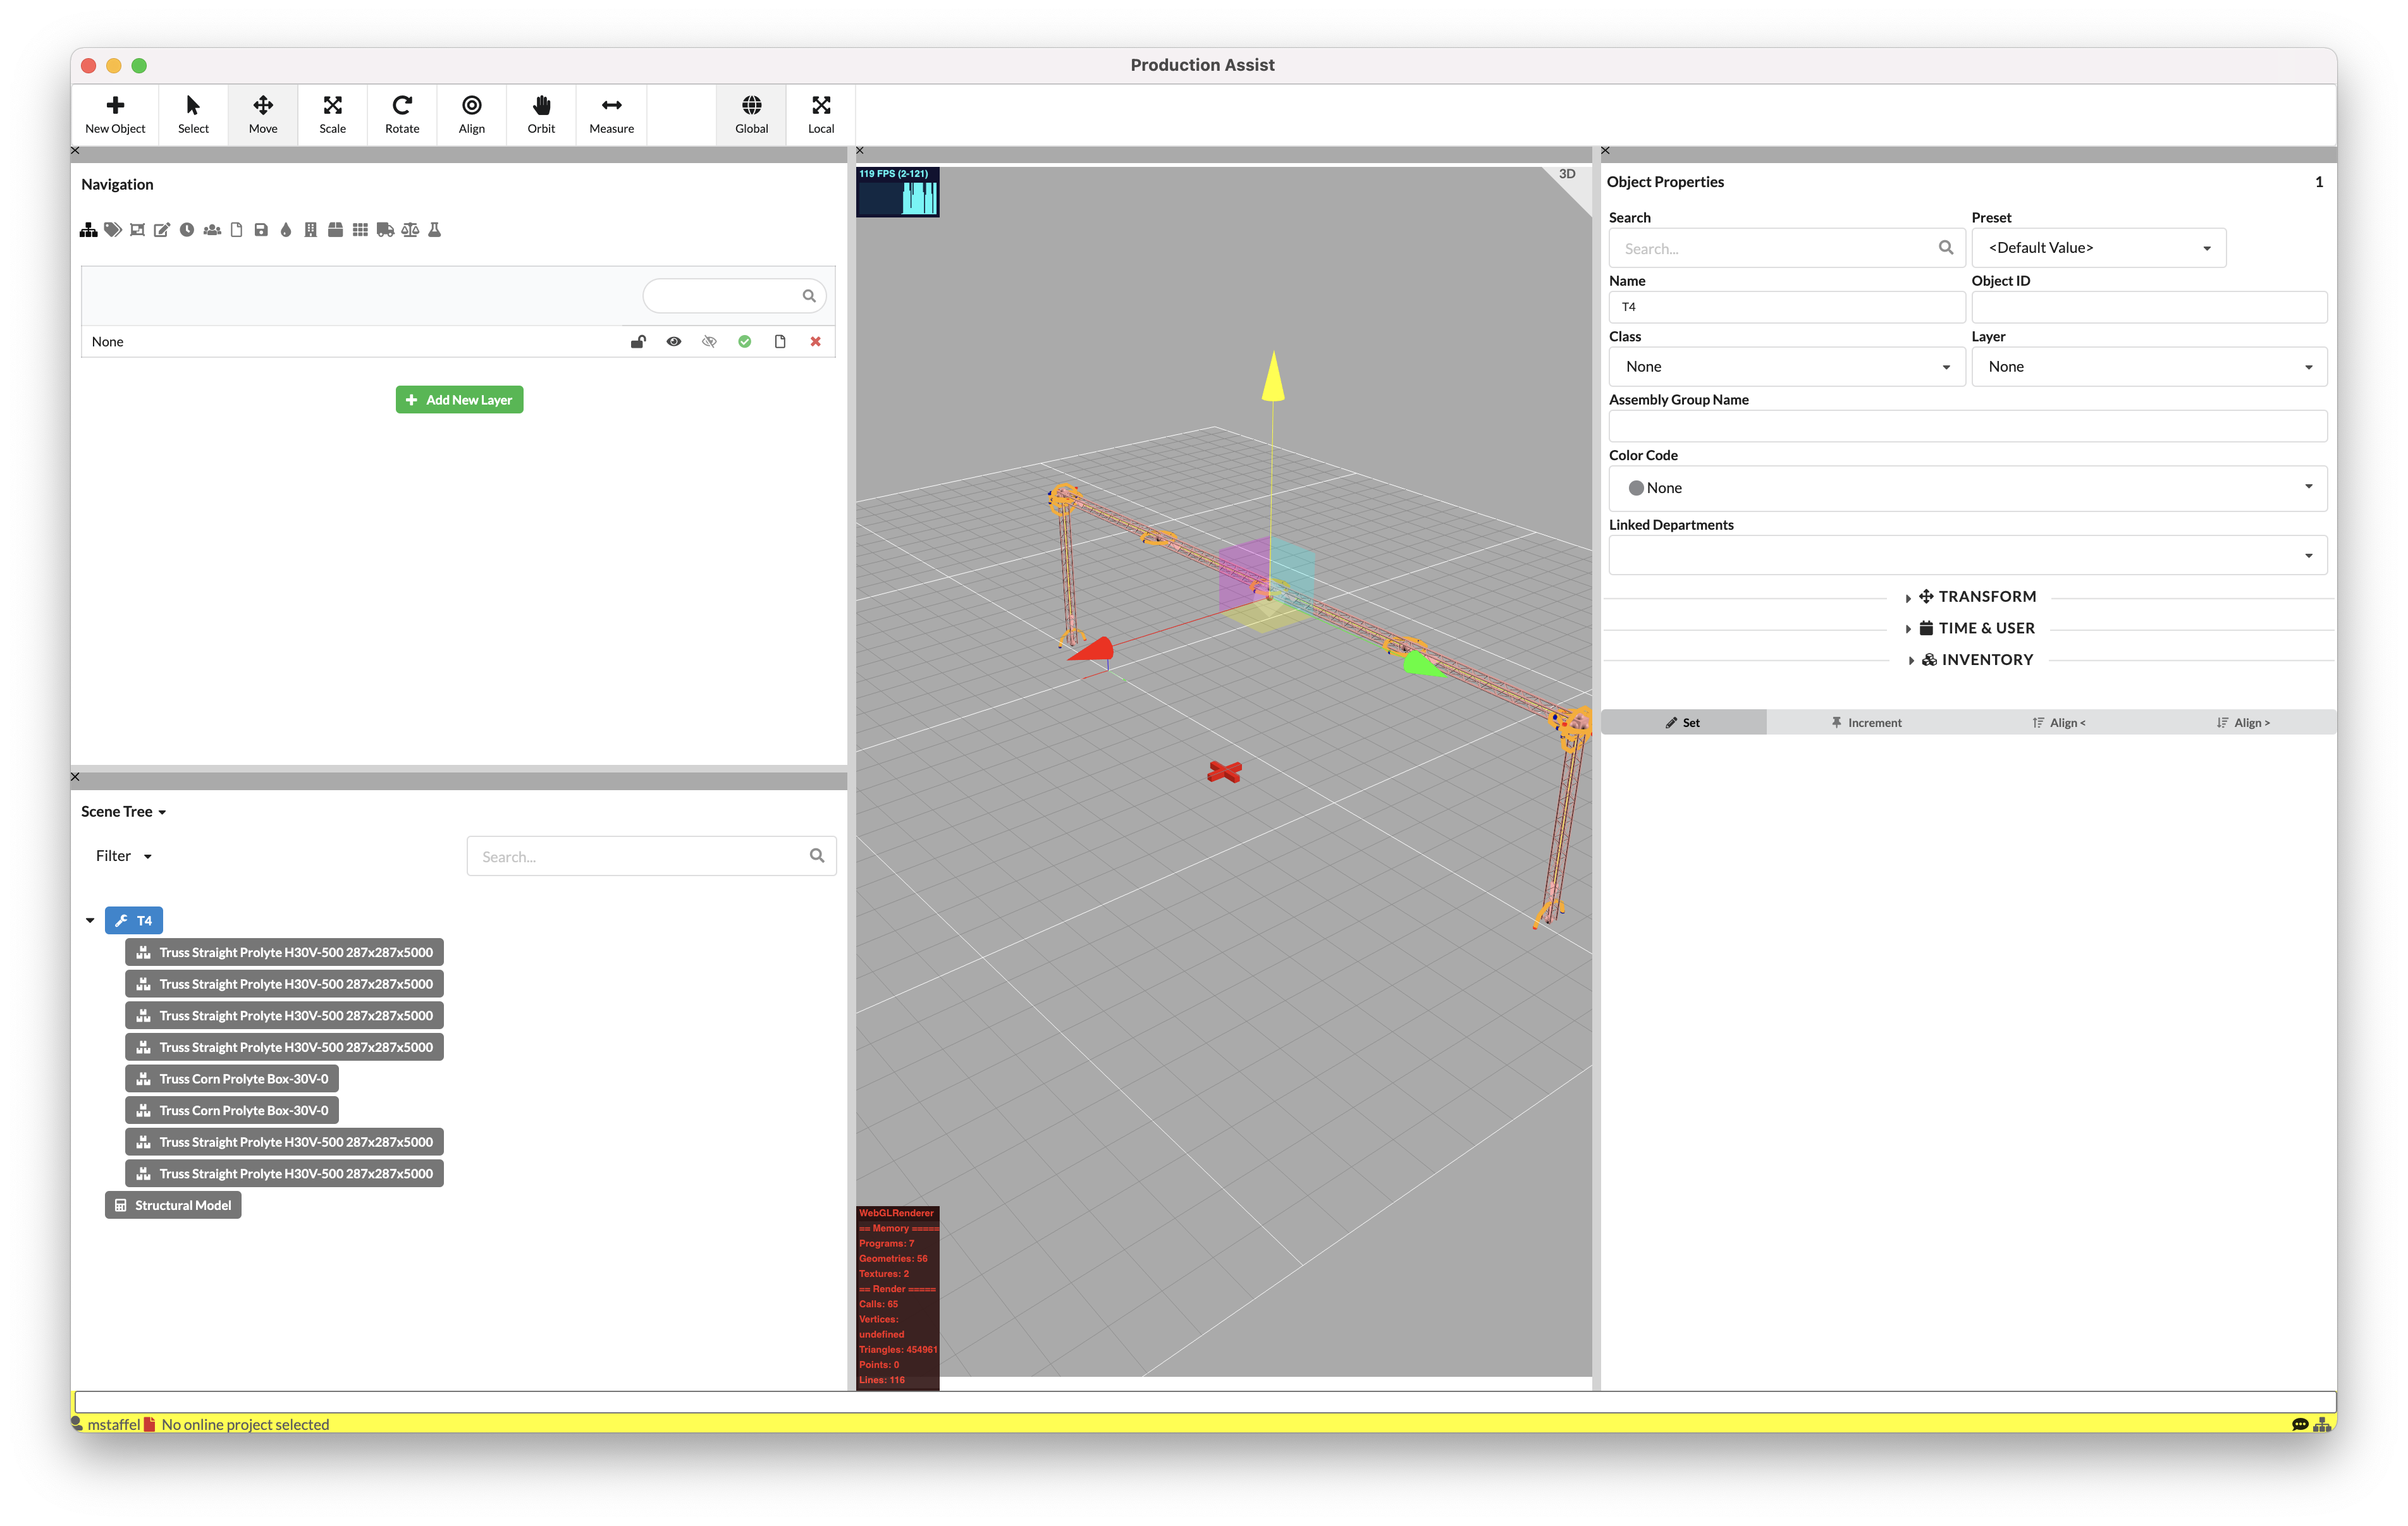
Click on the start and end point of your truss section. Trusses are created and automatically grouped.
The red window at the bottom of Production Assist window provides information about the current calculation status. Since this truss line does not yet have any load insertion or bearing, the calculation is not being performed.
Open the dialog for inserting symbols again. Select the box corner.
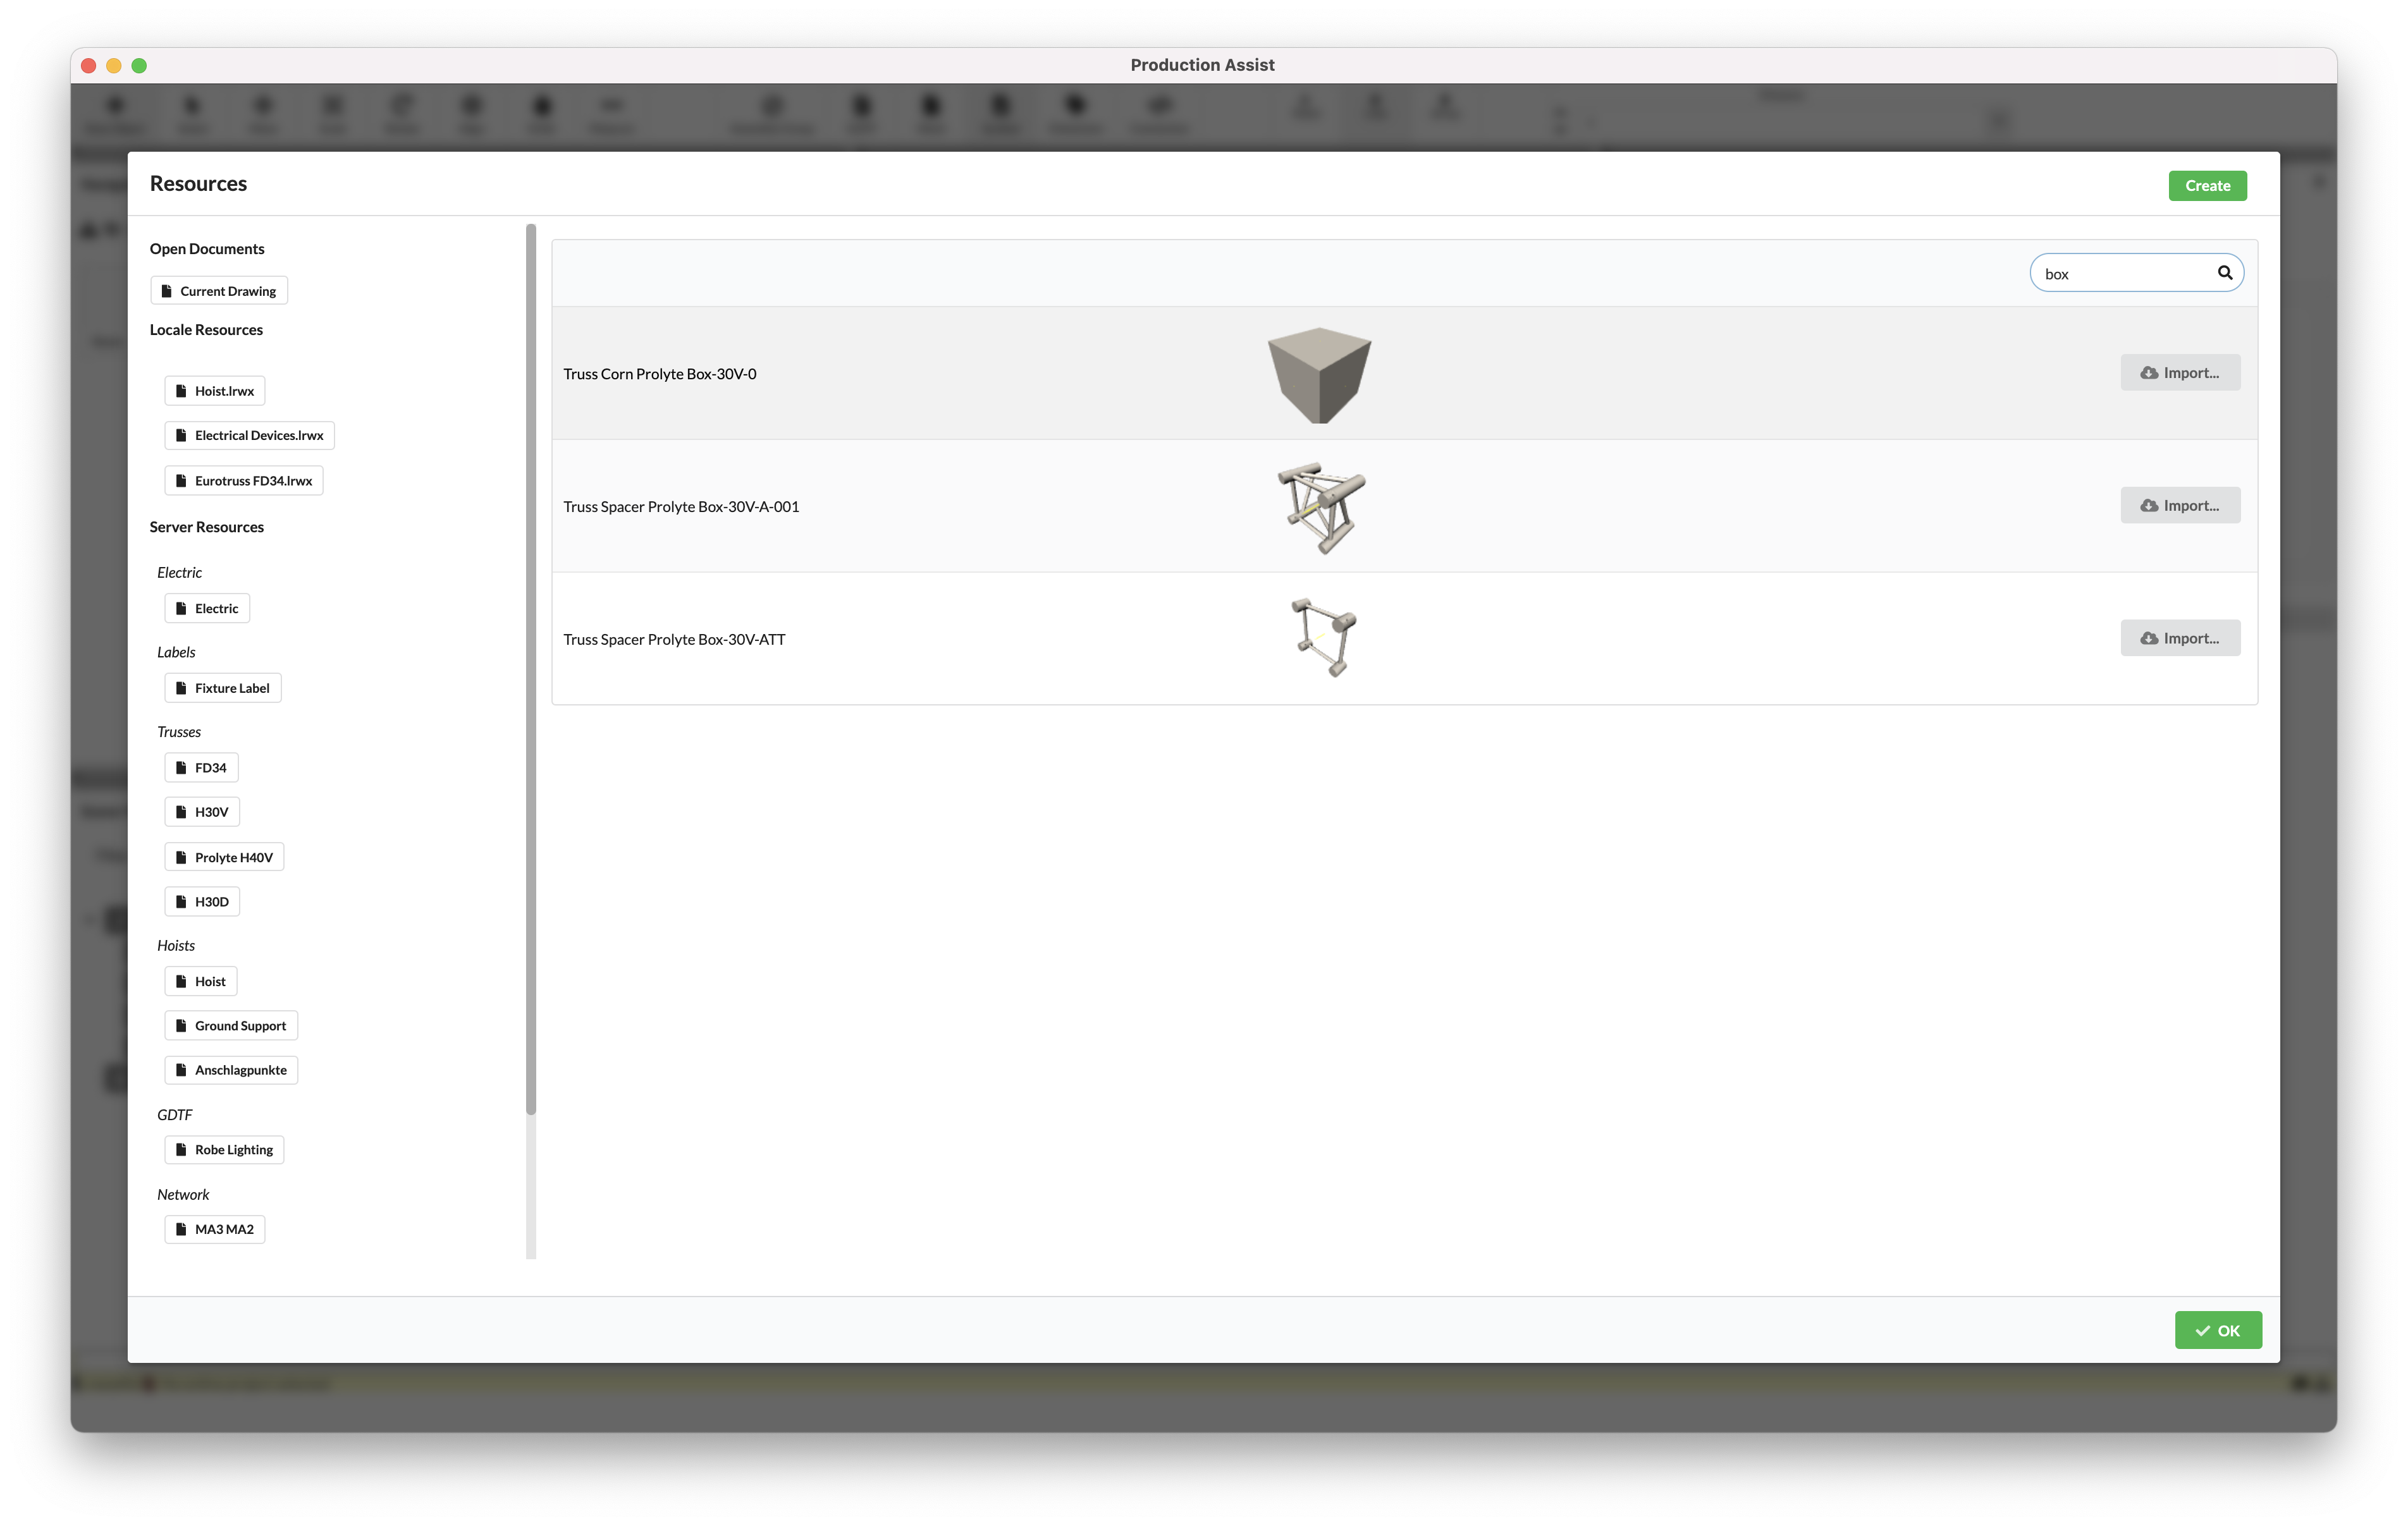
Activate the single-insert mode Point on the toolbar and insert a box corner and attachments at the ends of the truss section. Use the red snapping functions.
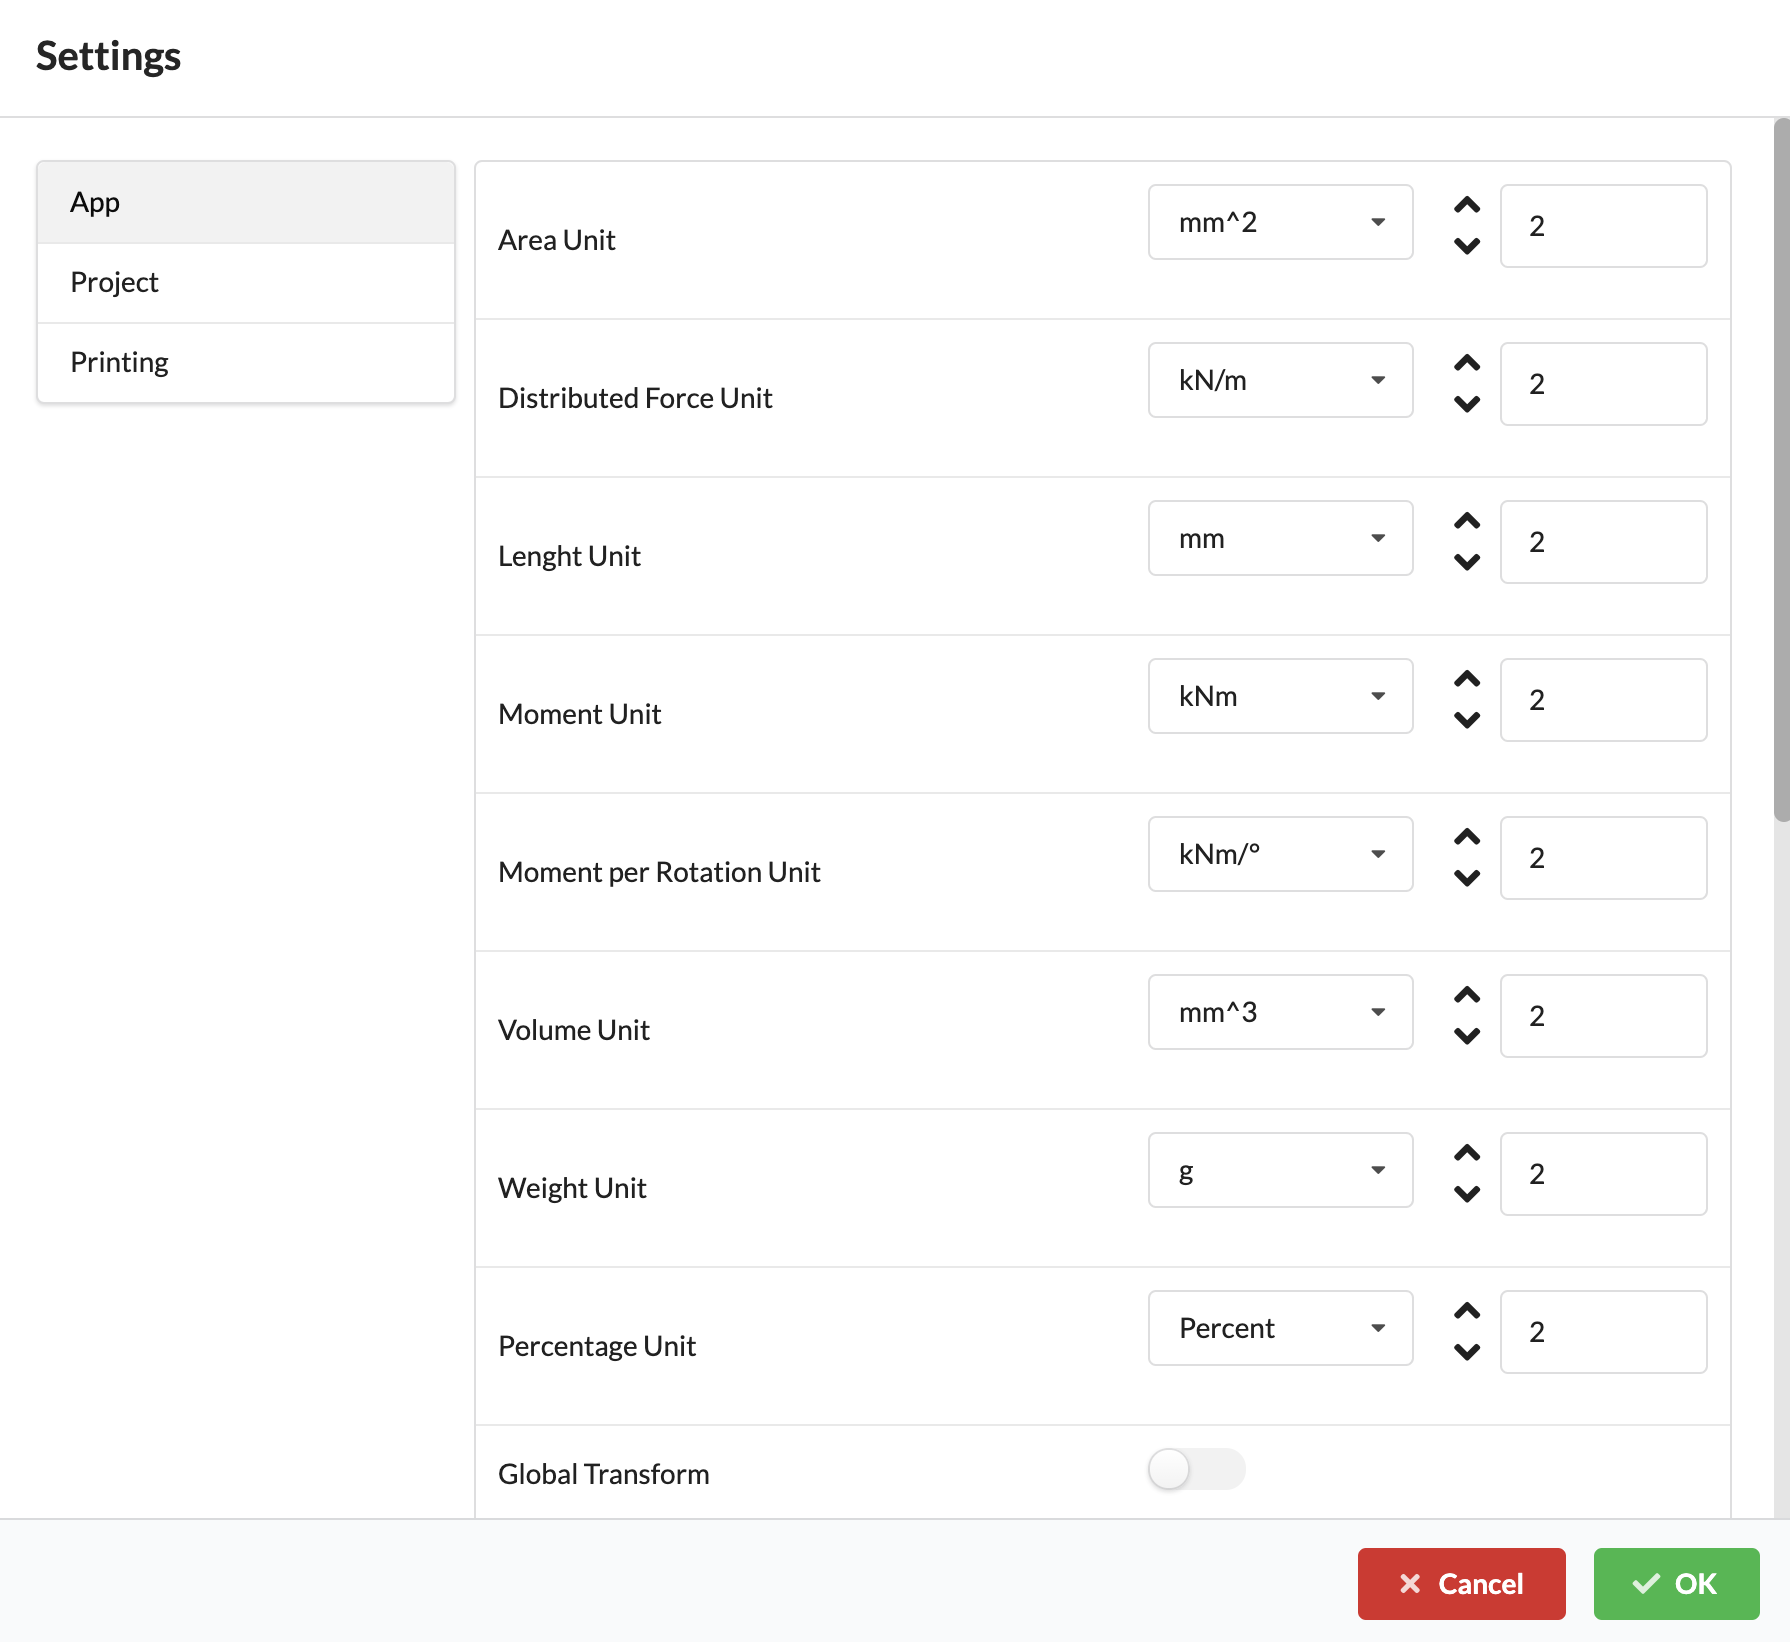
If it is sometimes too difficult to find the correct corner for snapping with a mouse, you have the option to display the magnets in the Production Assist settings. This makes the process easier for you.
The settings can be opened via the menu bar under File/Settings.
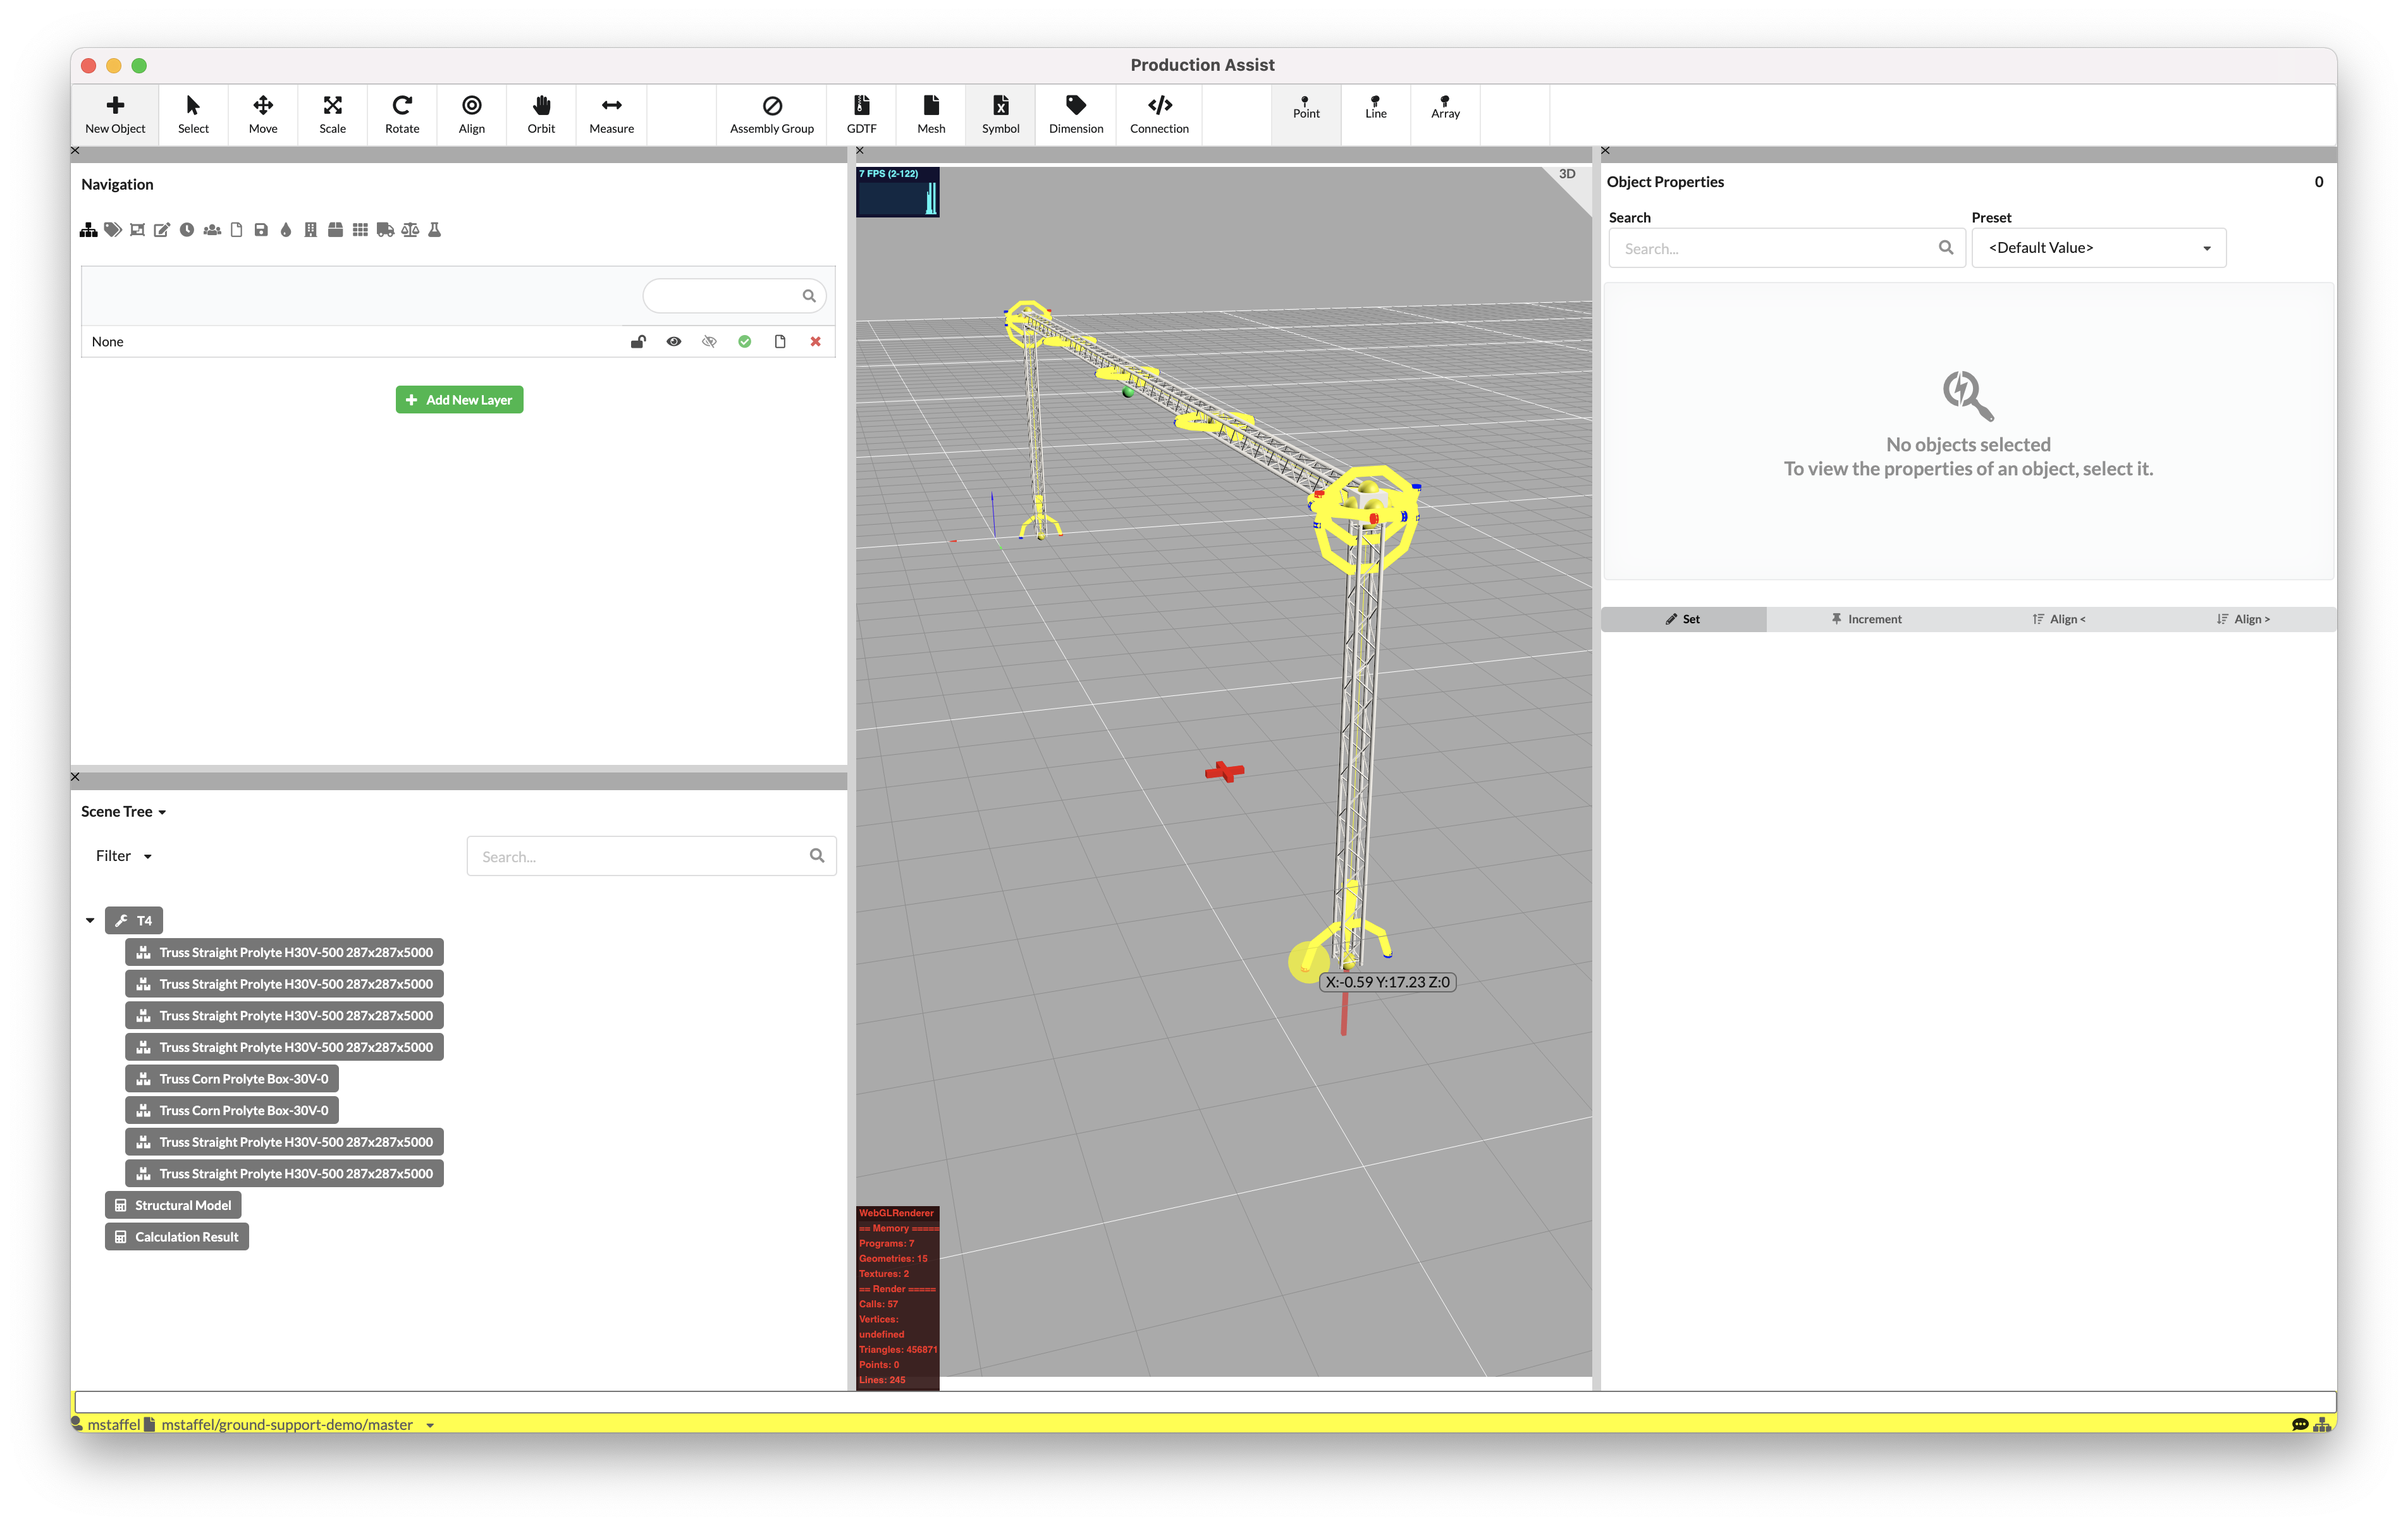
Now add one truss section to each box corner. This should point downwards.
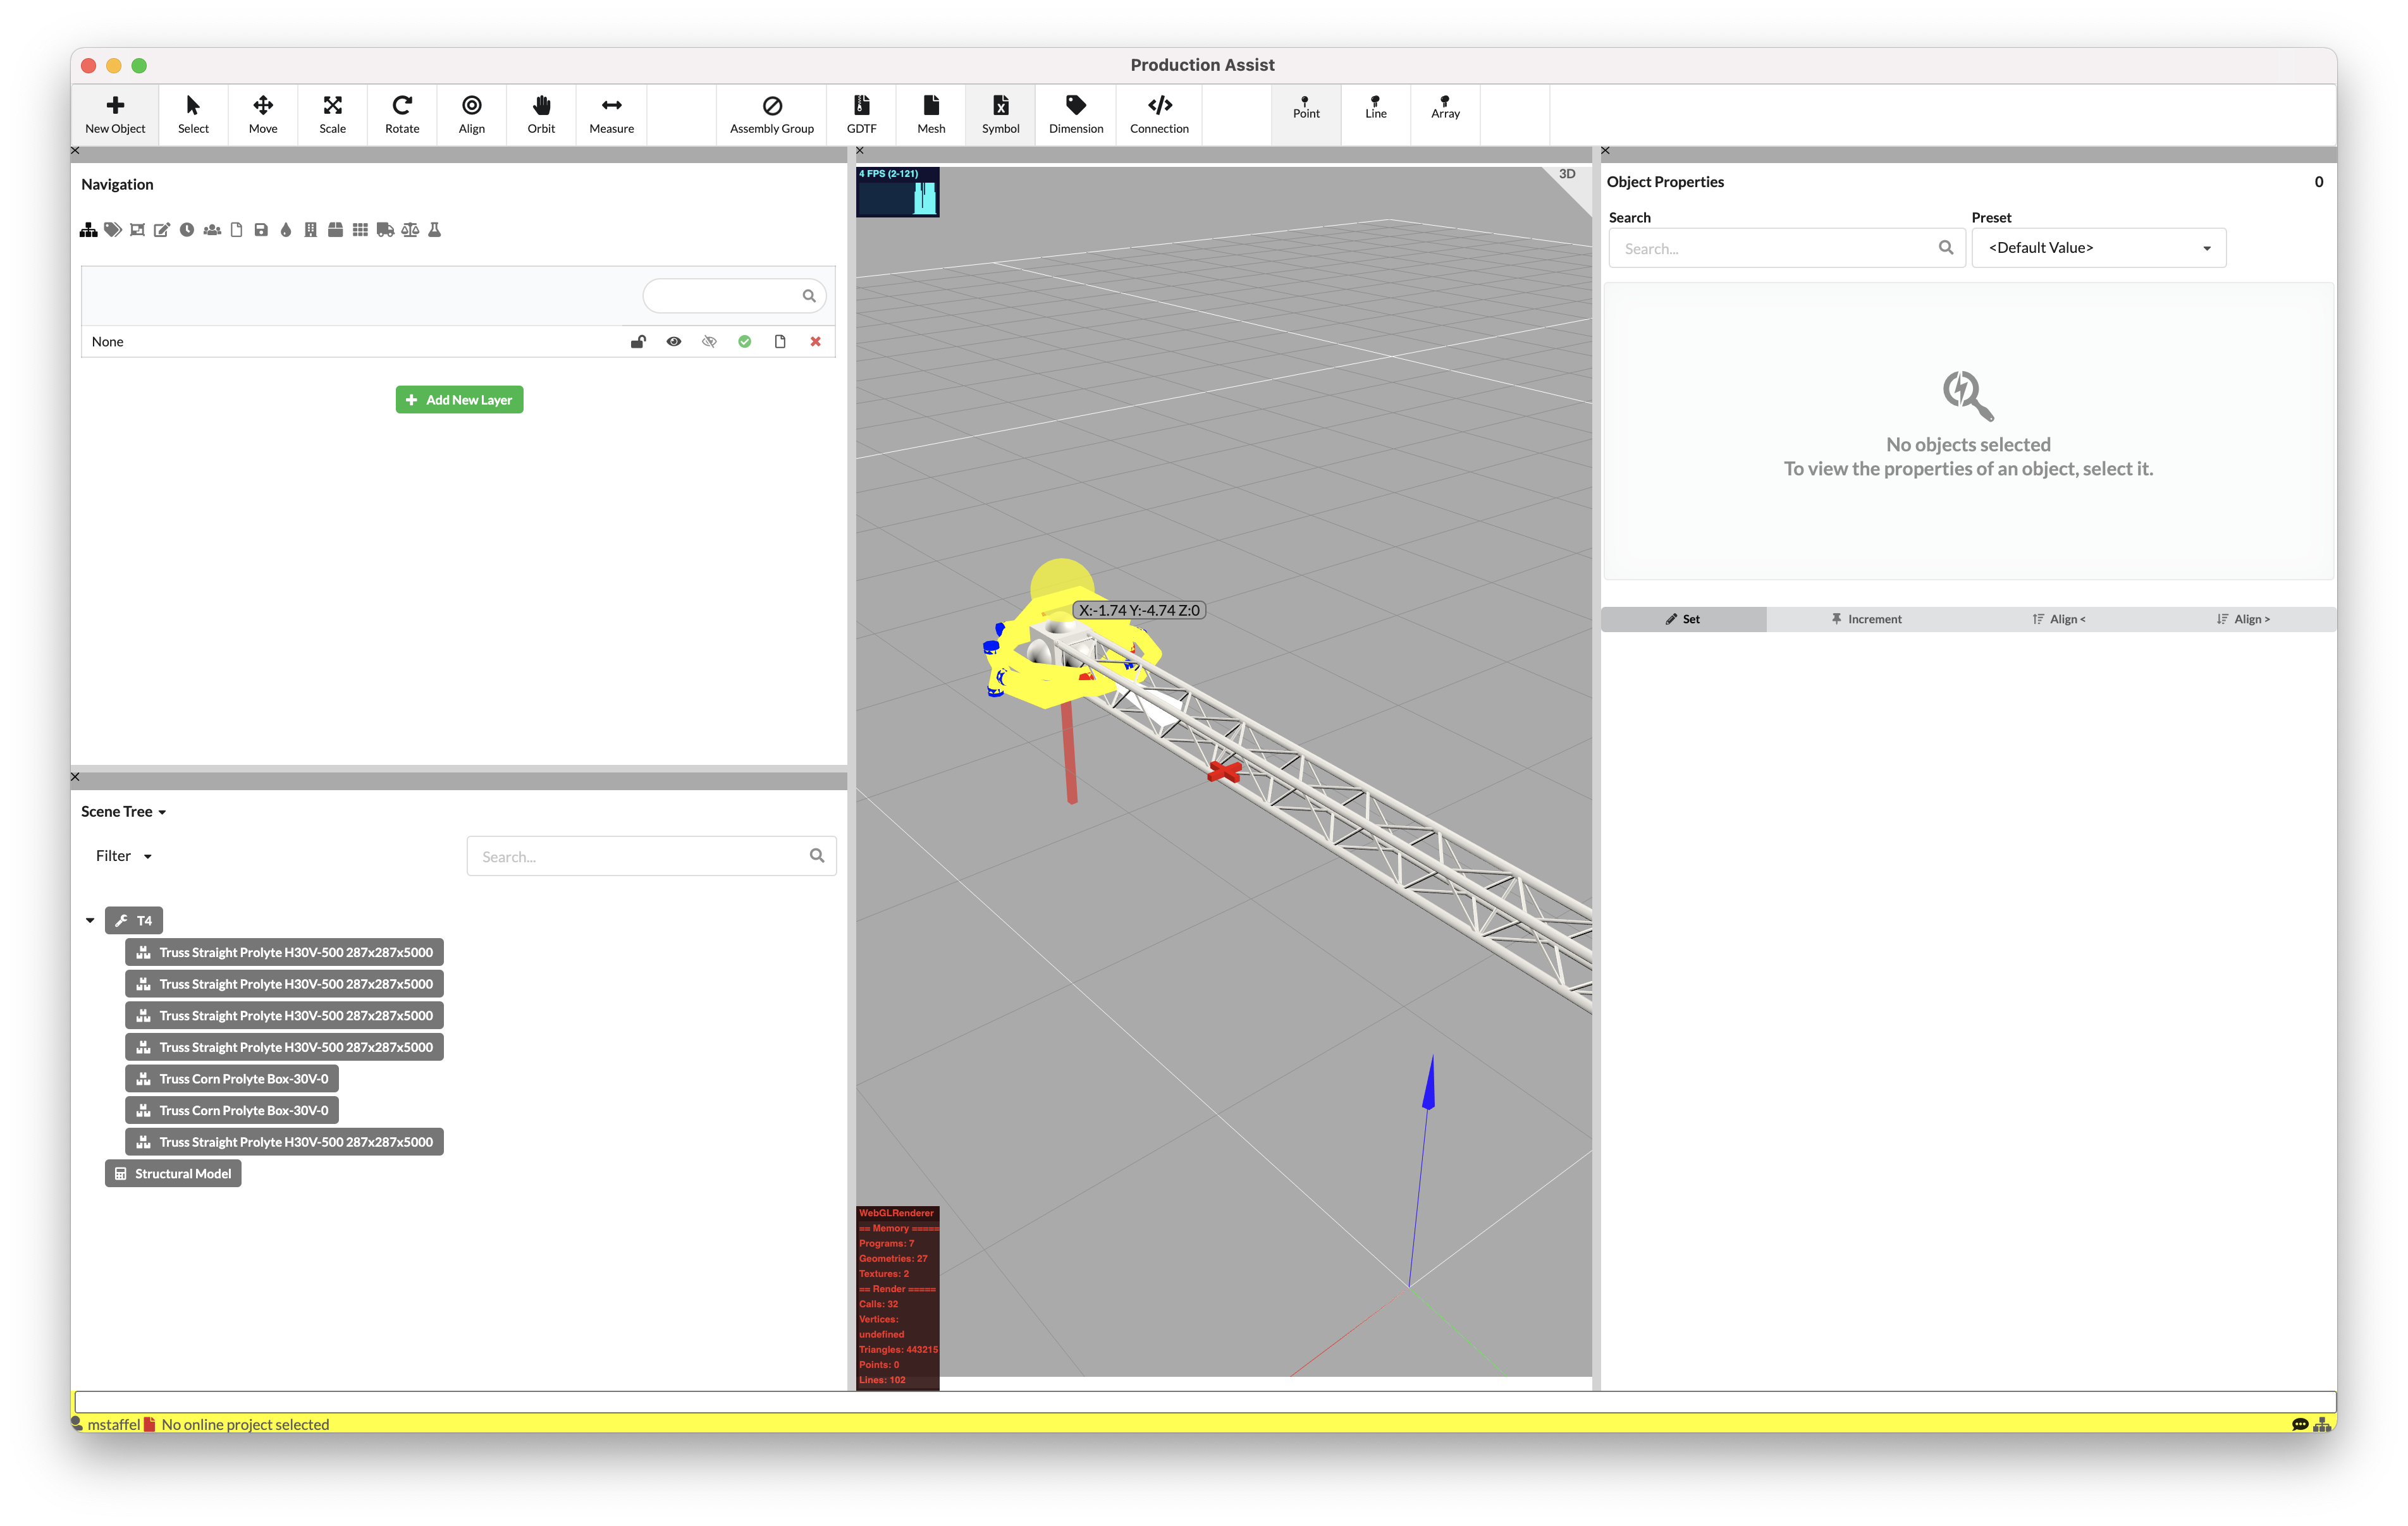
The ground support is currently located at ground level and the supports are in the negative Z range.
Activate the Move tool in the toolbar and select the group of trusses.
NOTE: Production Assist automatically groups all contiguous structures into an Assembly Group.
Once you have selected the group, all the "children" of the group will automatically turn bright red. Now use the Gizmos to move the objects.
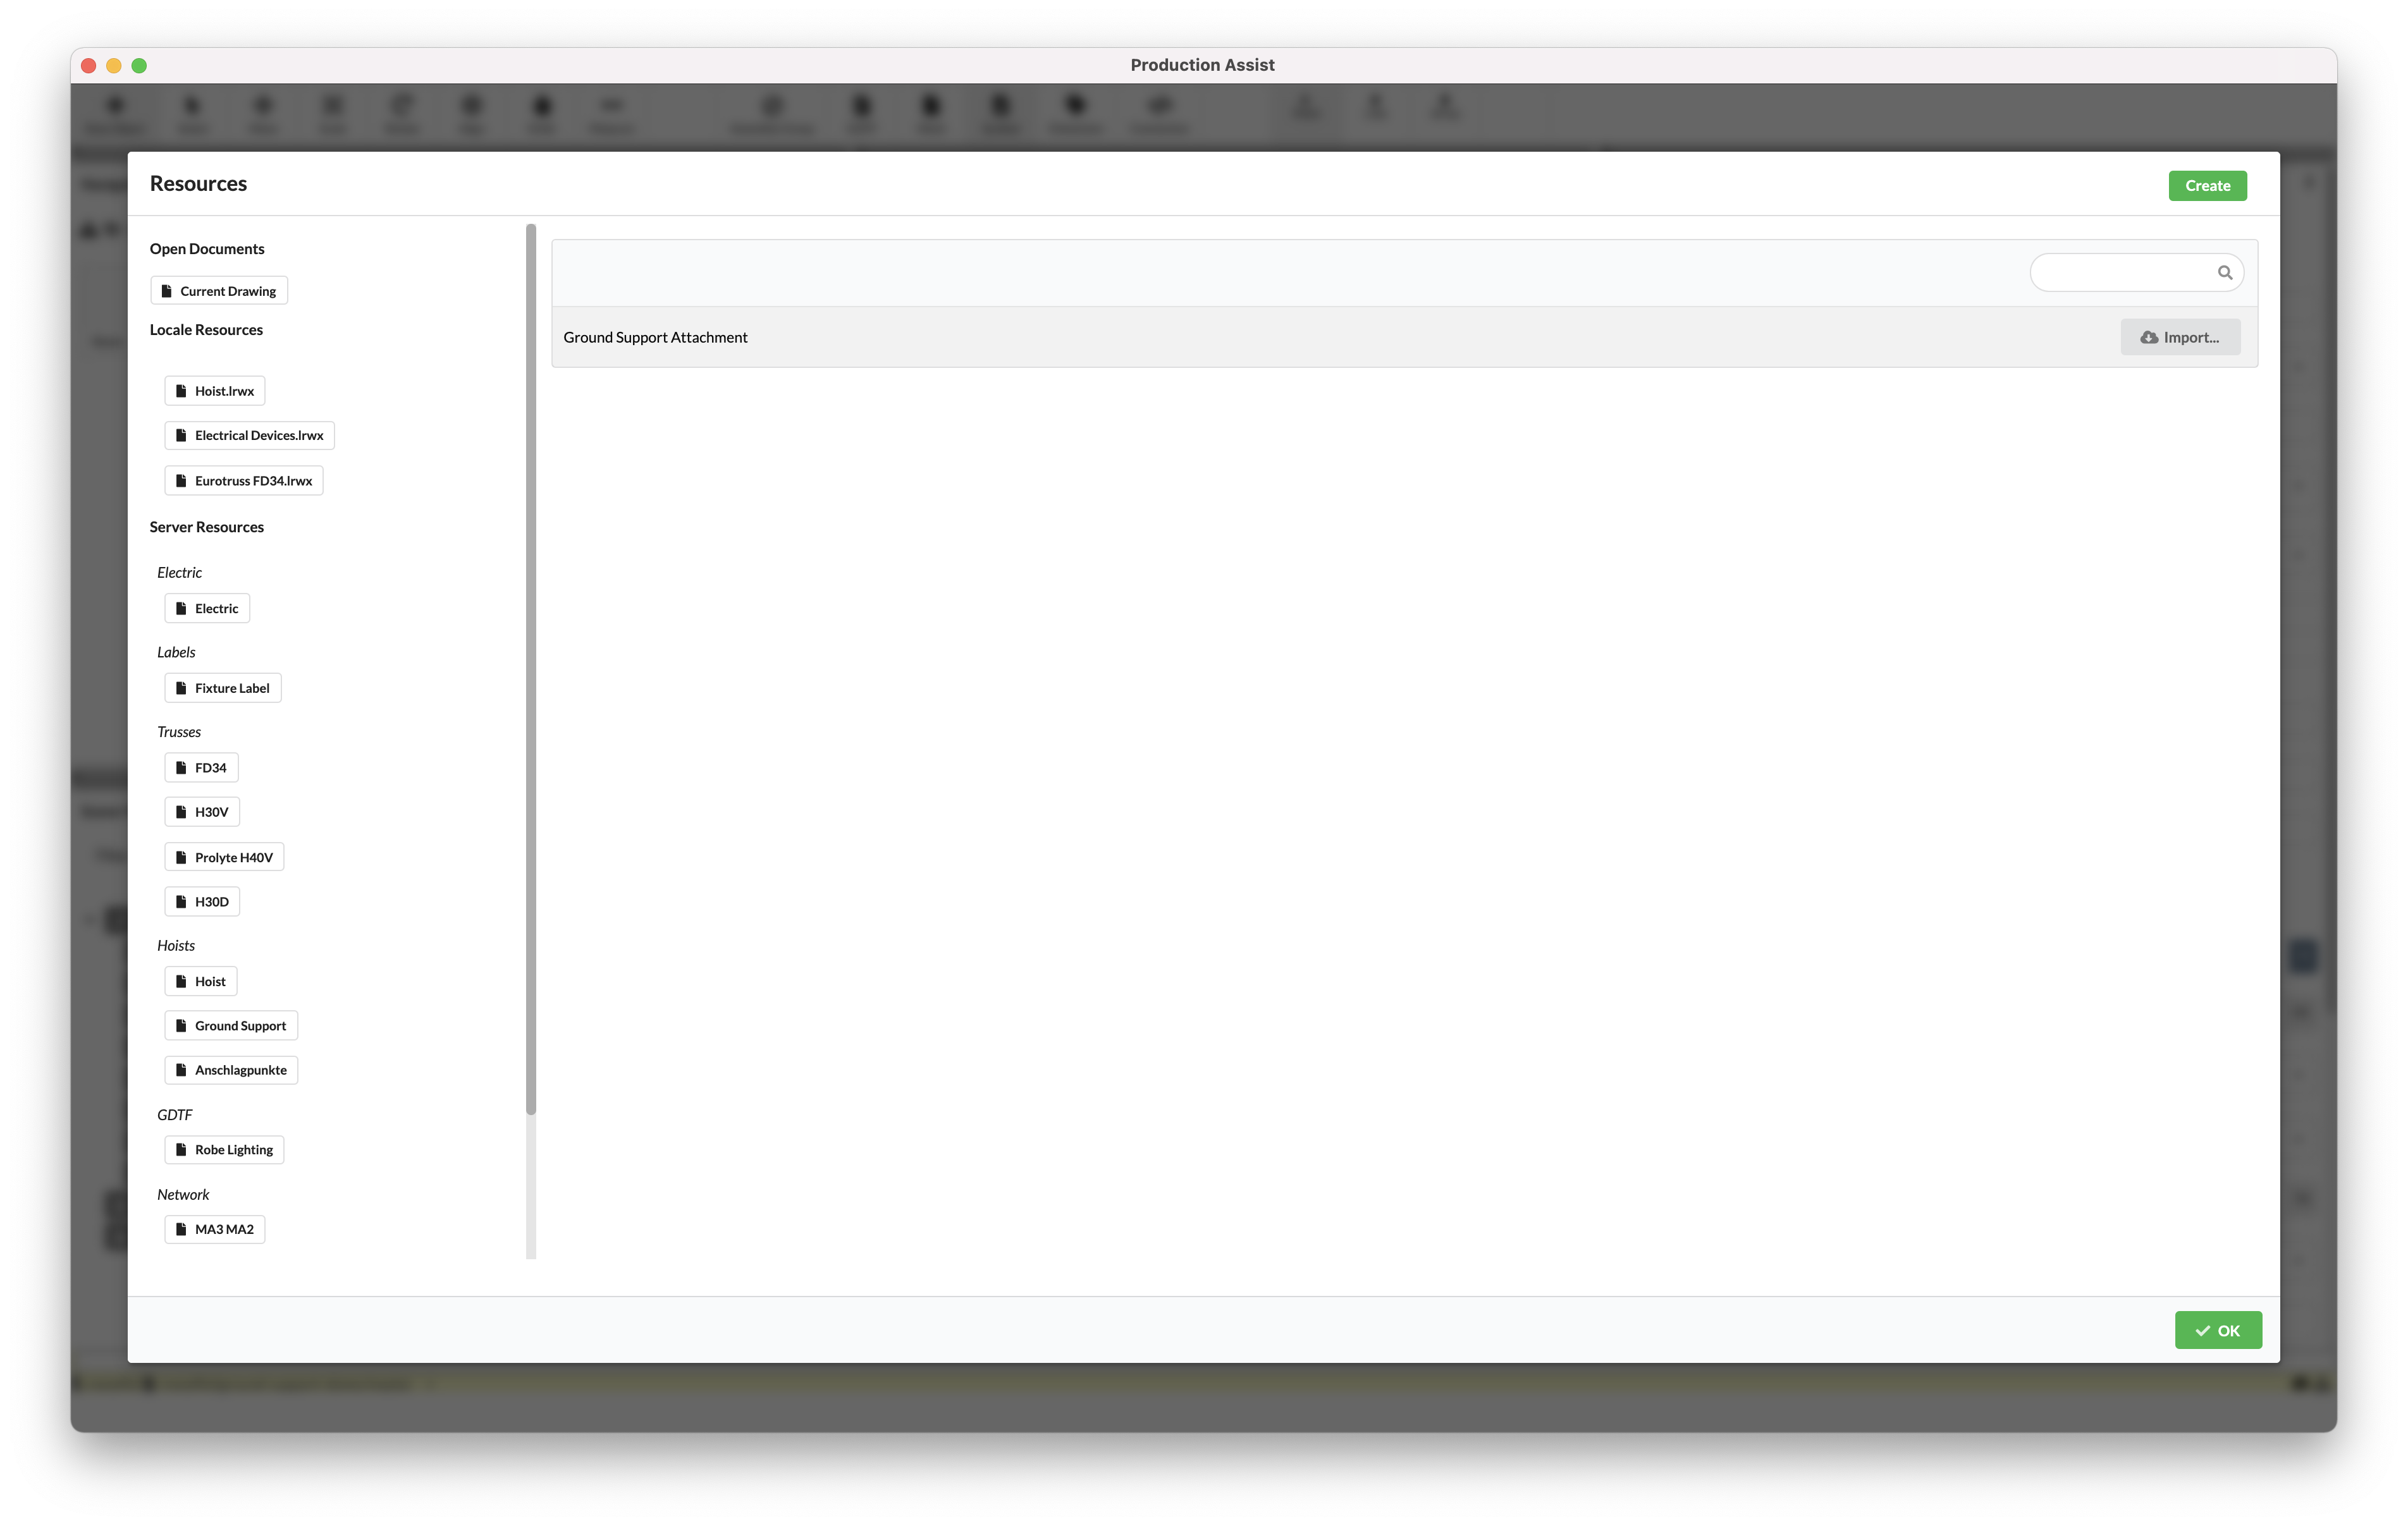
In order for Production Assist to know where the truss system is connected to the ground, special ground support attachments must be inserted. Select the New Object tool again and activate Ground Support Attachment.
Add support to both uprights.
After inserting the second support, a message announcing that the calculation was successful is automatically displayed.
The calculation results are inserted automatically.
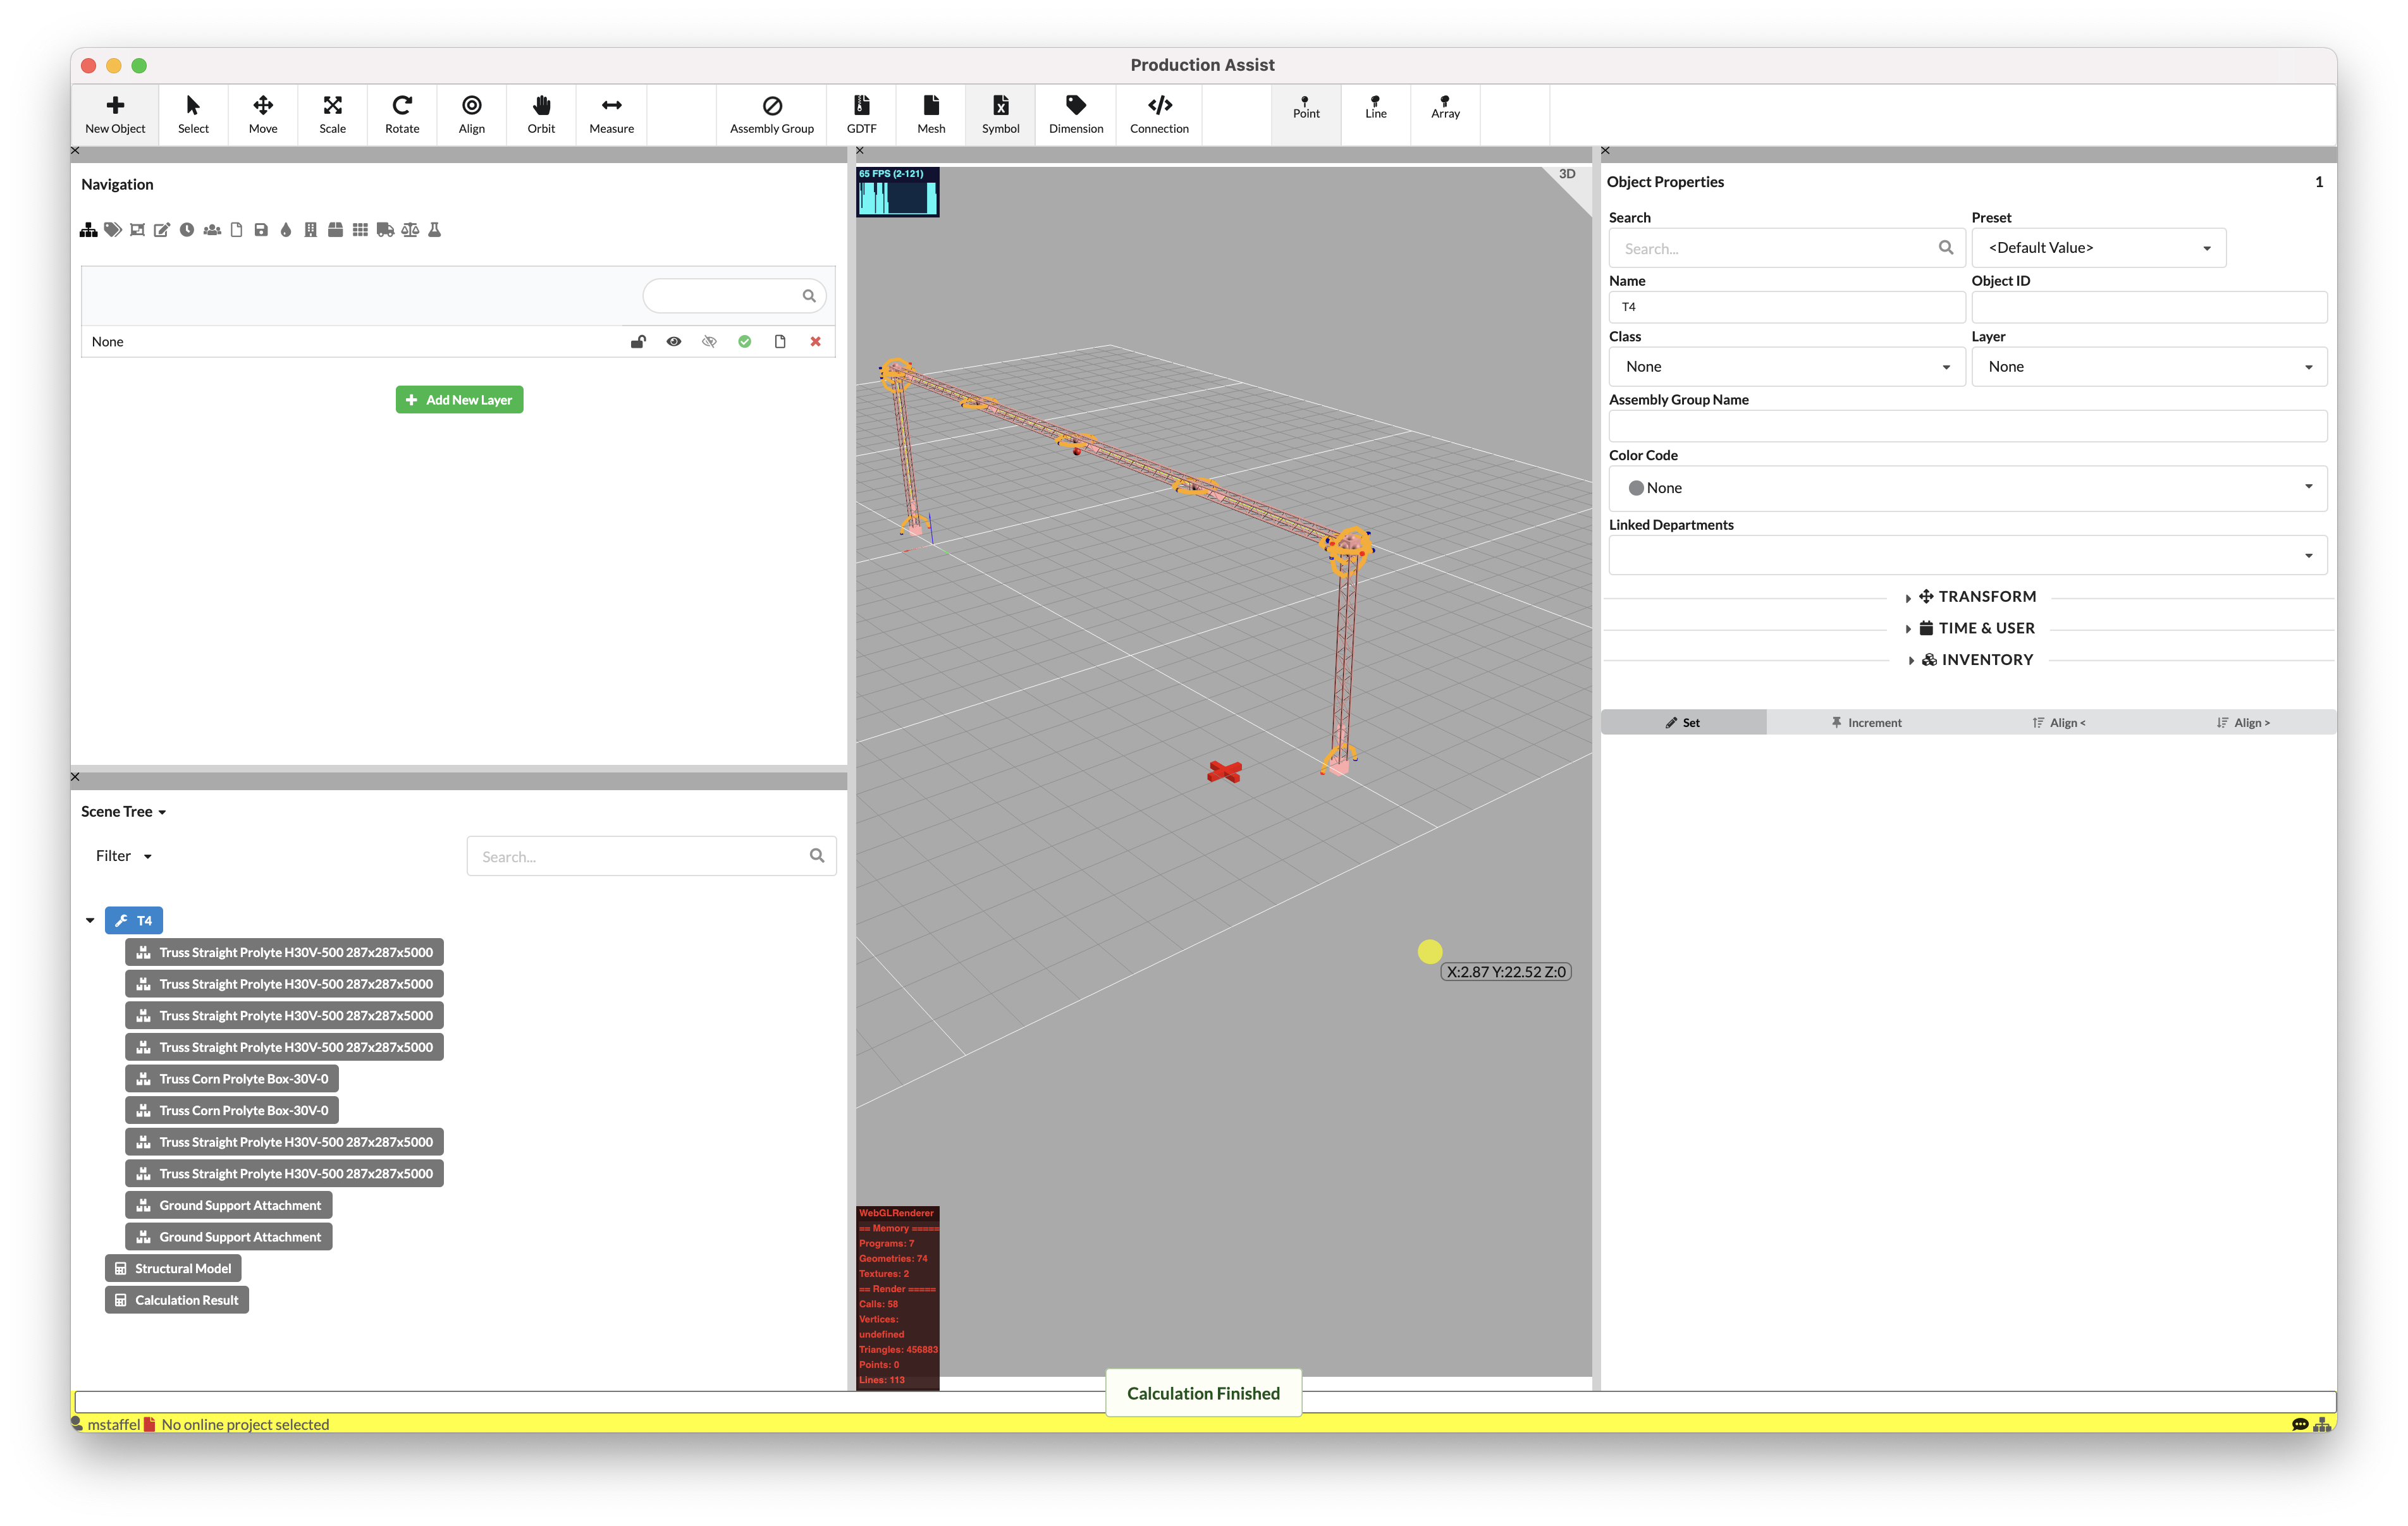
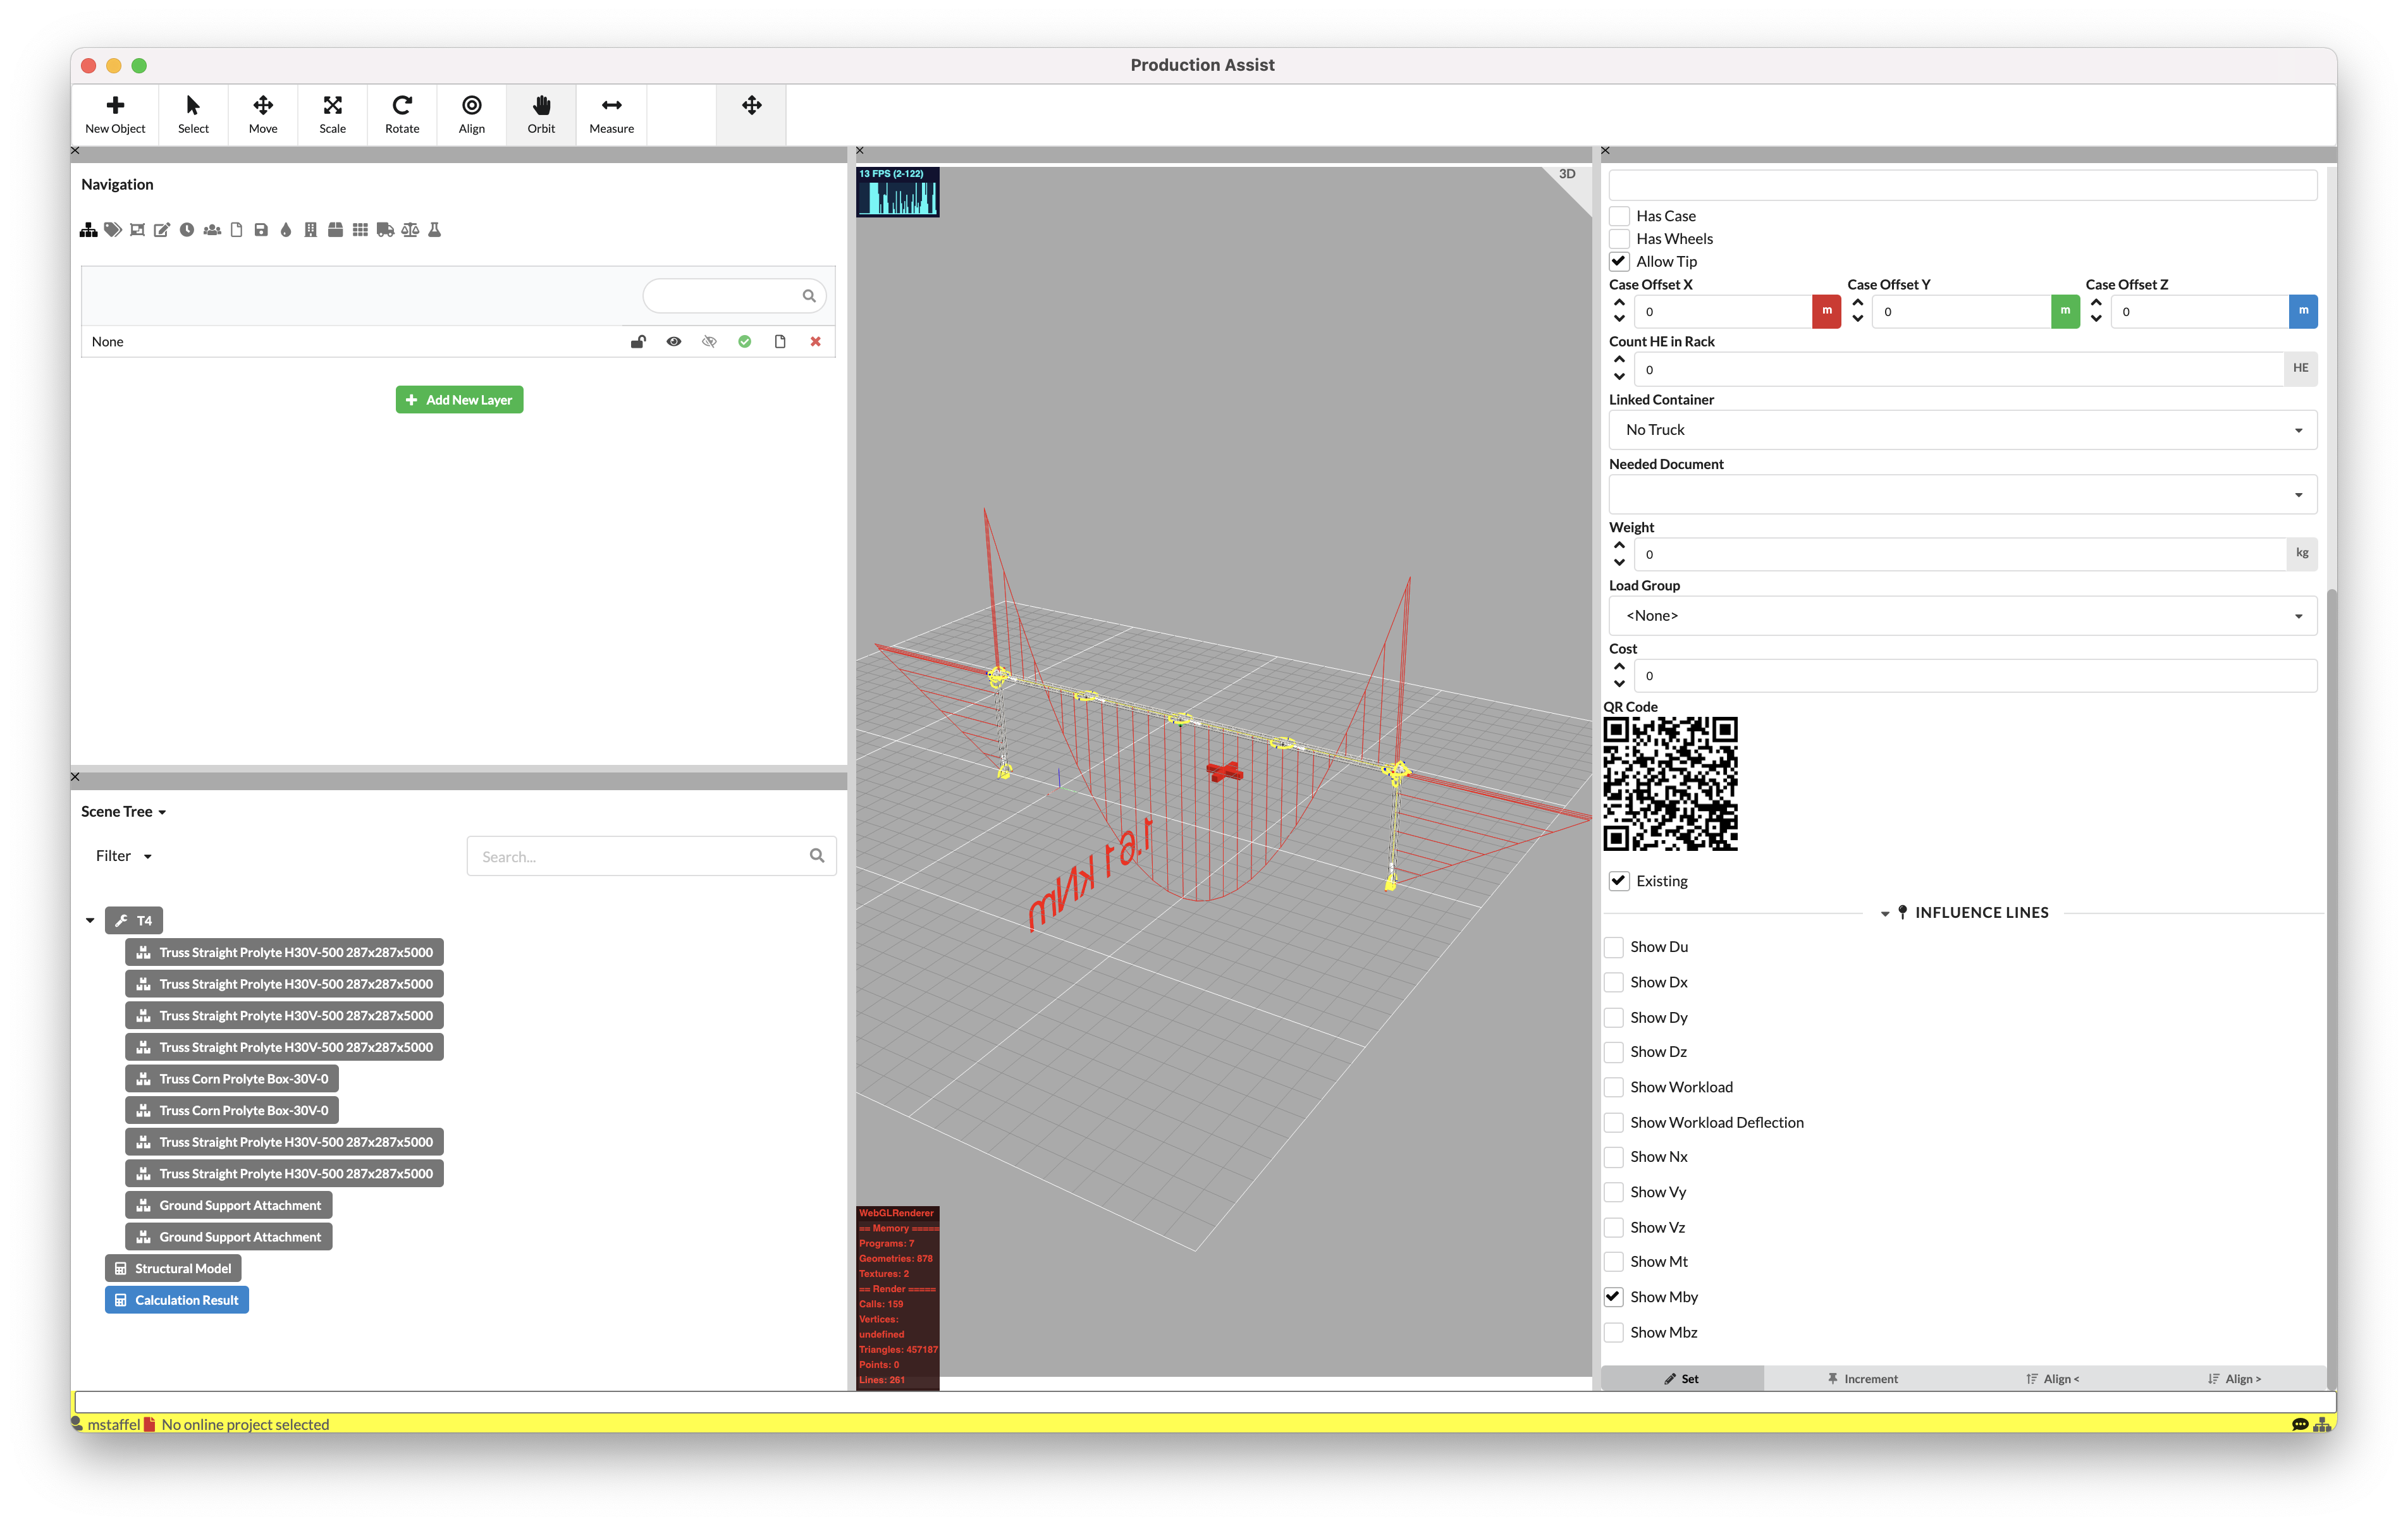
To view the calculation results, select the Calculation Results object, which automatically appears in the Scene Tree.
In its object properties, expand the Influence Lines tab and select the Mby checkbox.
Congratulations! You have conducted your first calculation with Production Assist.