

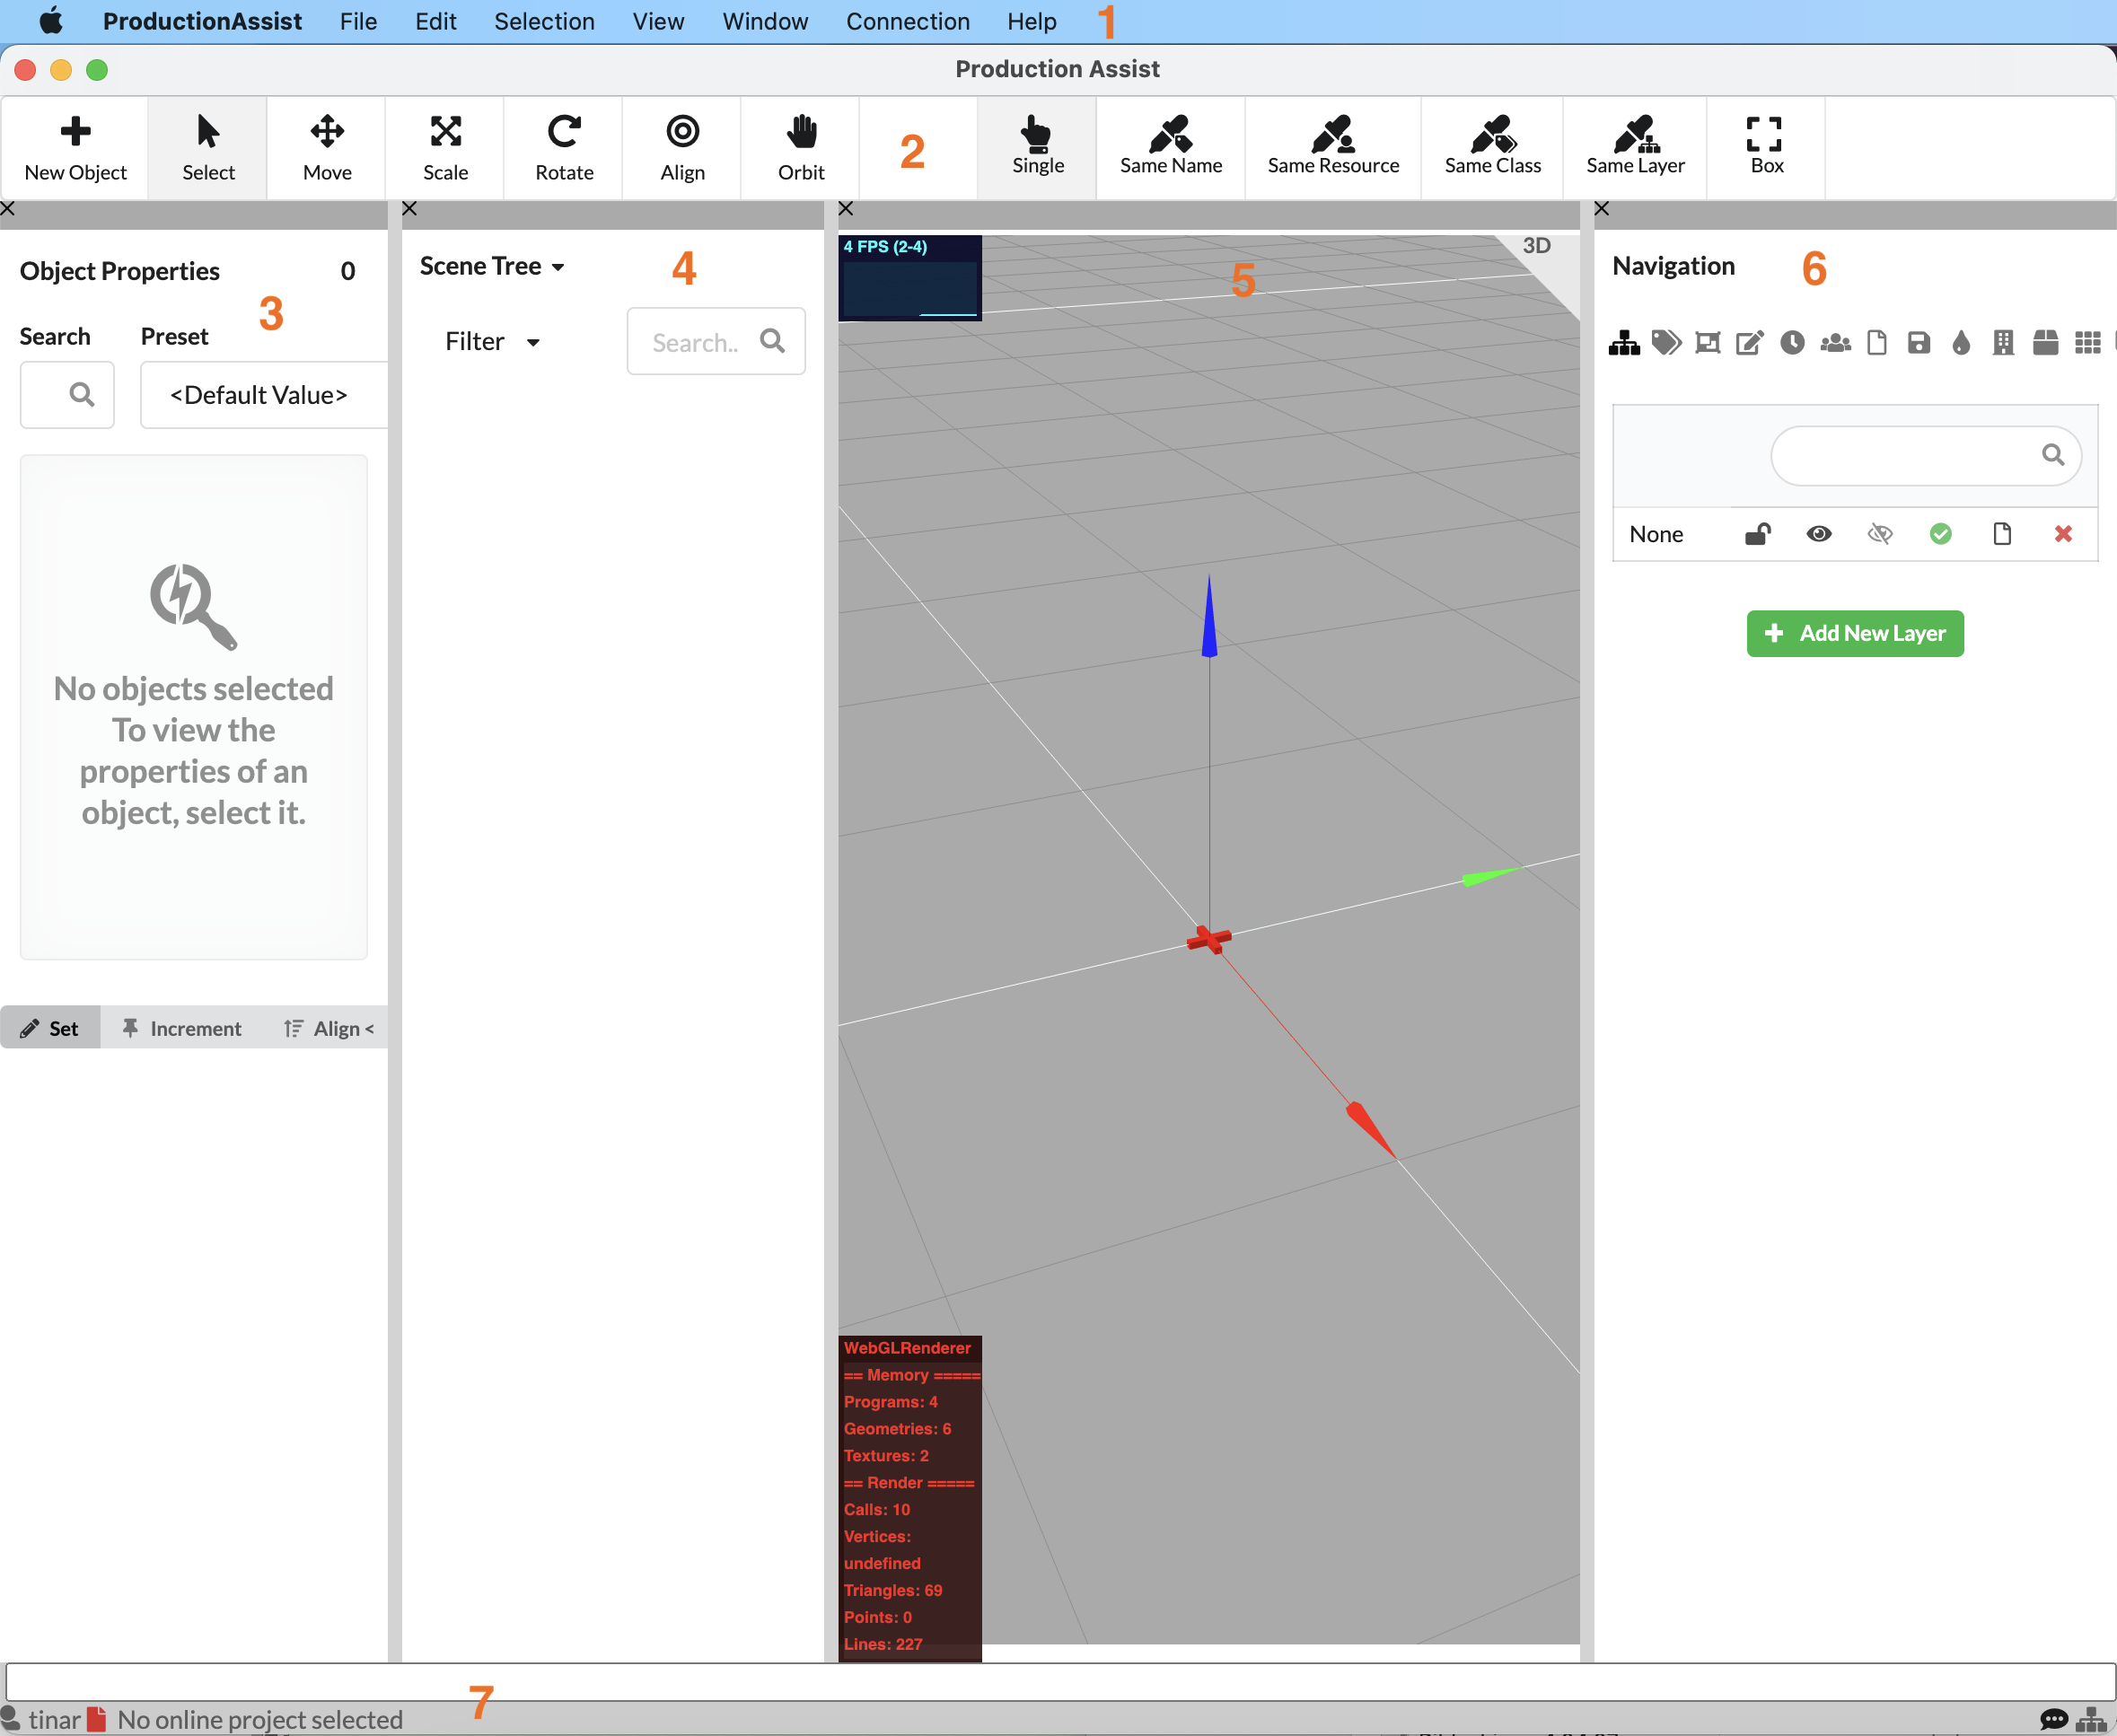
The Production Assist User Interface consists of the following areas:
| area | name |
|---|---|
| 1 | Menu Bar |
| 2 | Tool Bar |
| 3 | Object Properties |
| 4 | Scene Tree |
| 5 | Renderer |
| 6 | Navigation |
| 7 | Information Line & Command Line |
In the menu bar you will find several general commands, settings and additional work windows, as well as information about the program.
More details can be found in the chapter Menu Bar.

Below the menu bar is the tool bar. As the name suggests, it includes various tools to create or modify a drawing. Objects can be imported, selected, moved or modified.
Detailed information can be found in the chapter Tool bar.

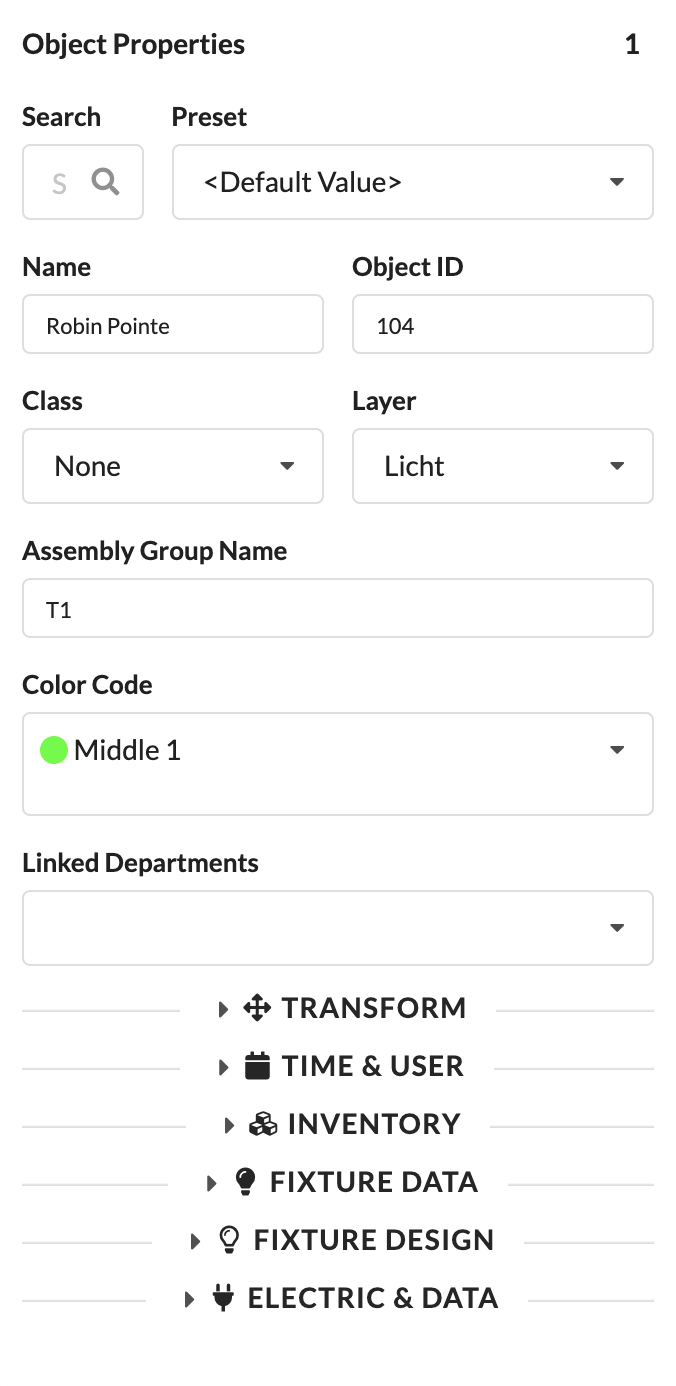
In the Object Properties section, you can see and edit all the properties of your selected object. The information differs depending on the type of object.
For example, you can find parameters such as the object name, ID, associated class and layer, assembly/position, coordinates, and other information in various drop-down menus.
Detailed information can be found in the chapter Object Properties.
The so-called Scene Tree lists all objects present in a drawing. It can be filtered. Furthermore, it also shows the various objects that belong to an assembly group.
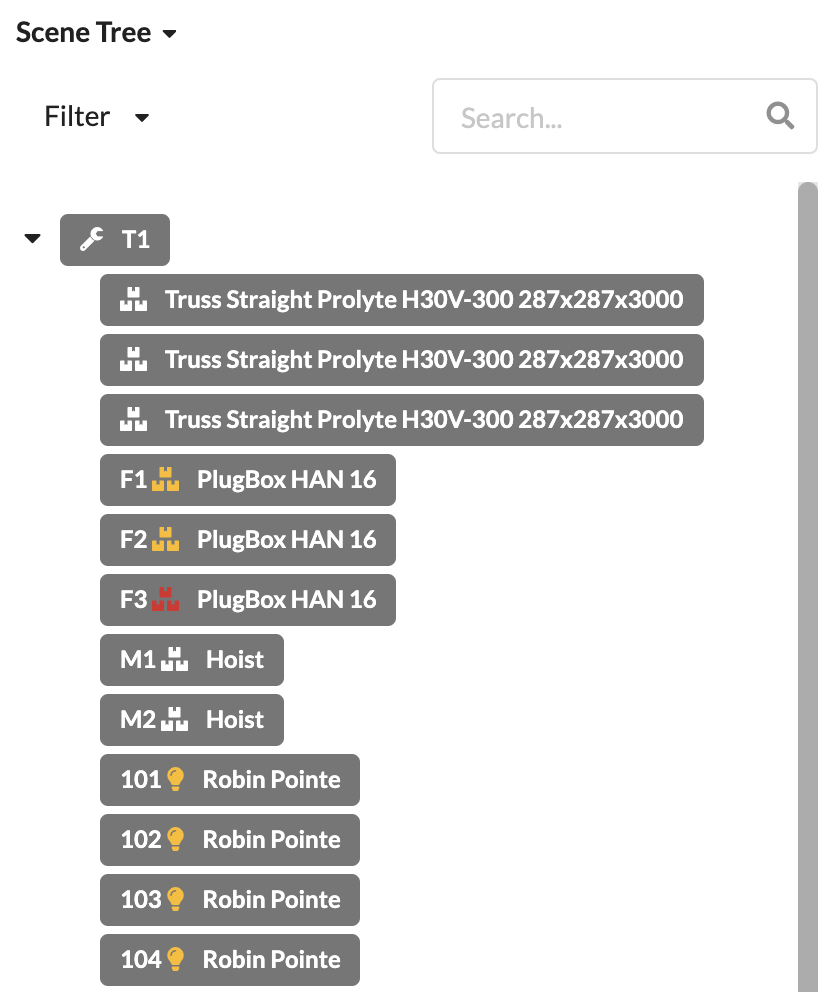
Furthermore, you can switch between different drawings that are open by clicking on the drop-down arrow next to the name of your drawing.

Detailed information about this area can be found in the chapter Scene Tree.
The Renderer visualizes the objects that are present in your drawing. You can also control their visibility in the Navigation section.
In the upper right corner, you can see whether the representation is 2- or 3-dimensional. With a click, you can switch between both view types.
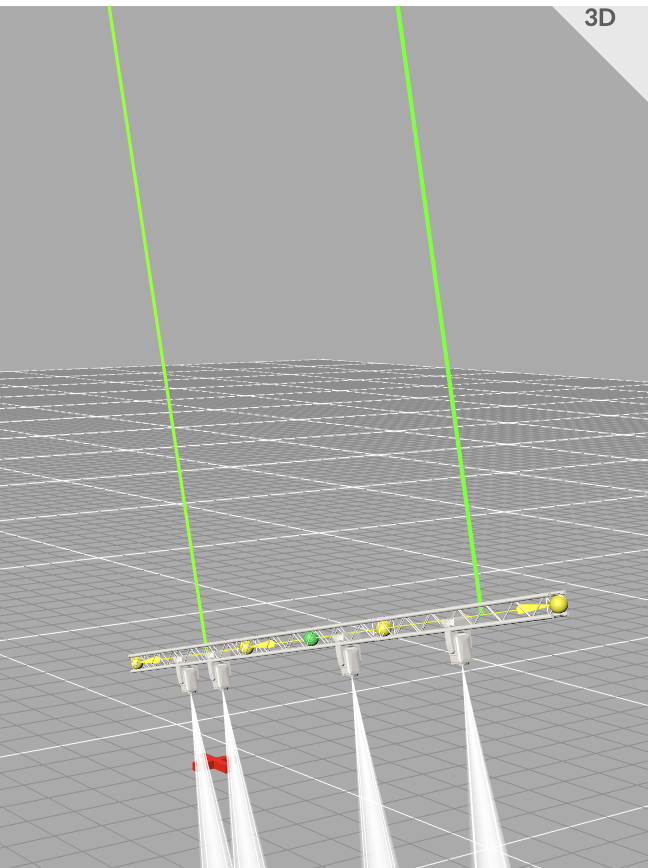
Detailed information can be found in the chapter Renderer.
Using the Navigation area, you can manage various parameters that can be assigned to the objects in a drawing.

| Designation | |
|---|---|
| 1 | Layer |
| 2 | Classes |
| 3 | Selection Groups |
| 4 | Presets |
| 5 | Time Lines |
| 6 | Users |
| 7 | Assembly Sheets |
| 8 | Saved Views |
| 9 | Color Codes |
| 10 | Departments |
| 11 | Cases |
| 12 | Racks |
| 13 | Trucks |
| 14 | Load Groups |
| 15 | Load Combinations |
Detailed information on this area can be found in the chapter Navigation.
At the bottom of the application window, you will find the Command Line & the Information Line.

The Command Line enables you to run commands quickly by entering text. You can find all available commands in the chapter Command Line.
To the left of Information Line your username and the name of the drawing being processed on the Production Assist online platform. If you are working with an offline drawing, the line says, "no online project selected".
On the right side of the Information Line you may quickly switch the program language with the "flag" icon. Using the "calculator" icon, you can conduct an automatic calculation, and the "label" icon next to it allows you to switch error messages regarding the statics of your construction on and off.
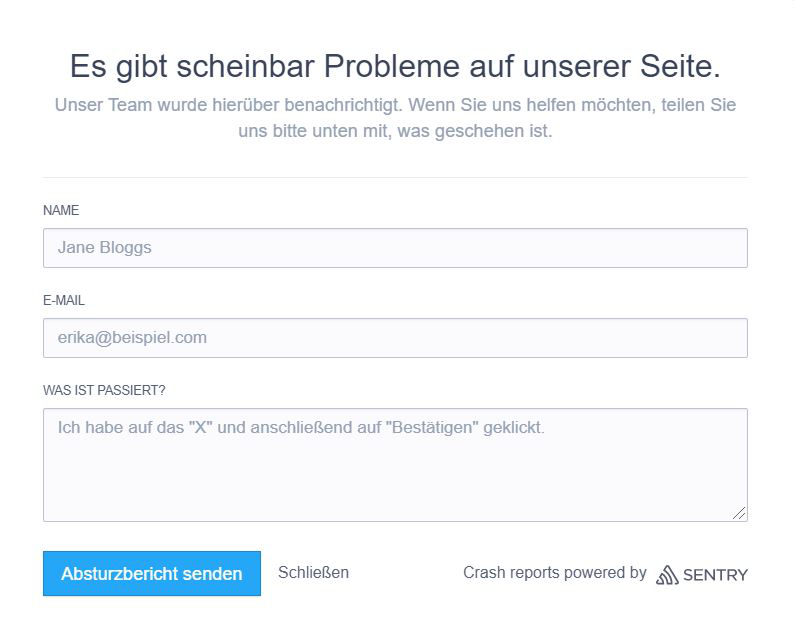
You can also send feedback by double-clicking on the "speech bubble. A feedback window then opens that presents the feature requests or support requests that you can send. Crash reports can also be sent using this feedback window.
All content that you send to us is registered, saved and edited in our system.
Next to the speech bubble there is a "Network Indicator Symbol", which displays the Production Assist network connections.
Further detailed information regarding network connections can be found in the chapter PA NET.