Production Assist can connect to Capture. Unlike other plugins, Production Assist is not part of Capture here, but can only receive data from Capture and send the results back to Capture.
Production Assist works with the following Capture versions:
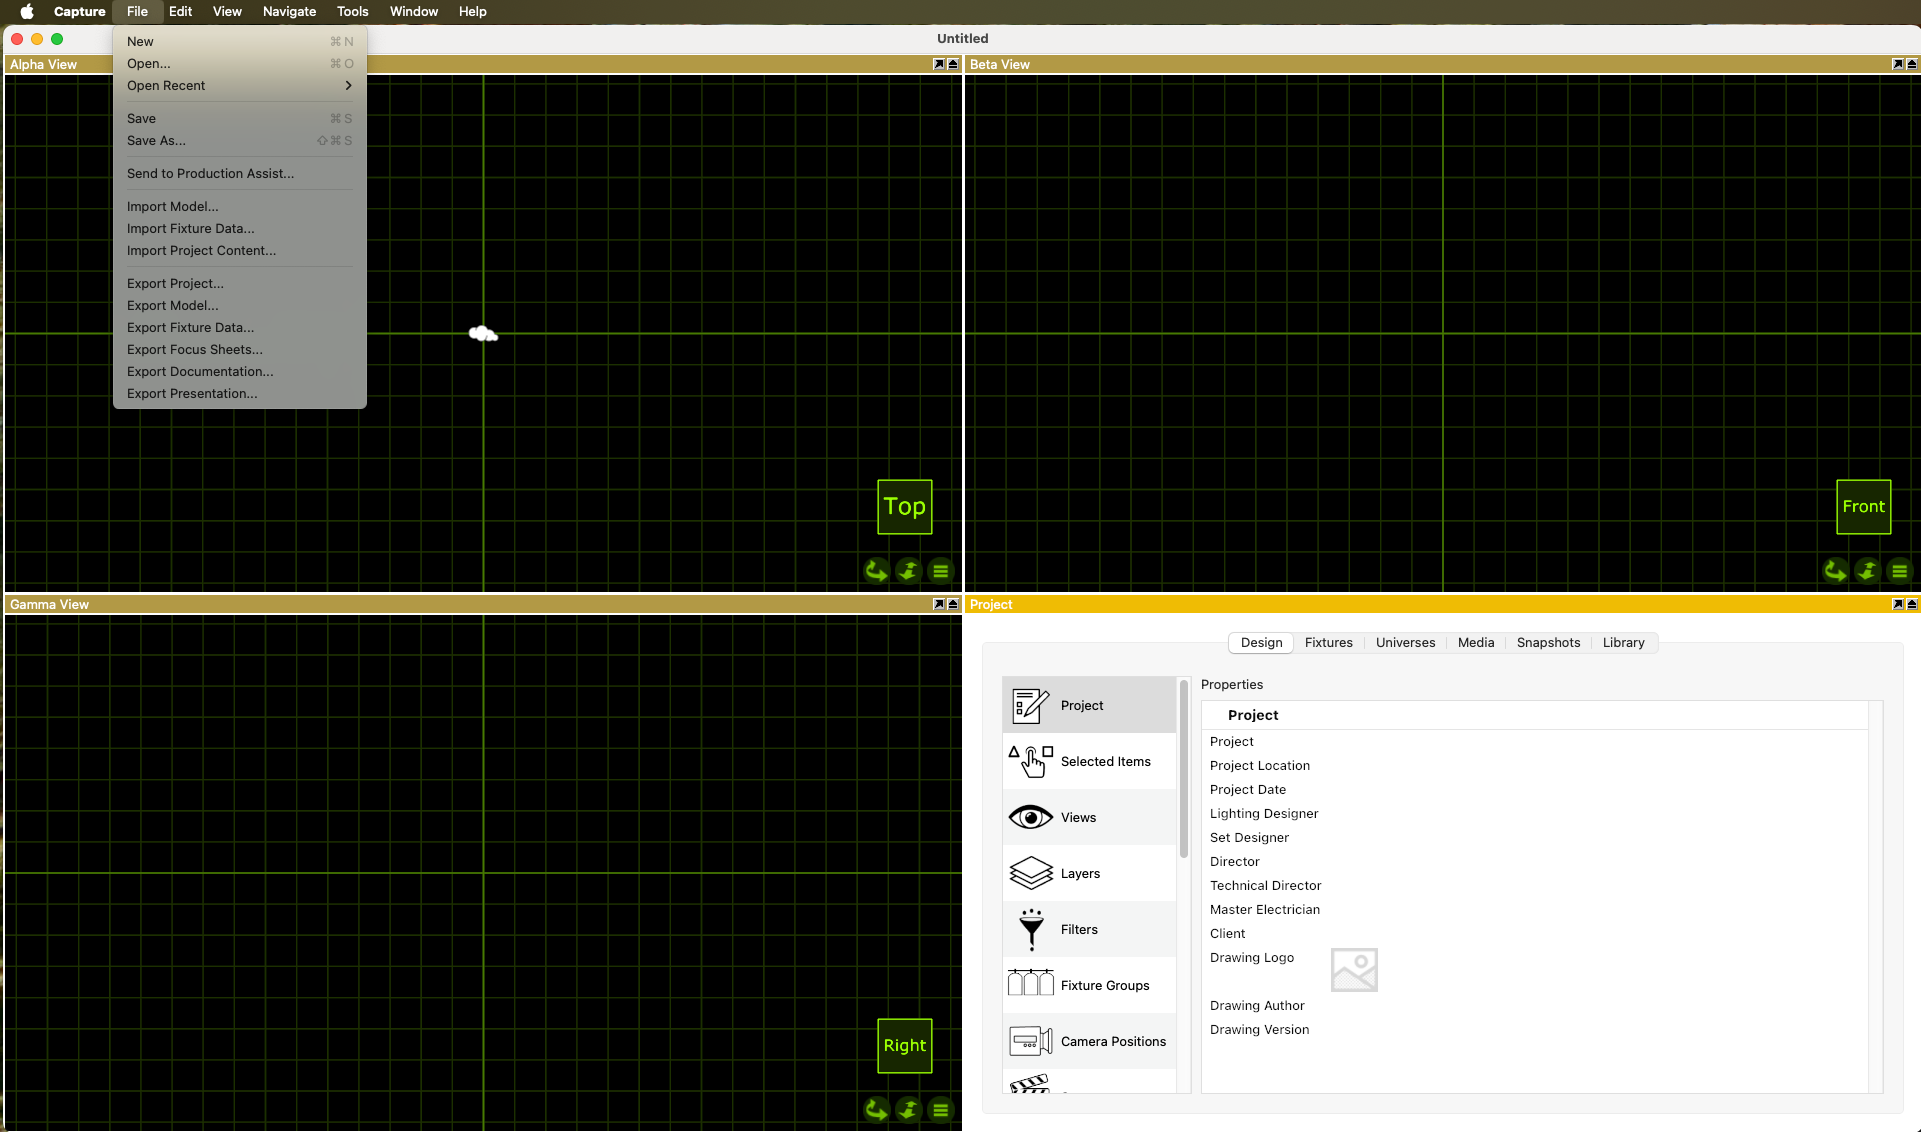
Capture always sends the complete show data to Production Assist when the menu command Send to Production Assist is executed. Production Assist processes the data and sends the results back to Capture. Capture receives the results and updates the show accordingly.
This process can be executed as many times as desired to send changes from Capture to Production Assist and receive the results back.
It is not possible to make changes directly in Production Assist and send them back to Capture. All changes must be made in Capture and then sent to Production Assist via the menu command.
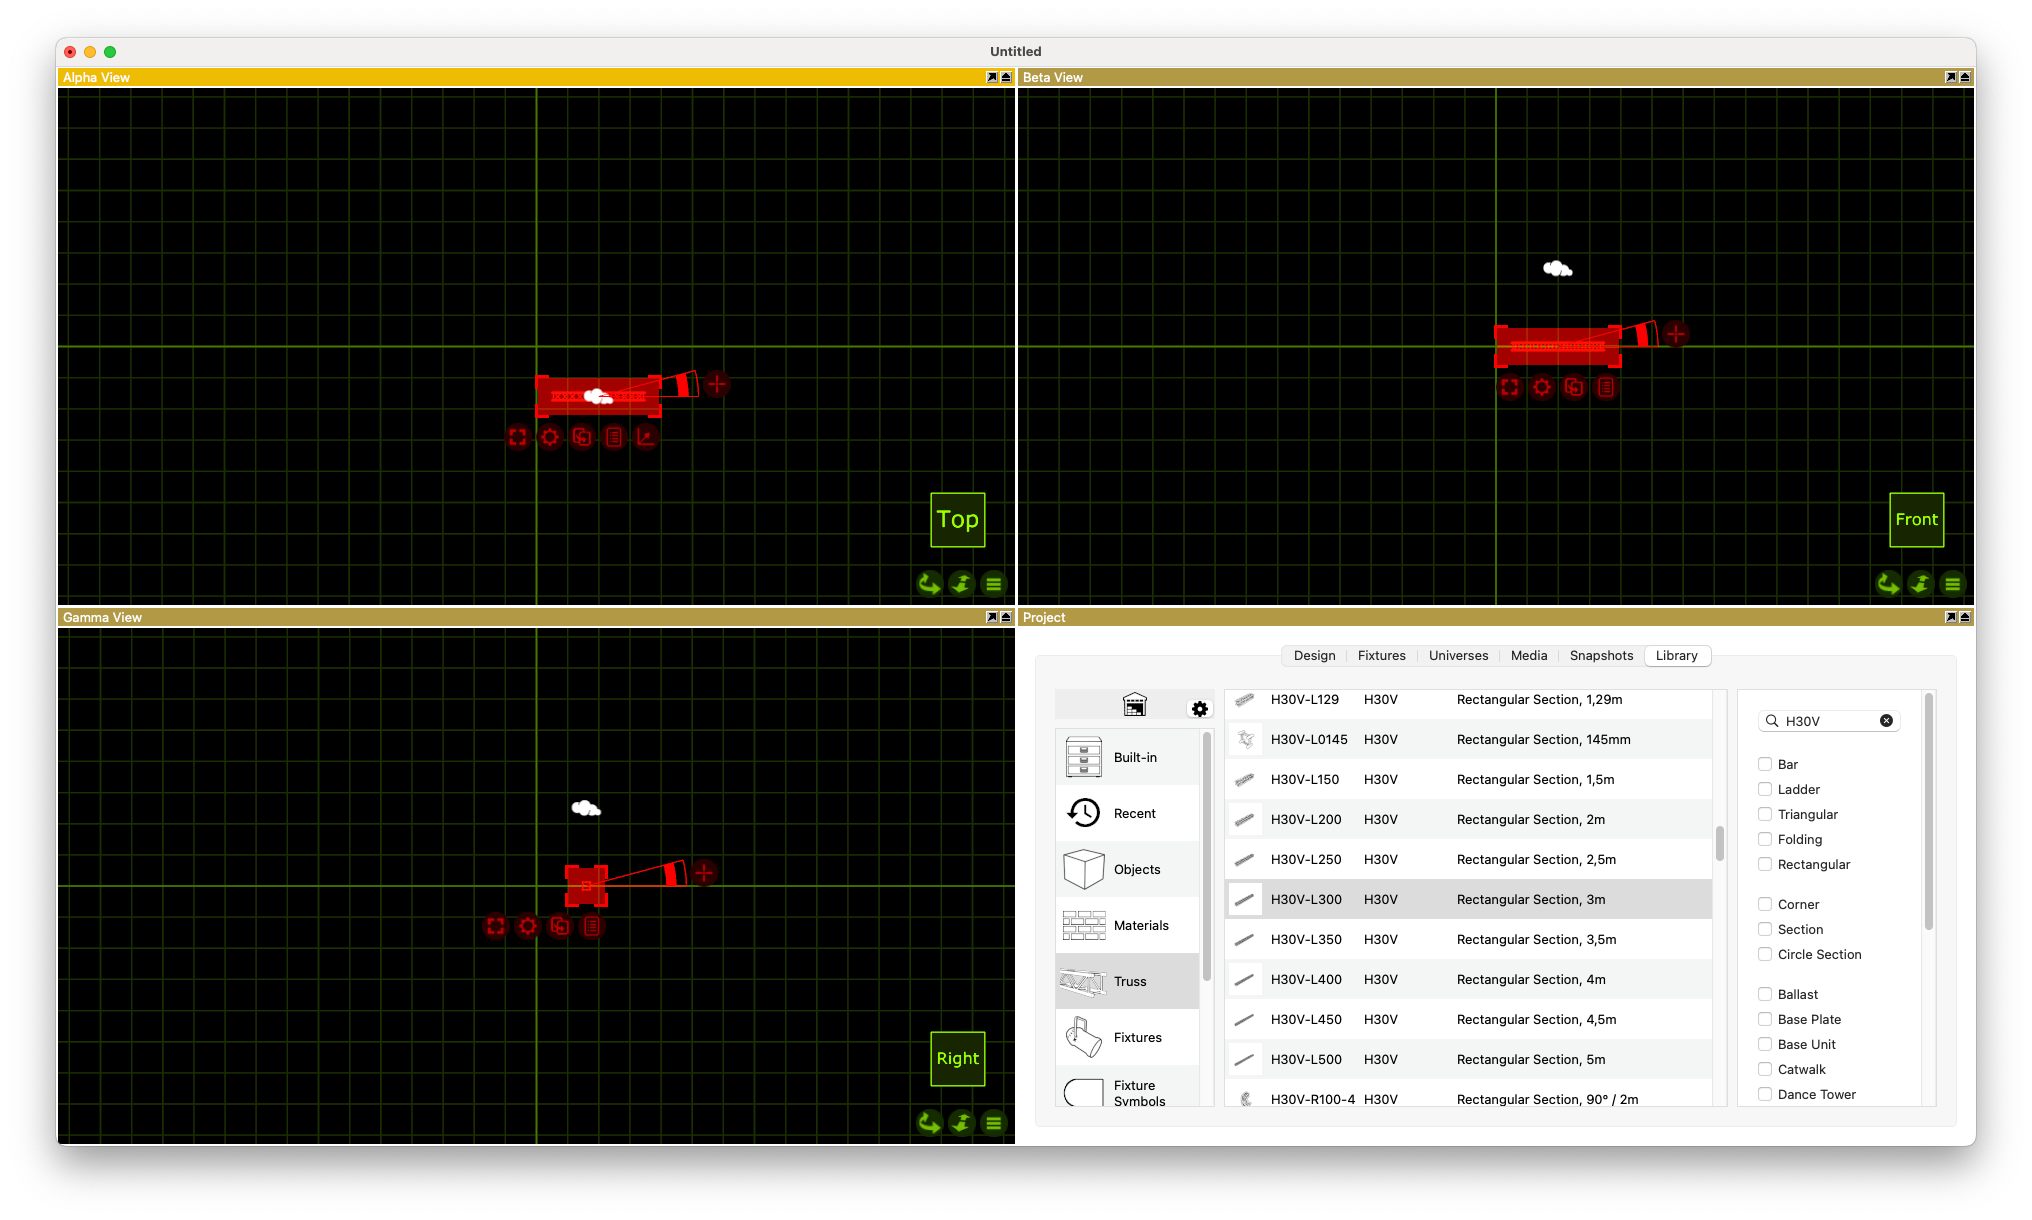
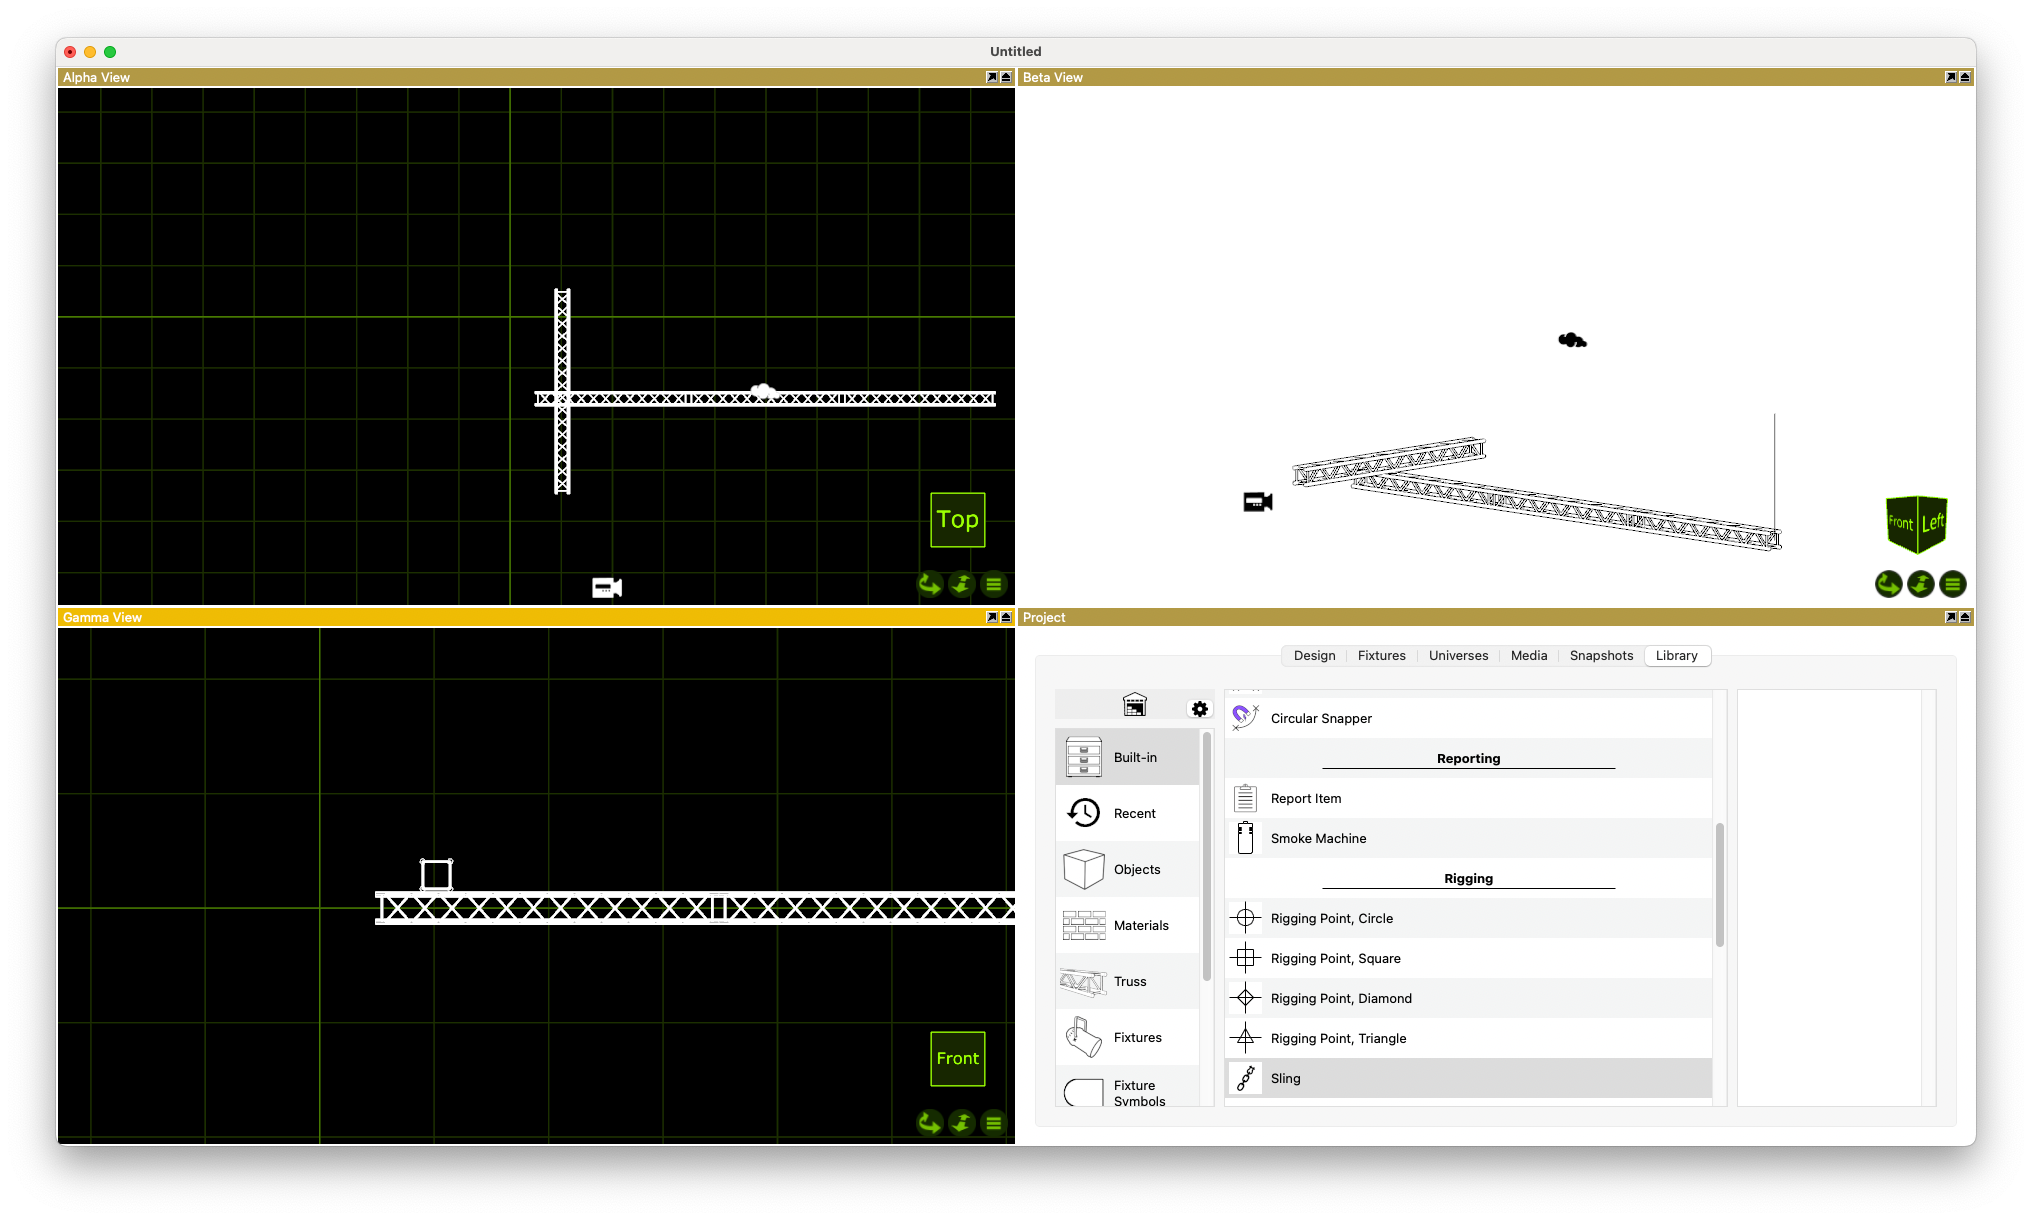
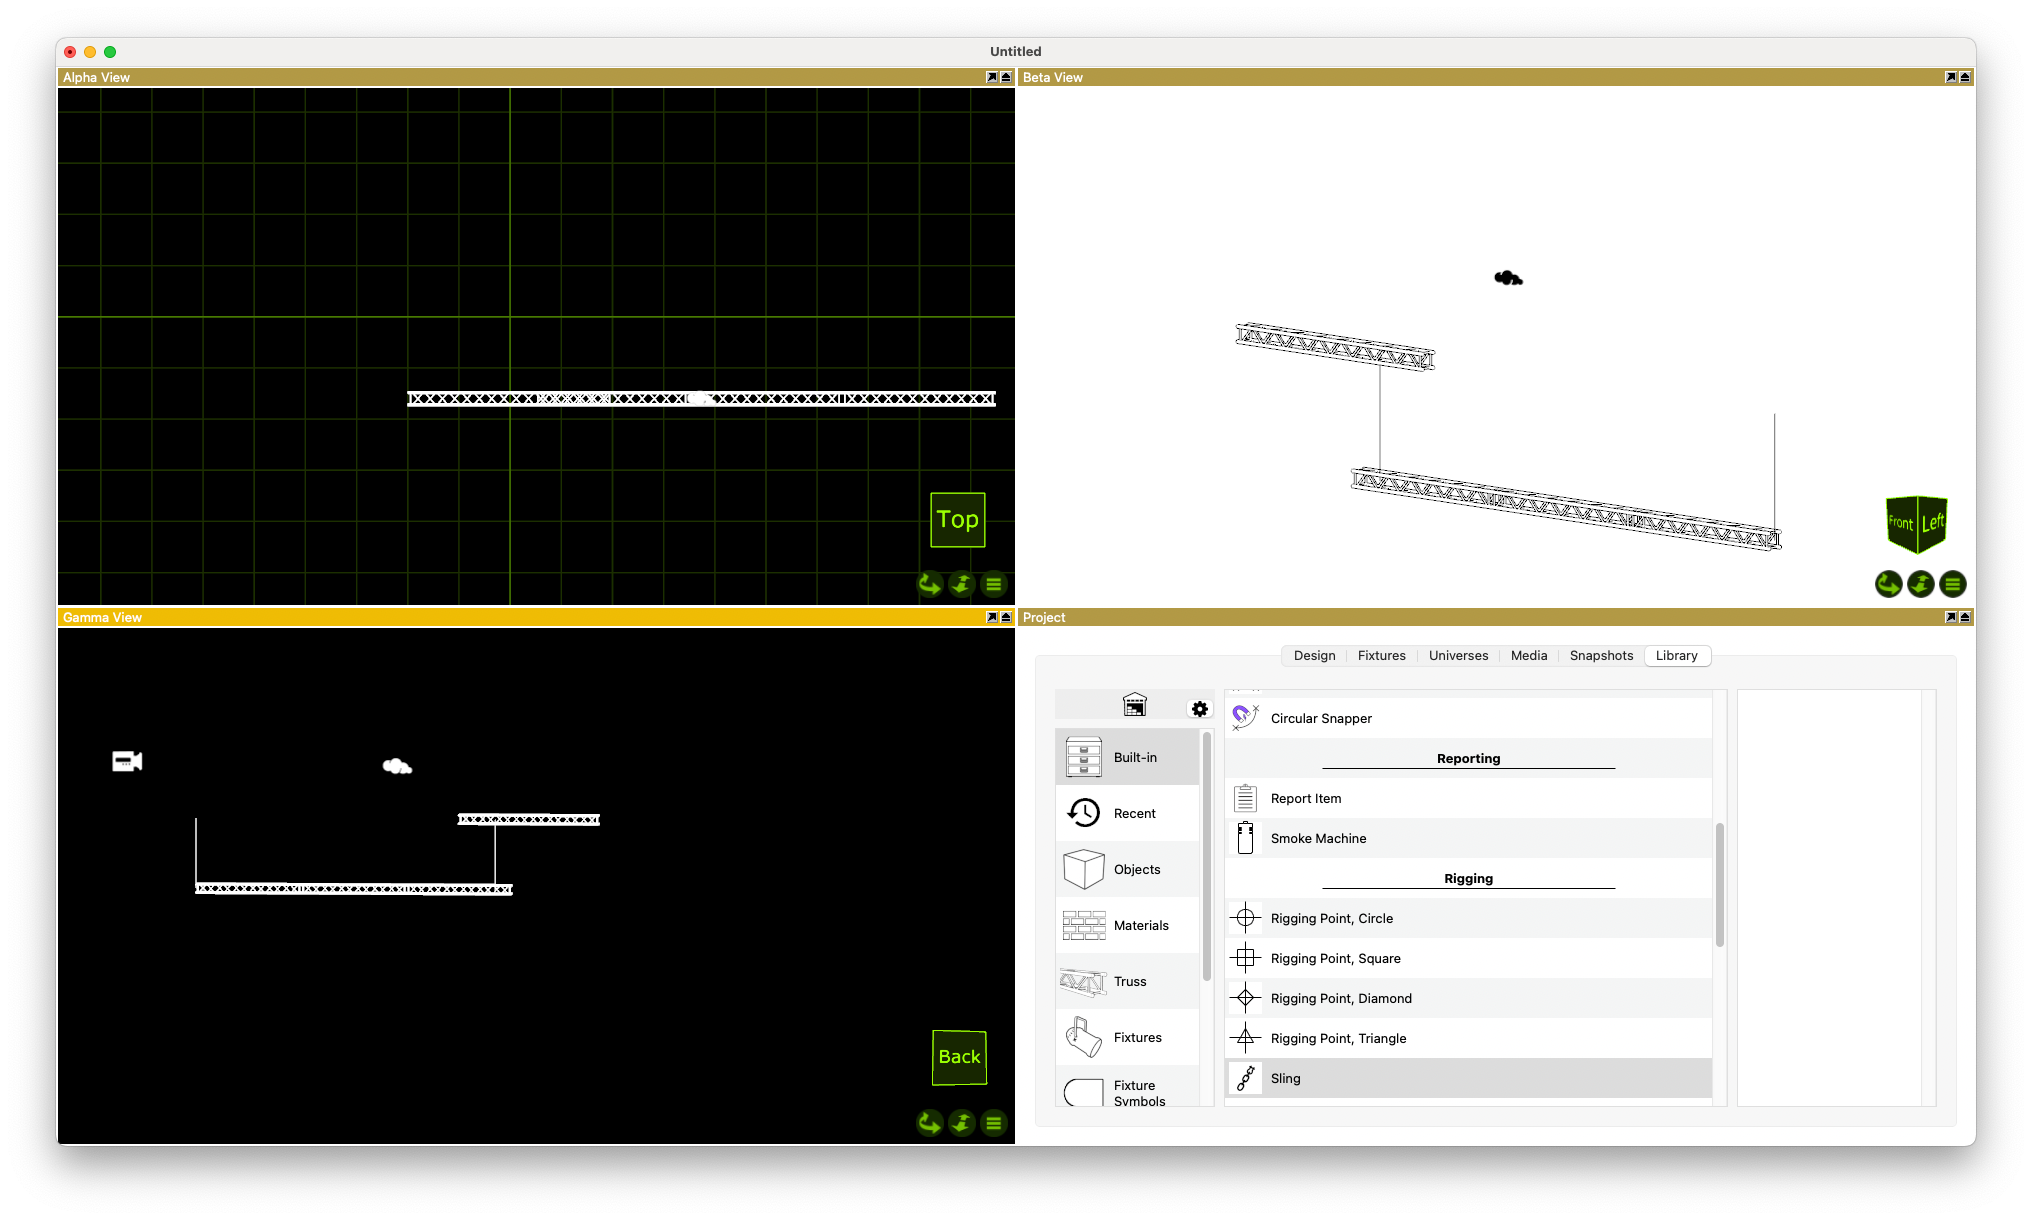
In the Library you'll find the Truss category. Drag a truss into the top view.
Repeat this step to draw a second truss. Please use the magnets in Capture to connect the two trusses together so that Production Assist recognizes the two trusses as one unit.
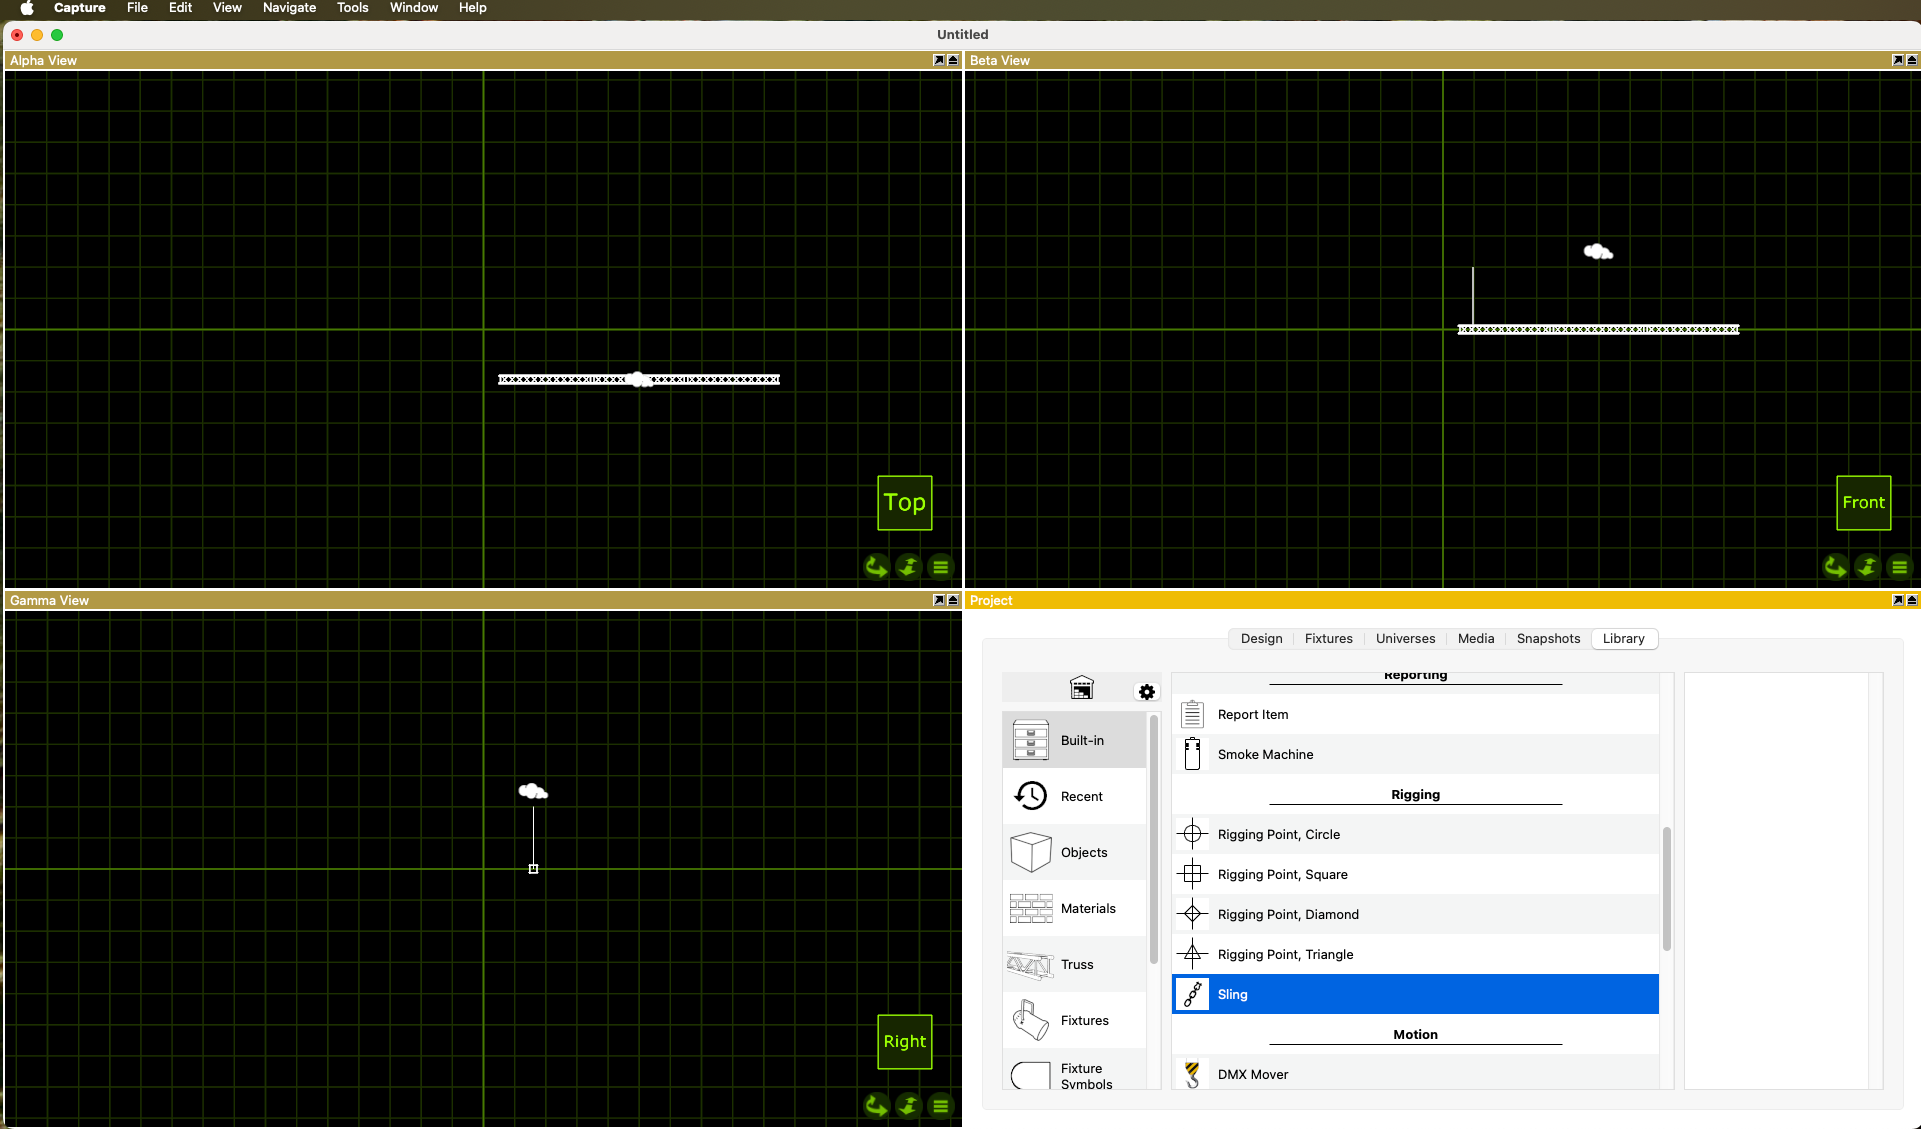
In the Library you'll find the Built-In category. Drag a Sling into the top view and connect it to the truss. Repeat this step to draw a second support and connect it to the other truss.
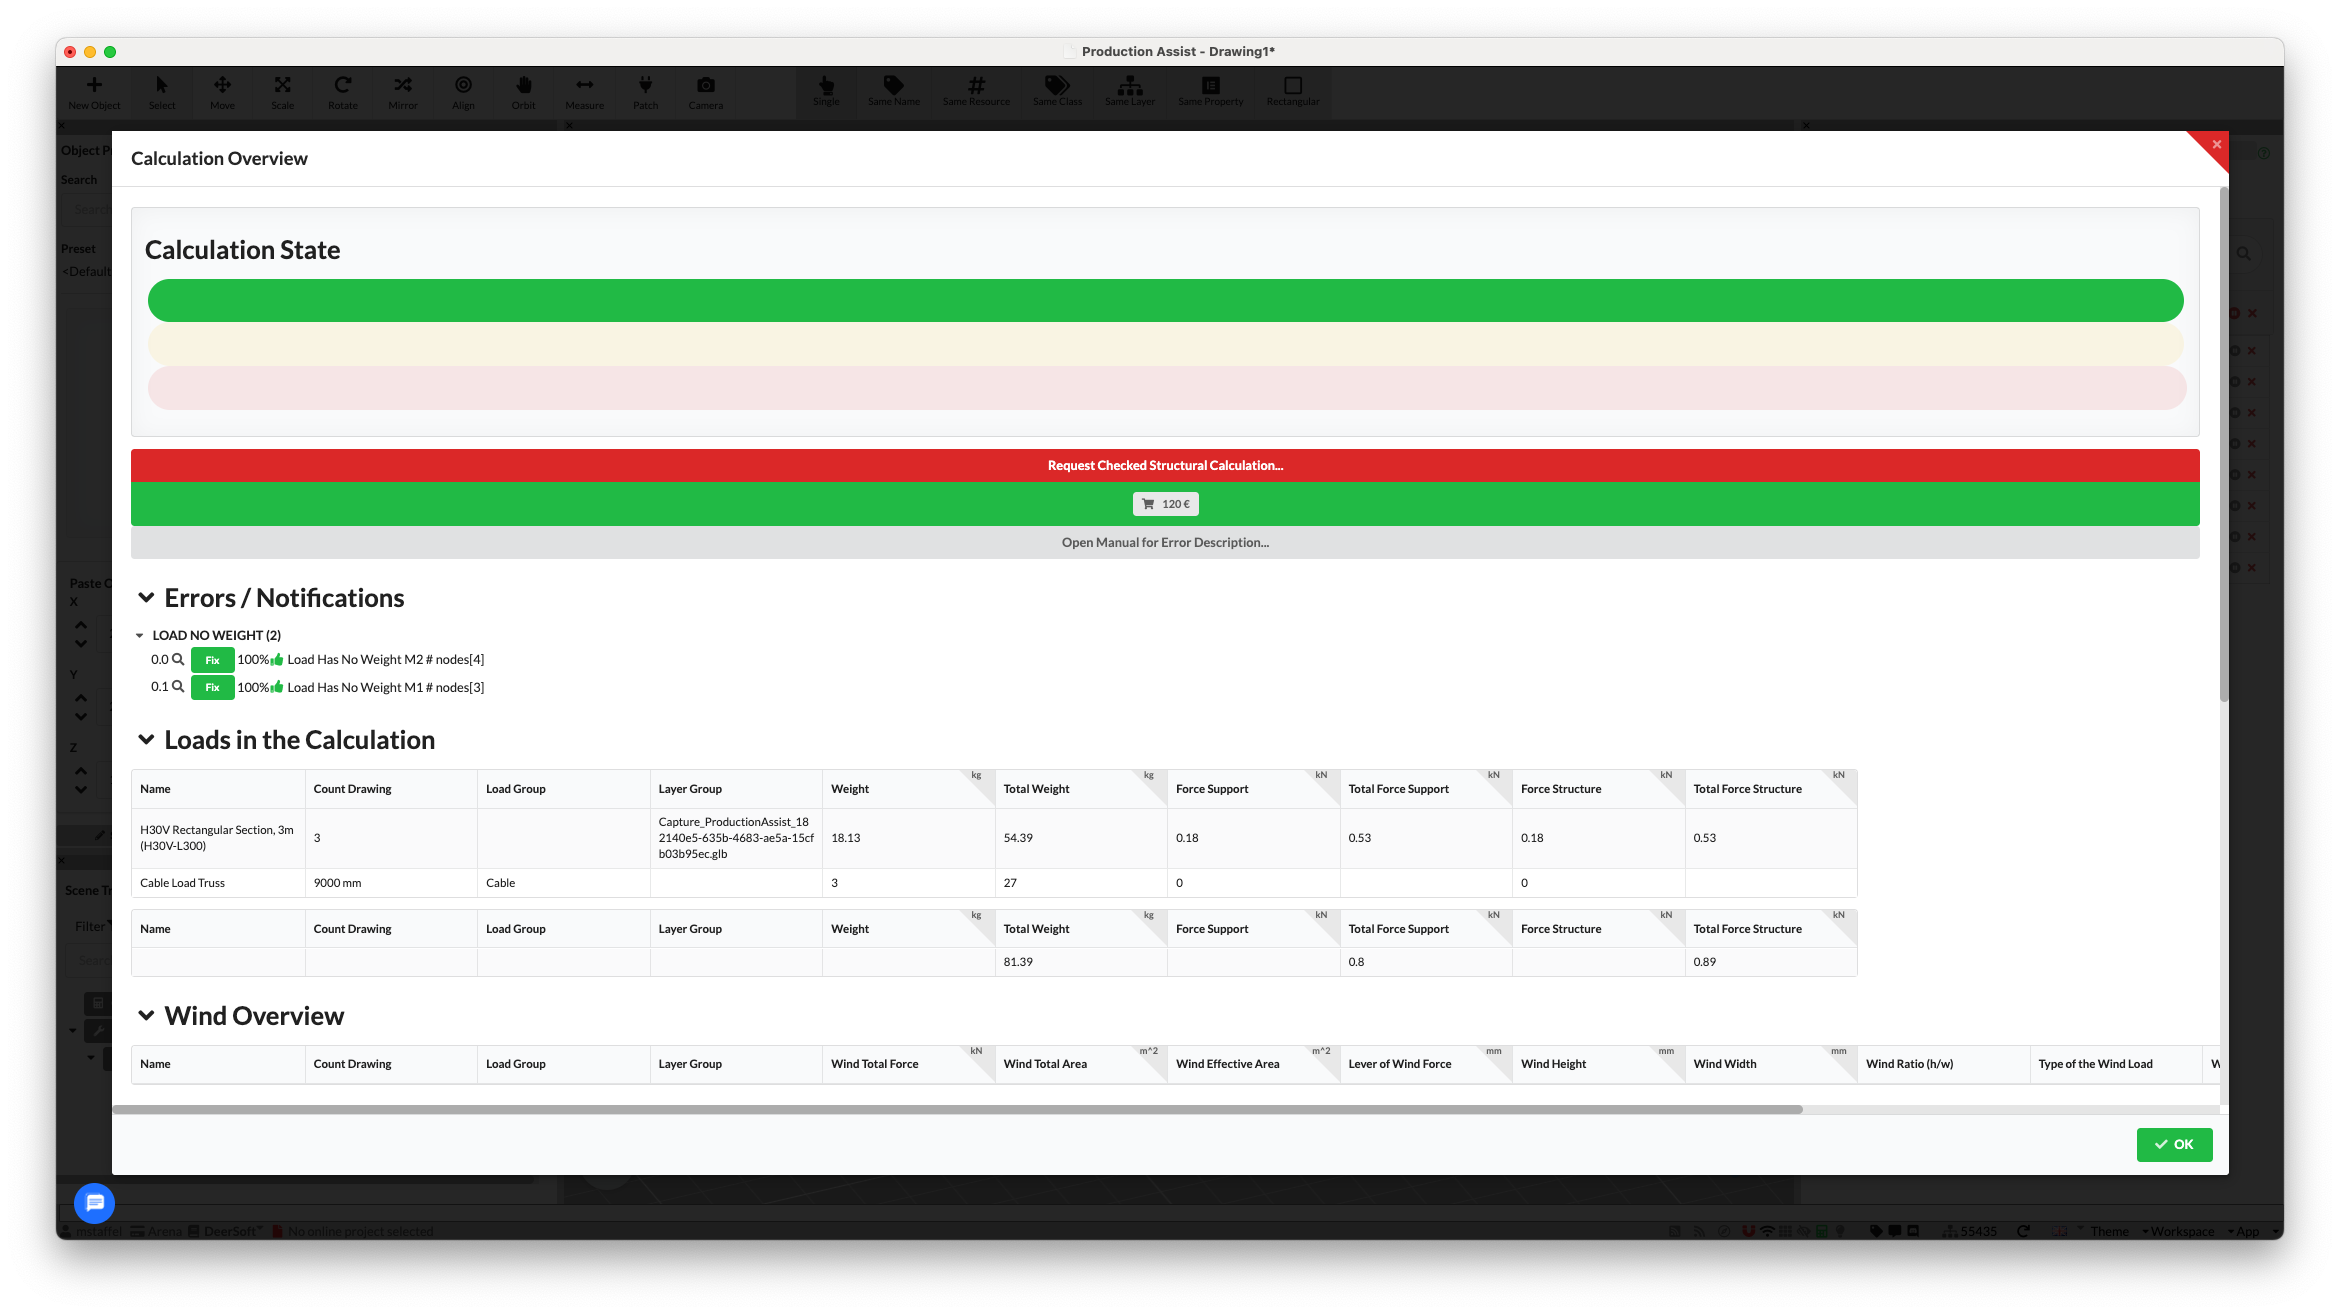
Now you can execute the menu command Send to Production Assist to send the show to Production Assist. Production Assist receives the data, calculates the results and displays the calculation results in the overview.
Capture itself receives the results from Production Assist and asks with a dialog whether it should accept the new results.
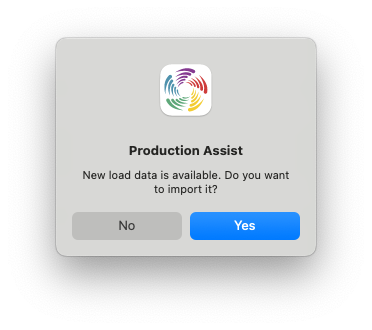
If you click on Yes, Capture accepts the new results from Production Assist and updates the show accordingly.

Now the loads are visible in the plot and you can continue to use the results in Capture. For example, you can display the loads in the 3D view or export the loads in the table.
Congratulations! You have completed your first static calculation in SketchUp with Production Assist.
A drop is created in Capture as a Sling. It is important that the Sling connects both trusses.
If the start or end point is outside the bounding box of a truss, the drop will not be correctly recognized.
Alternatively, the drop can also be created in Production Assist. In this case, no Sling needs to be drawn in Capture. However, it is important that the trusses in Capture are positioned so that they can be correctly connected in Production Assist.
Truss Crosses connect two trusses. For Production Assist to correctly recognize the connection, the trusses must also be exactly aligned in 3D.
If the trusses are only connected in the top view but are offset in height, the connection will not be recognized.