

Collaboration is becoming increasingly important in the planning and conduction of events. Production Assist has a special system on board that minimizes the difficulties of cross-platform collaboration.
More information about the Online Workflow in general can be found in the corresponding chapter Online Workflow.
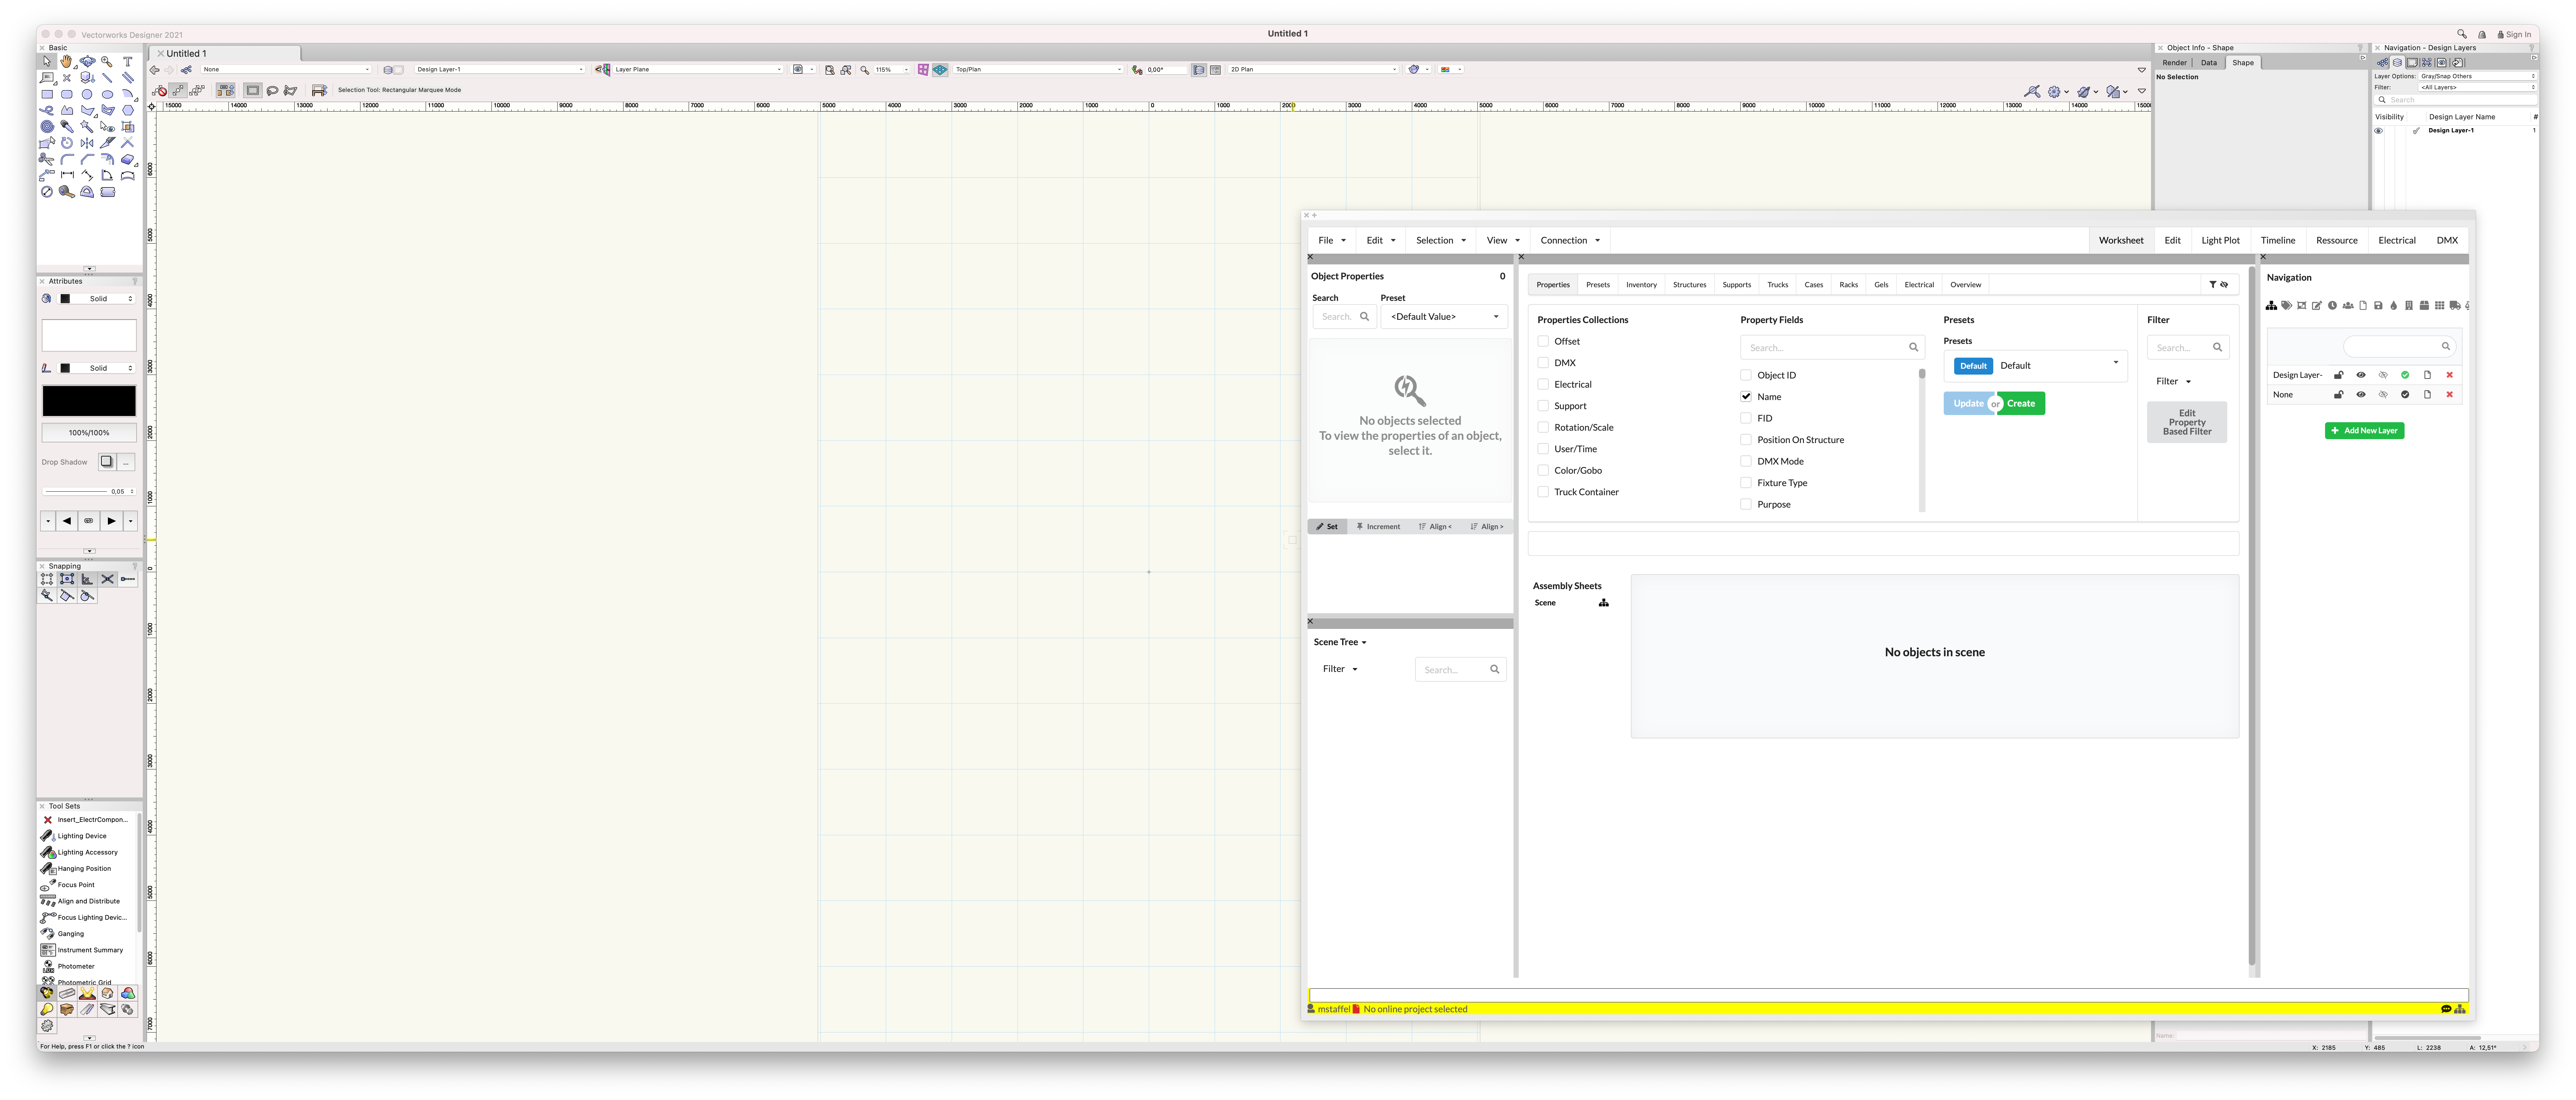
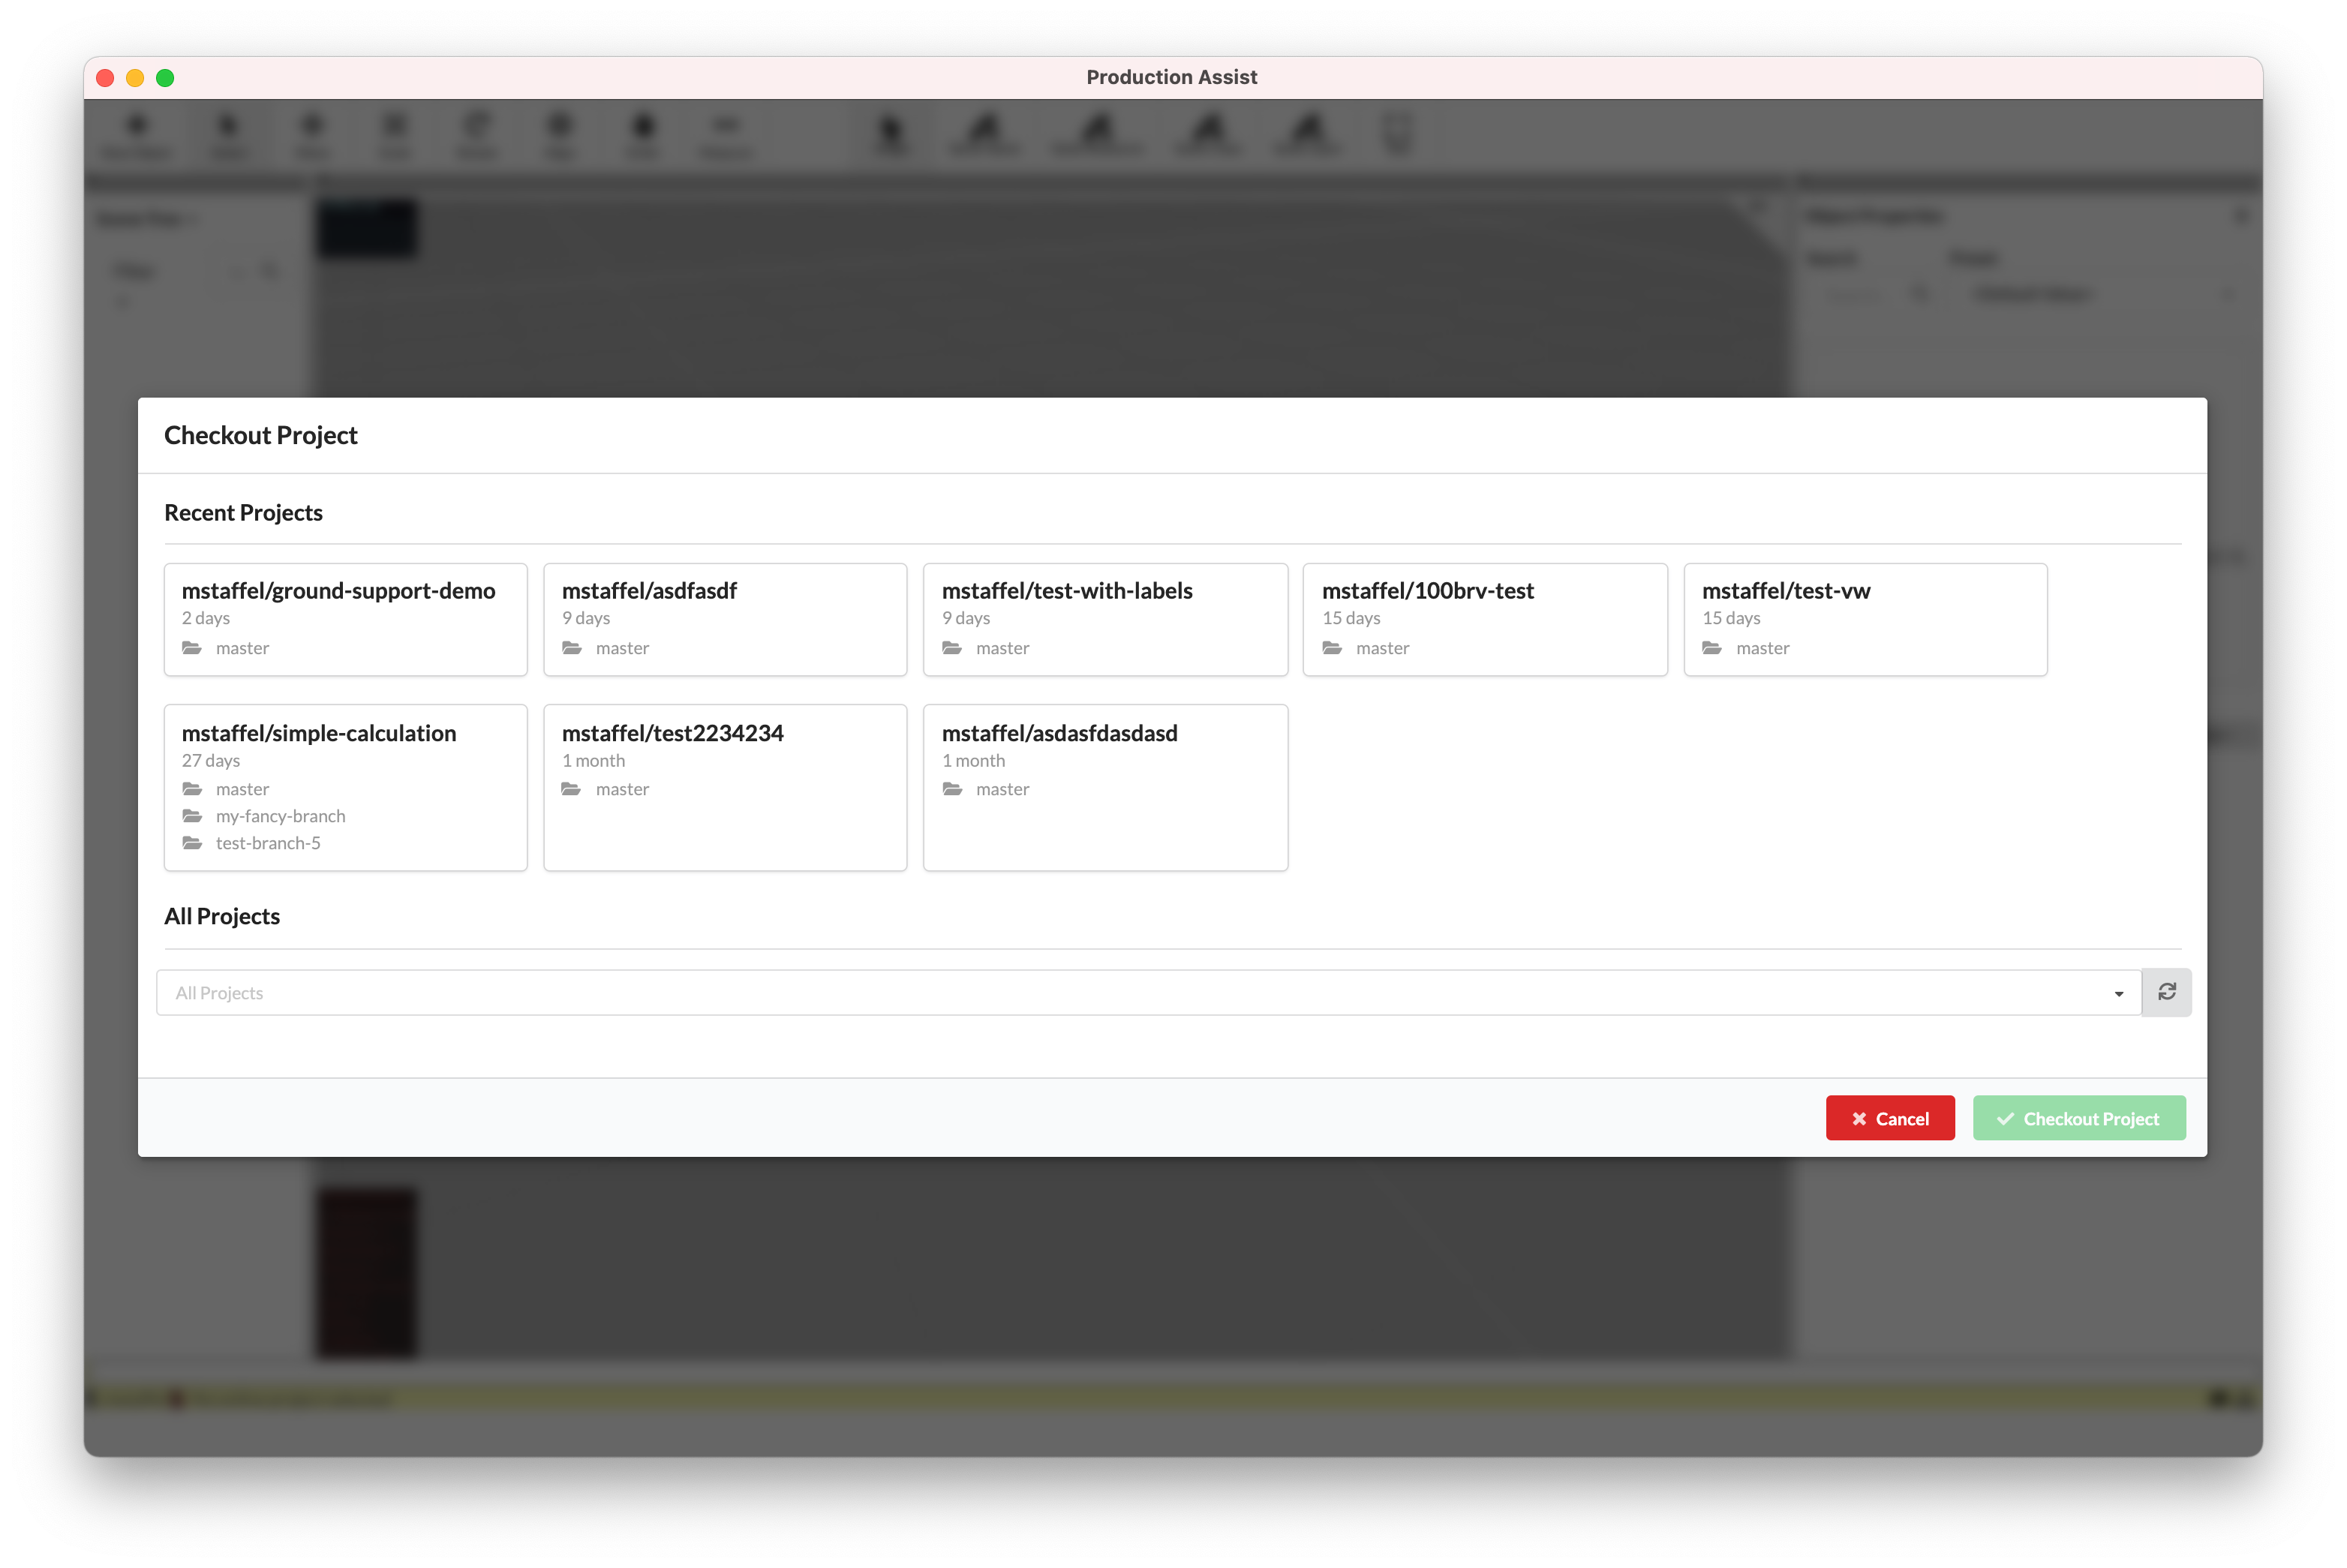
In this tutorial, we will show you how to work with multiple people via the Production Assist Cloud. The workflow of three people is shown here. One of them works with Production Assist desktop app, one with Production Assist for Vectorworks and one with Production Assist for grandMA3.
The aim is to clarify how users can practically work and collaborate with branches, change requests and commits.
The division of labor between the different platforms is independent of the functionality of Production Assist on these platforms. Production Assist has all functions available on all platforms. The user can thus work on the platform on which he feels most at home. Nevertheless, all platforms are connected to the Production Assist Cloud.
The following tutorial is based on the following scenario:
| User A with Production Assist Desktop App | User B with Production Assist for Vectorworks | User C with Production Assist for grandMA3 |
|---|---|---|
 | ||
User B starts the planning. He imports a DWG with the stage. He creates a new project for the project. He adds User A and User C as collaborators and commits the stage to the master branch. | ||
| User B draws a truss line and hangs some lights on it. He commits the change. | ||
 | ||
User A checks out the master branch and creates an own branch named rigging start. In this branch, the rigging for the truss line is planned. | User B creates a new branch name light start. Here the lights are patched, fixture numbers are assigned, etc. | |
| User A draws hanging points on the truss and inserts a prerig. | User B assigns the fixture numbers for the lights. | |
| User A creates worksheets for the truss lines that specify the required material. | User B creates worksheets for the truss lines and a worksheet for the fixture patch. | |
| User A reviews the change request made by User B and approves it. | User B reviews user A's change request and approves it. | User C reviews and approves the change requests made by User B and User A. |
| User B merges the two open change requests into the master. The initial planning has been completed. | ||
User C checks out the master on grandMA3 and creates a branch named lighting design. | ||
| User C programs the show. He moves a few lights and changes the fixture numbers. | ||
| User C commits the changes in his branch. |