In this tutorial, a simple animation will first be created using Presets , then Steps .
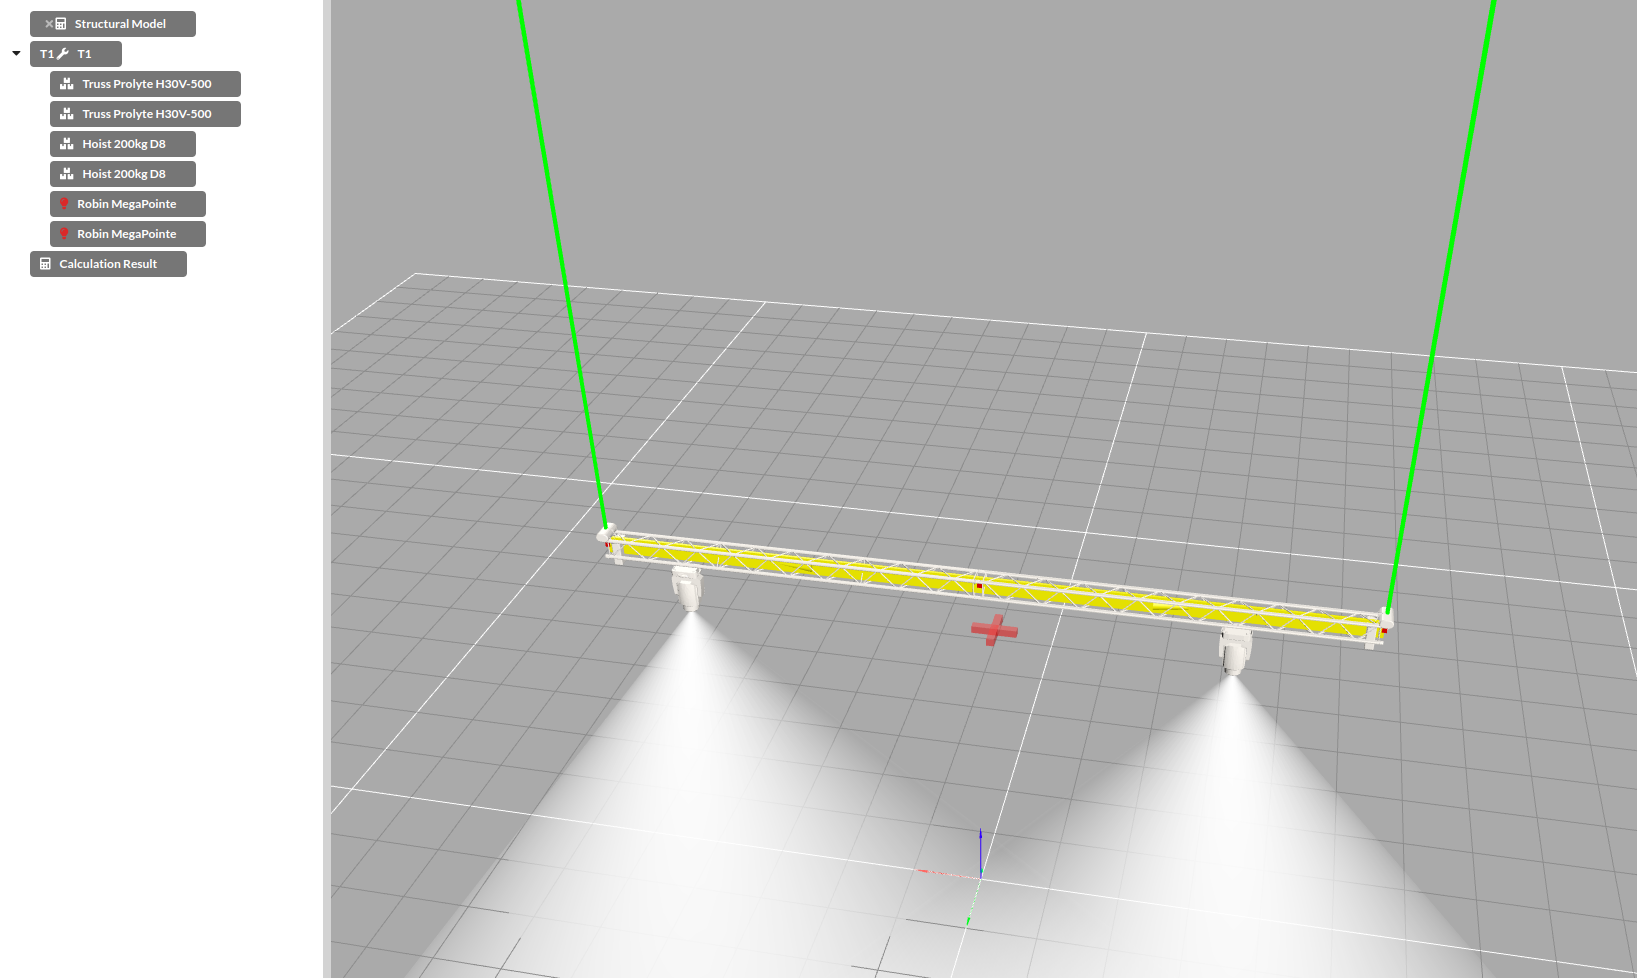
The first thing to decide is which objects to animate. In principle, all available objects can be animated. In particular, the following can be animated:
And for fixtures:
Once all objects have been brought to their starting position, the first preset can be created.
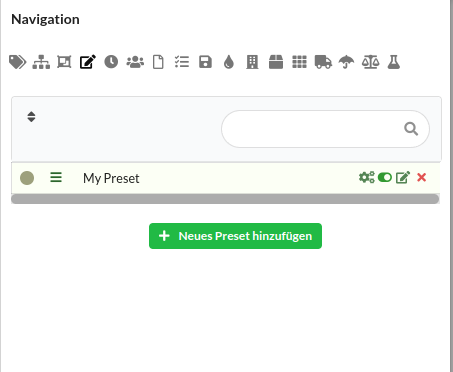
For presets see also the corresponding entry under *Navigation Navigation .
Create a preset with the desired name and activate it by clicking on the left gear icon.
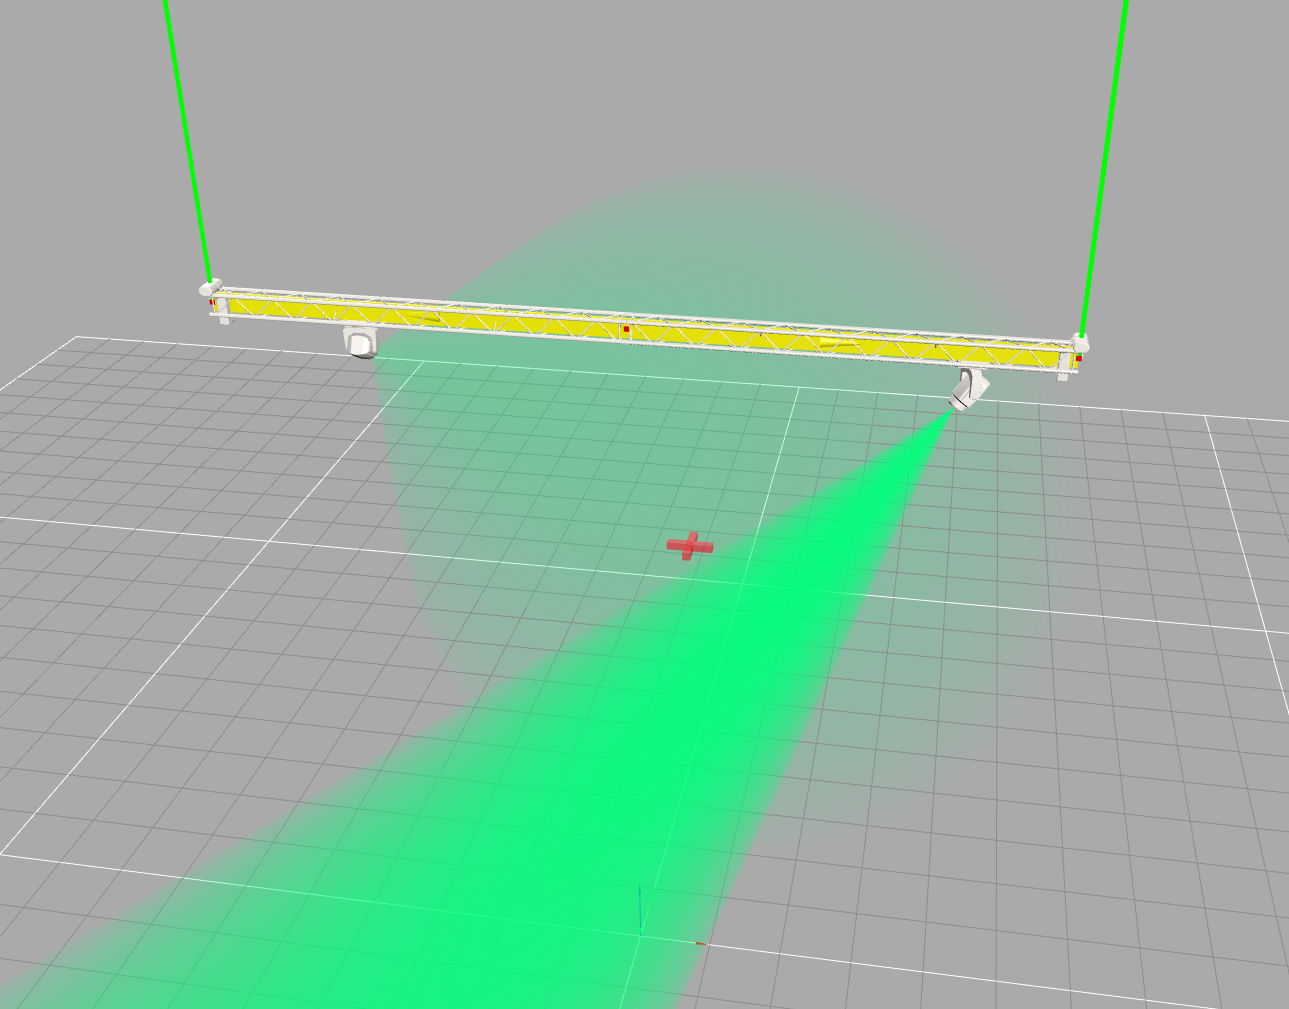
Now change the objects to be animated accordingly. The animation then runs linearly between the home position and the data stored in the preset.
Now open the settings of the preset in the navigation Navigation -> Presets -> Edit symbol to the right of the preset
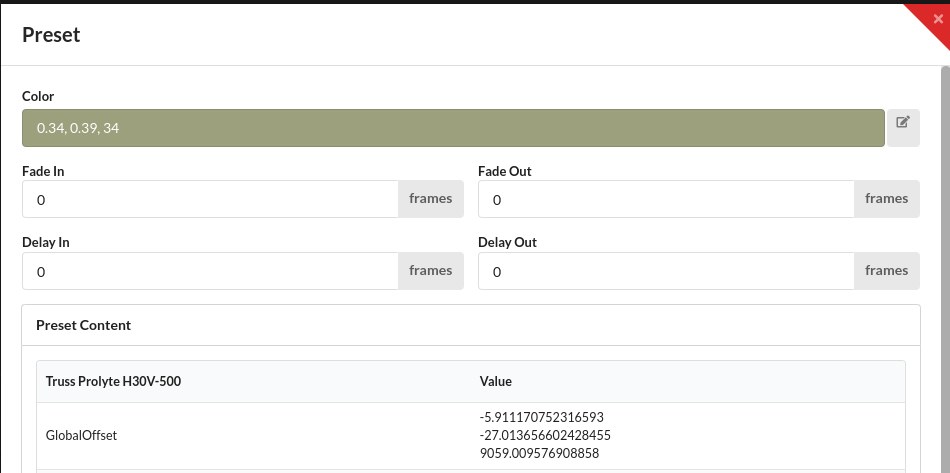
The fade in time specifies the duration of the animation that is executed when the preset is activated. The fade out time indicates the duration of the animation when deactivated.
Once the preset is saved, the animation can be run by activating and deactivating the preset:
If you activate or deactivate several presets in a row, the changes will be added to the queue and executed one after the other. The queue can be interrupted at any time by clicking the cancel button in the green message below.
Several presets can now be combined in timeline steps to create animation sequences.
Create a preset for each intermediate step according to step 2. Now create a schedule entry for each intermediate step under Navigation -> Schedules . Now edit each entry using the corresponding button on the right and add the desired presets.
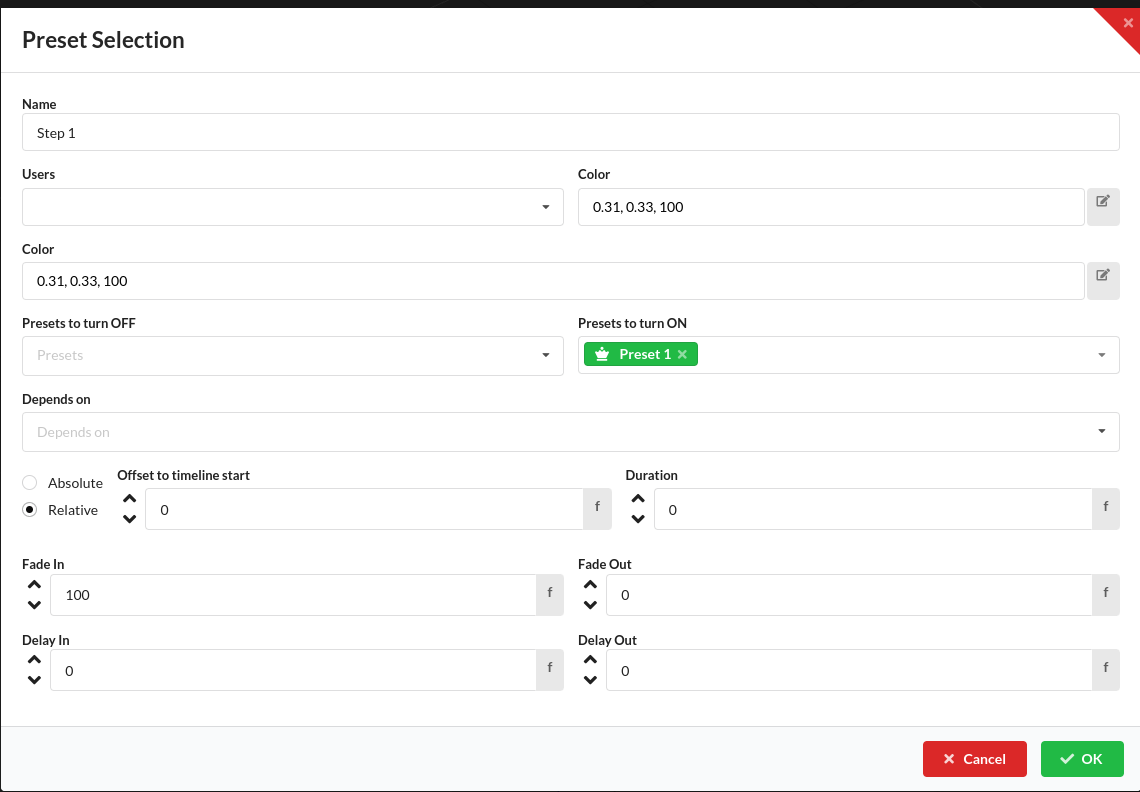
Note that only the fade in time is used for the animation. These overwrite the respective time of the preset. So if preset 1 in the example has a fade in time of 50 frames, it will be ignored. The animation of the timeline step is always as long as specified in the step settings.
By clicking on the play button to the left of a schedule or an entry, either each entry (step) within the schedule can be played one after the other or individual steps can be executed independently of each other.
In the example shown here, there are two presets and three steps:
A fade in time of 100 frames was chosen for all steps